I must admit that before the Great British Bake Off, bread was my nemesis. I am talking a basic white loaf. Sourdough was a world of wizardry that I thought I would never understand. Some of the bread gurus I met would talk about FDT (final dough temperature, I eventually found out), bakers percentages, autolyse times and the importance of bench rest. I will not baffle you with these terms but will give you the recipe in layman’s terms, as I wished someone would have done for me in the beginning.
Eventually I started to understand the terminology and co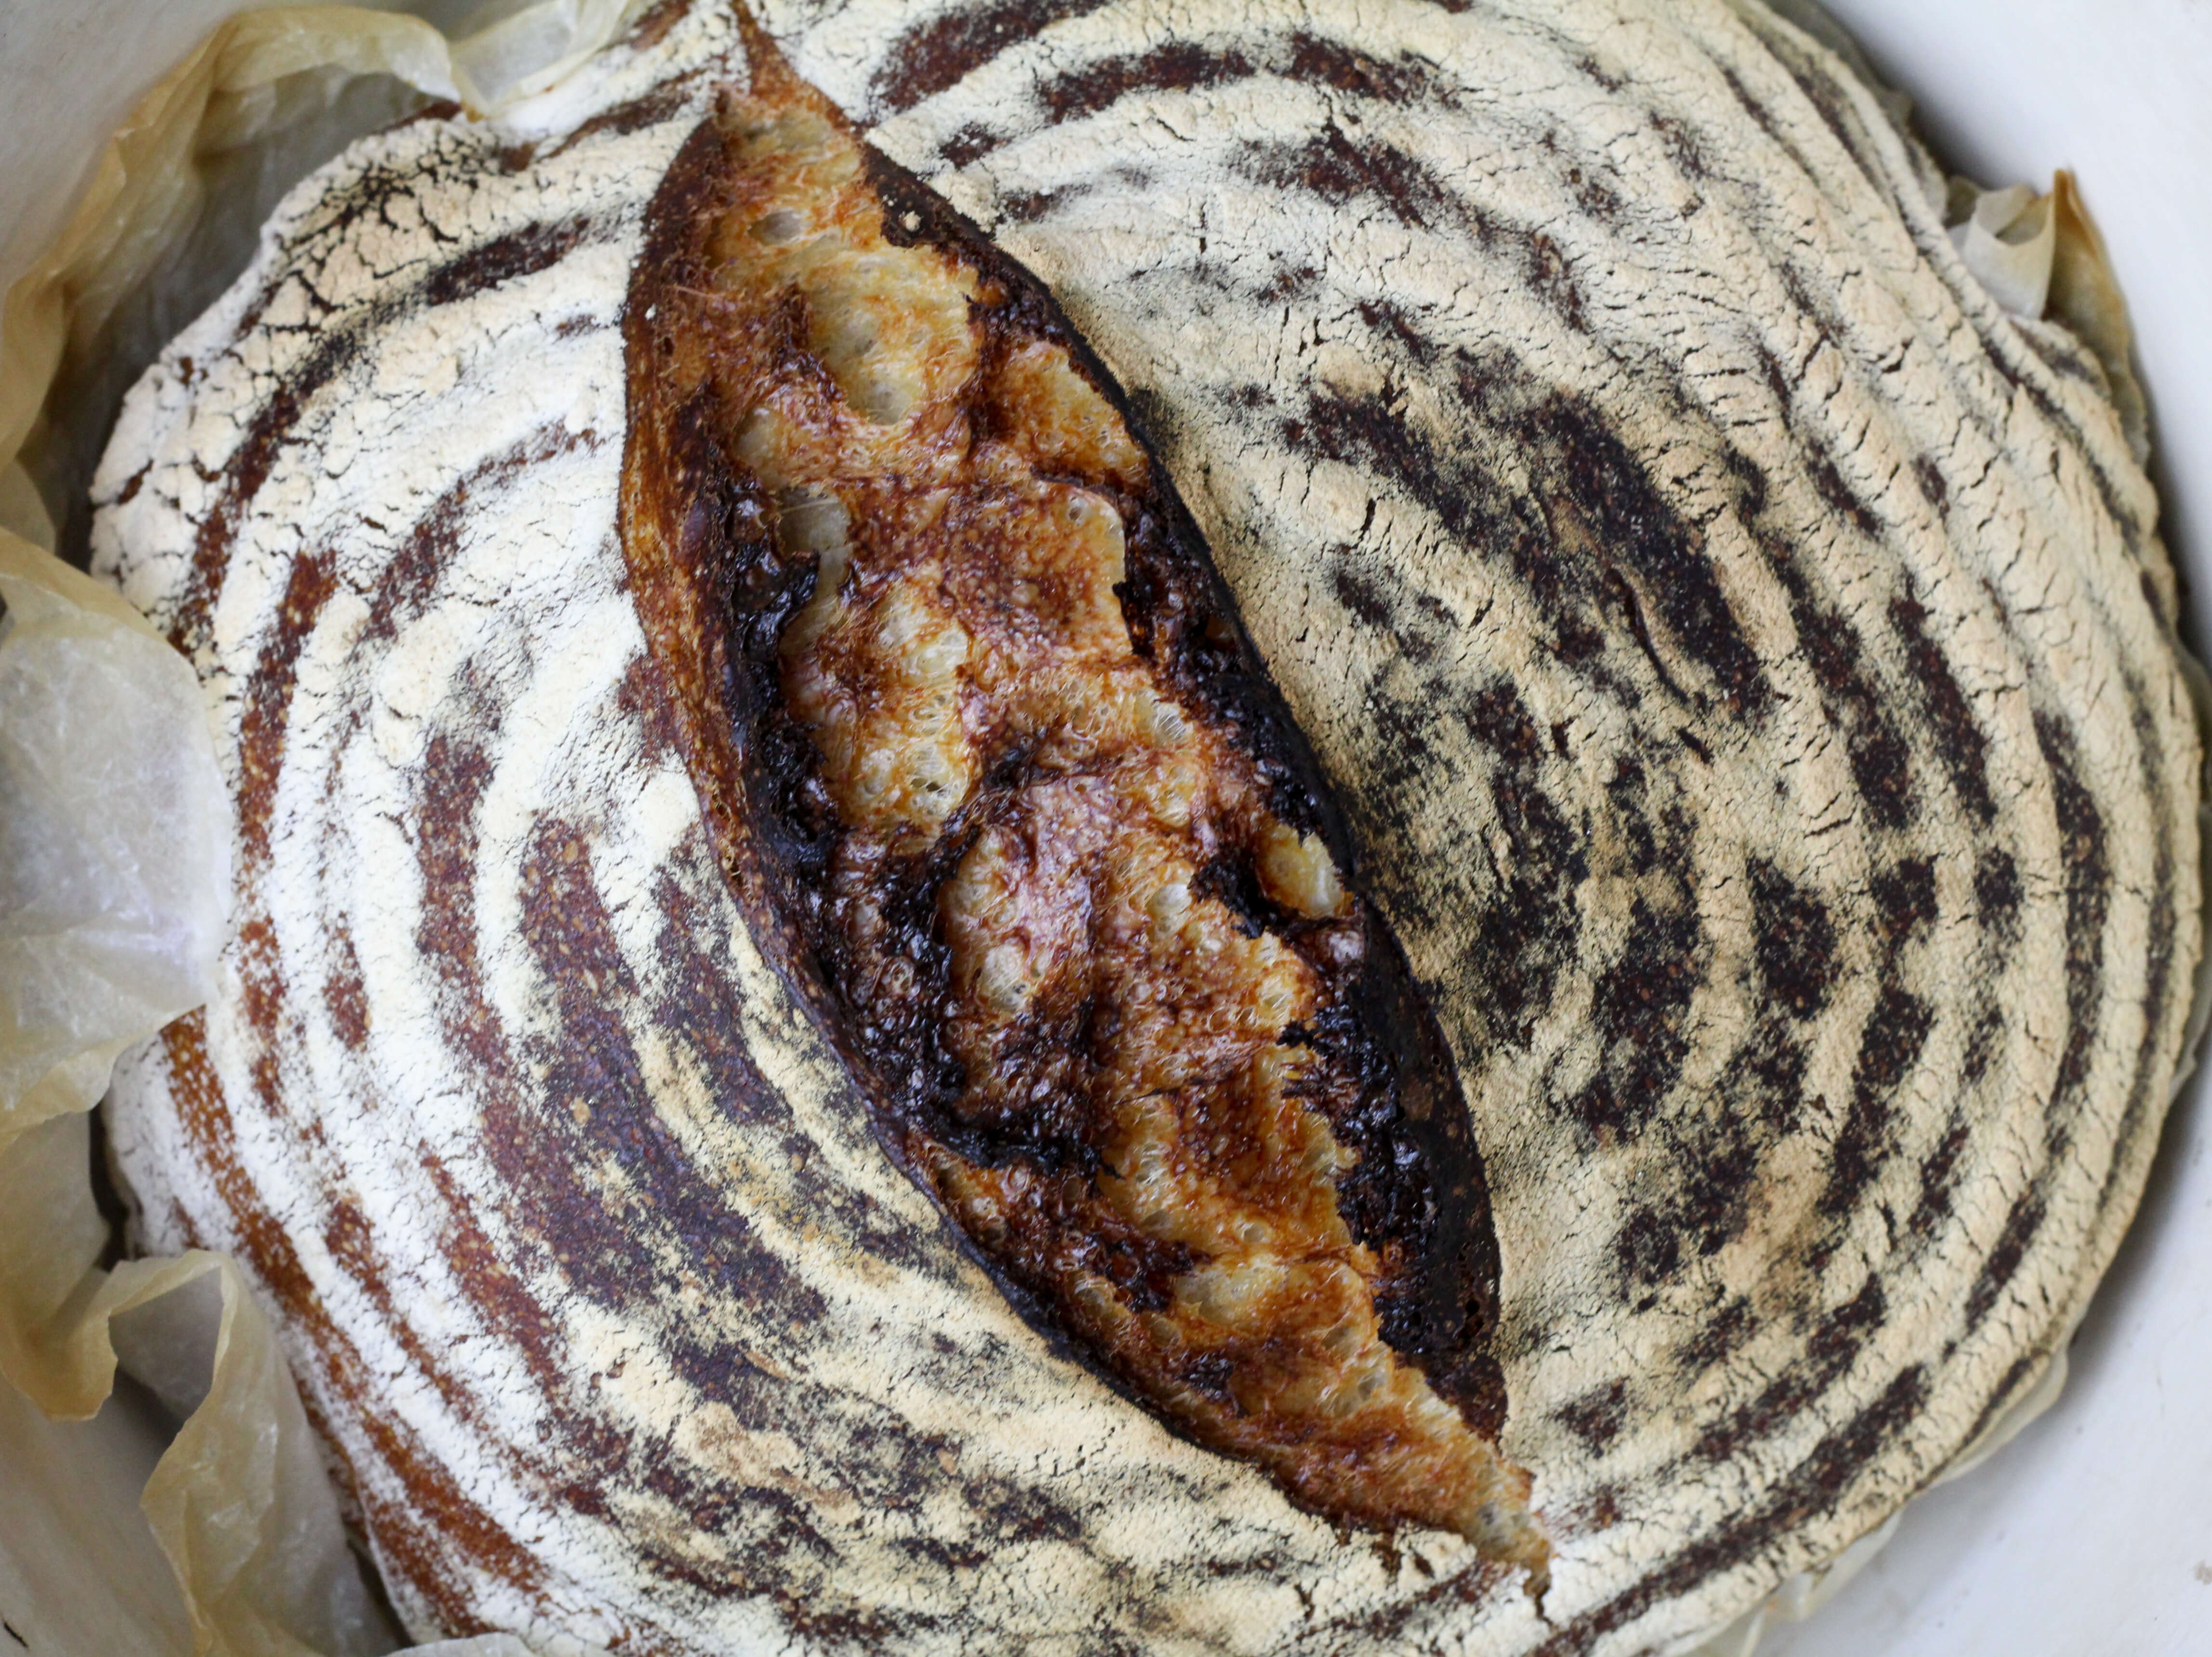 ncepts which can be intimidating at first. Then I broke it down to plain English. Which soon demystified the process.
There is a scene in the “Wizard of Oz” where Toto finds the wizard working the controls of his machines from behind a curtain and when discovered, the less-than-wonderful wizard shouts into his microphone: “Pay no attention to that man behind the curtain!”. Like this I hope to remove the fear of the mystery of making a decent loaf of sourdough and show you what’s behind the curtain. Which in reality is not scary at all. All you need is a bit of time and planning.
Hopefully making this simple but delicious loaf will give you the bug. Then when hooked, please do delve into the art and science of bread making if you want. Or just play around with this great basic recipe and be a bit of bread maverick like me.
I am assuming you have a sourdough starter, you can buy them on line or make your own. If you are like me you will end up with a collection of them, they all have their own unique flavours. If you want to make one yourself I have made Paul Hollywood’s one in the past. Recipe here
Let’s start with planning. I normally start late morning on Saturday for the mixing and first proof. Then in the evening at least 3 hours before I go to bed I shape the dough and put it in a proofing basket. Then when I go to bed I stick it in the fridge. The timing all depends on the temperature in your house. I am assuming around 70 degrees.
Think of yeast in the sourdough starter as a reptile. If it is cold they are slow and just hang around not doing much. Warm them up a bit and they come to life. The speed your dough rises will be a combination of how strong your starter is and how warm the environment you are proofing the dough is.
The expression ‘wetter is better’ is so true in bread making, especially with sourdough. The downside to that is that shaping sourdough for the beginner is a pain.
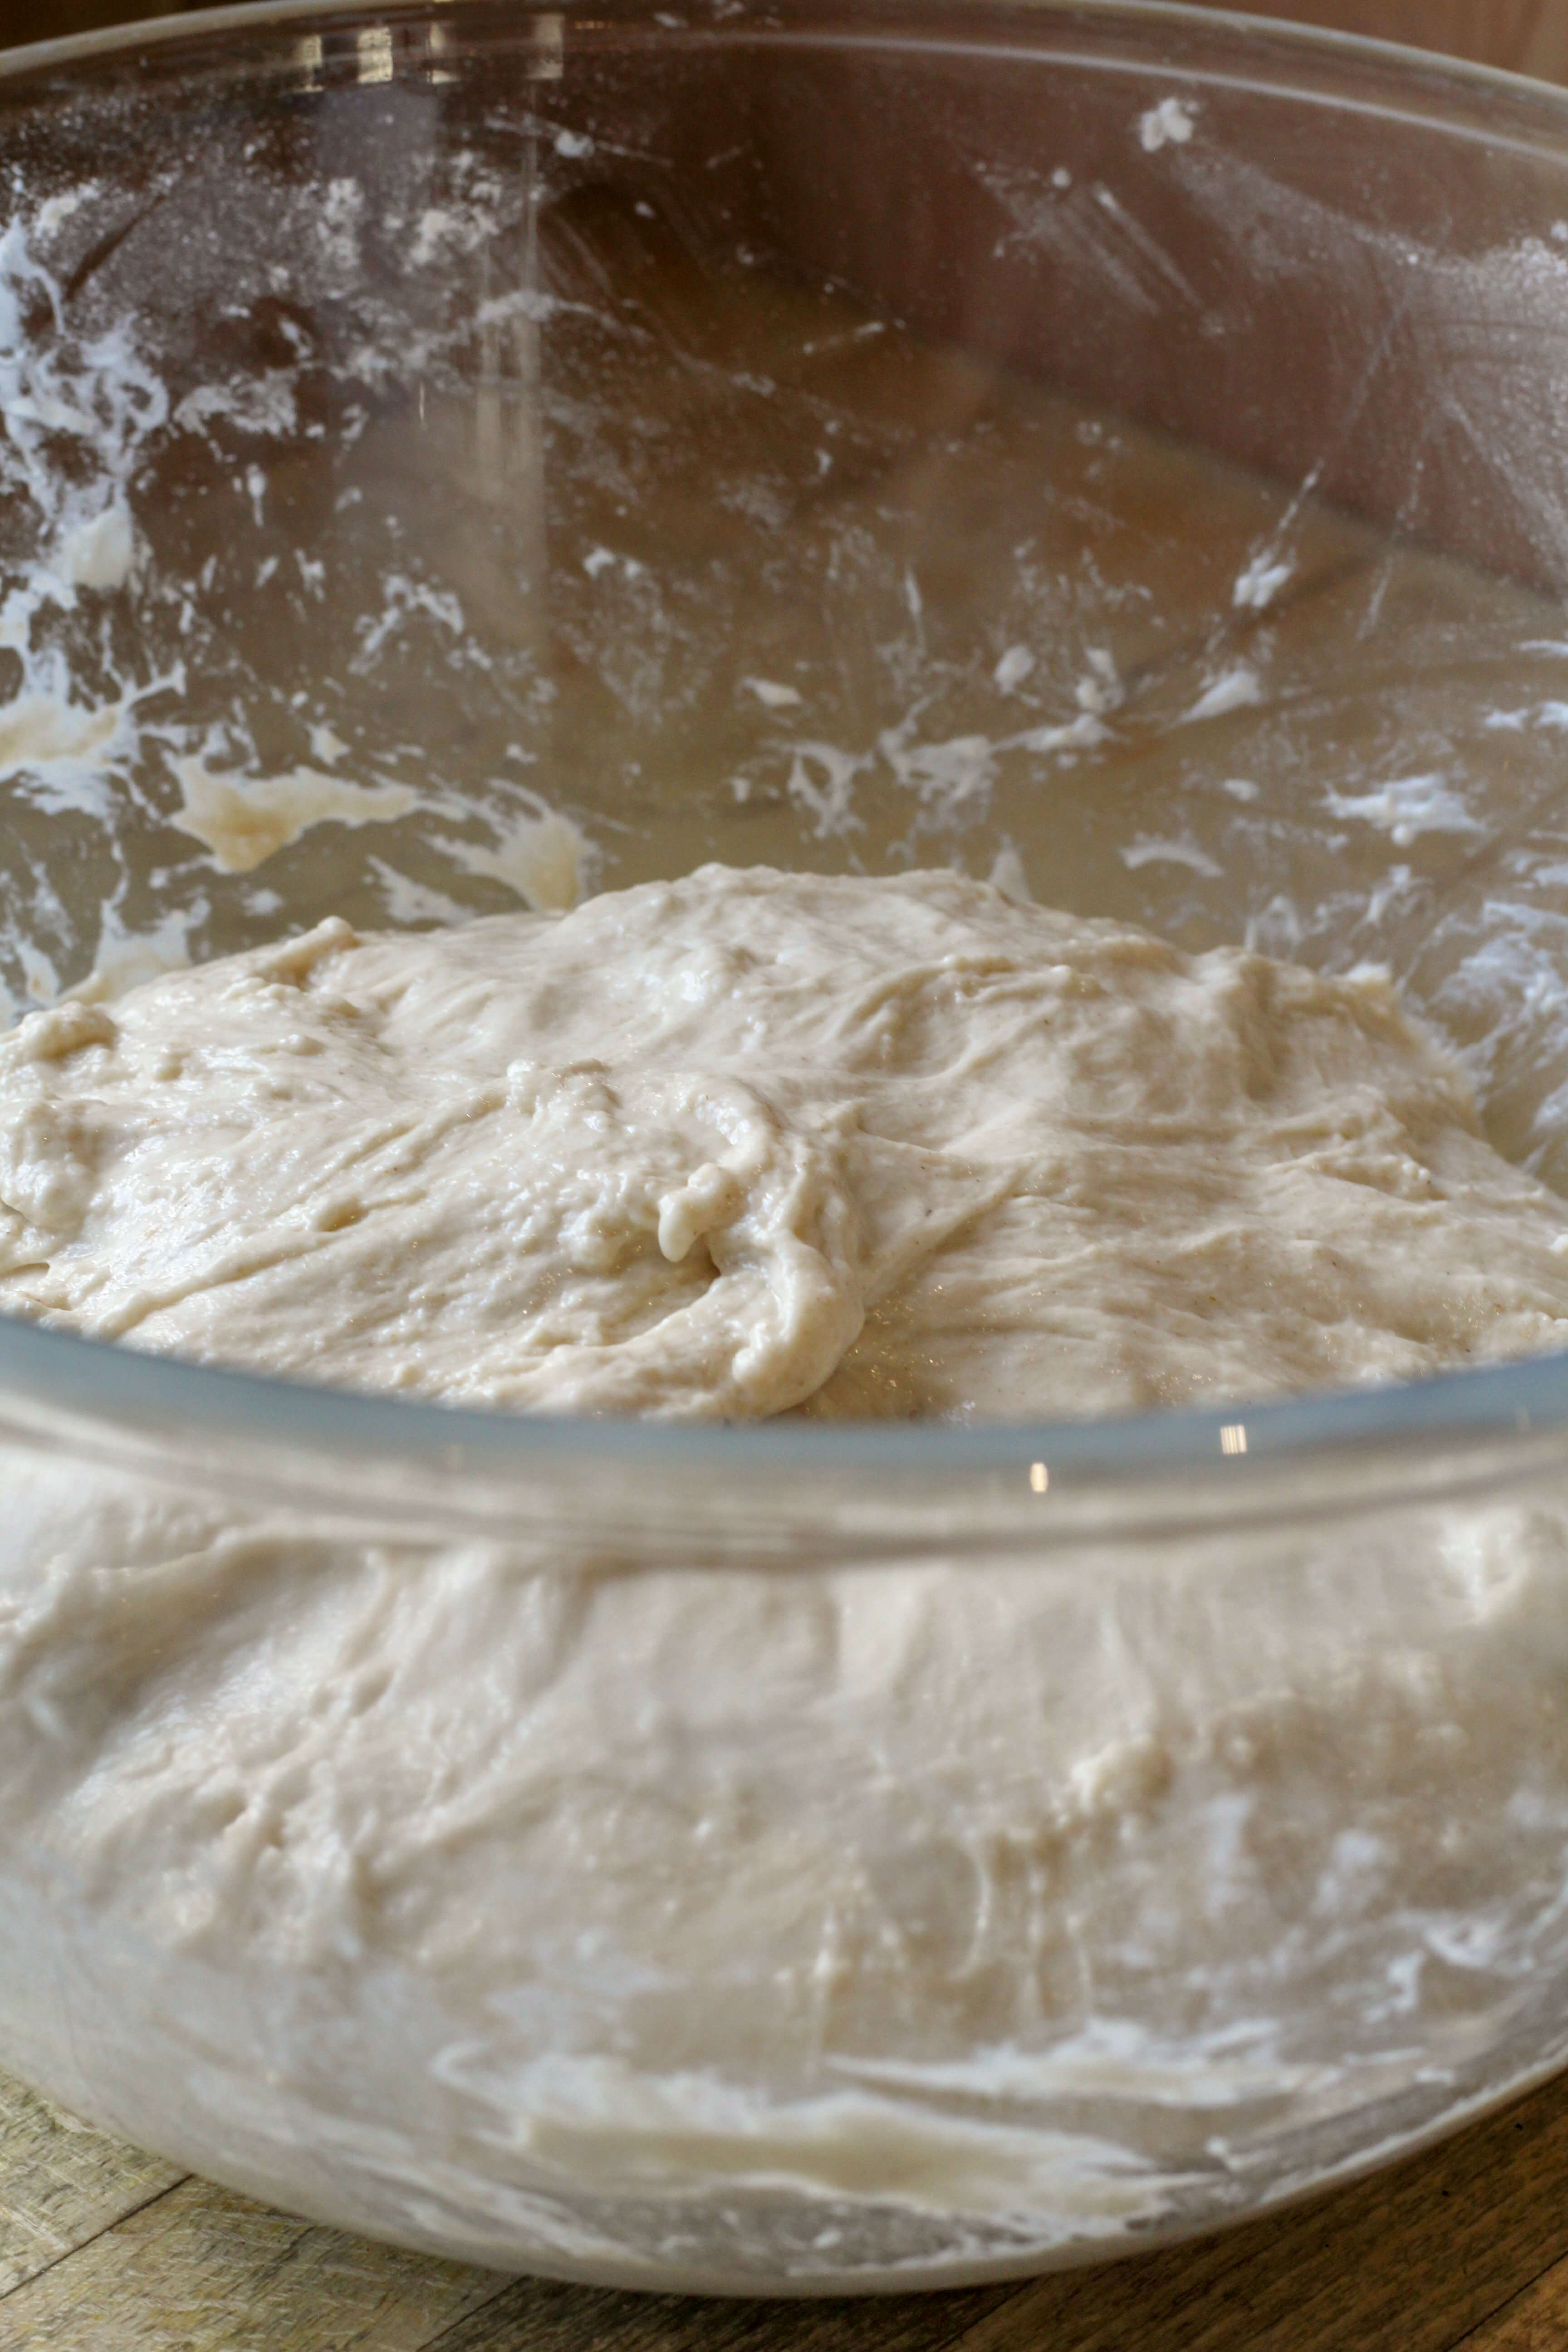
My approach is that you shape the dough the best you can before putting it in the bread form. Let it rise until it doubles in size. Then my hack is to stick it in the fridge overnight, like a brioche dough it will firm up nicely, which is critical when you need take it out of the bread form before baking, otherwise it can be like wrestling a jelly fish into a string bag.
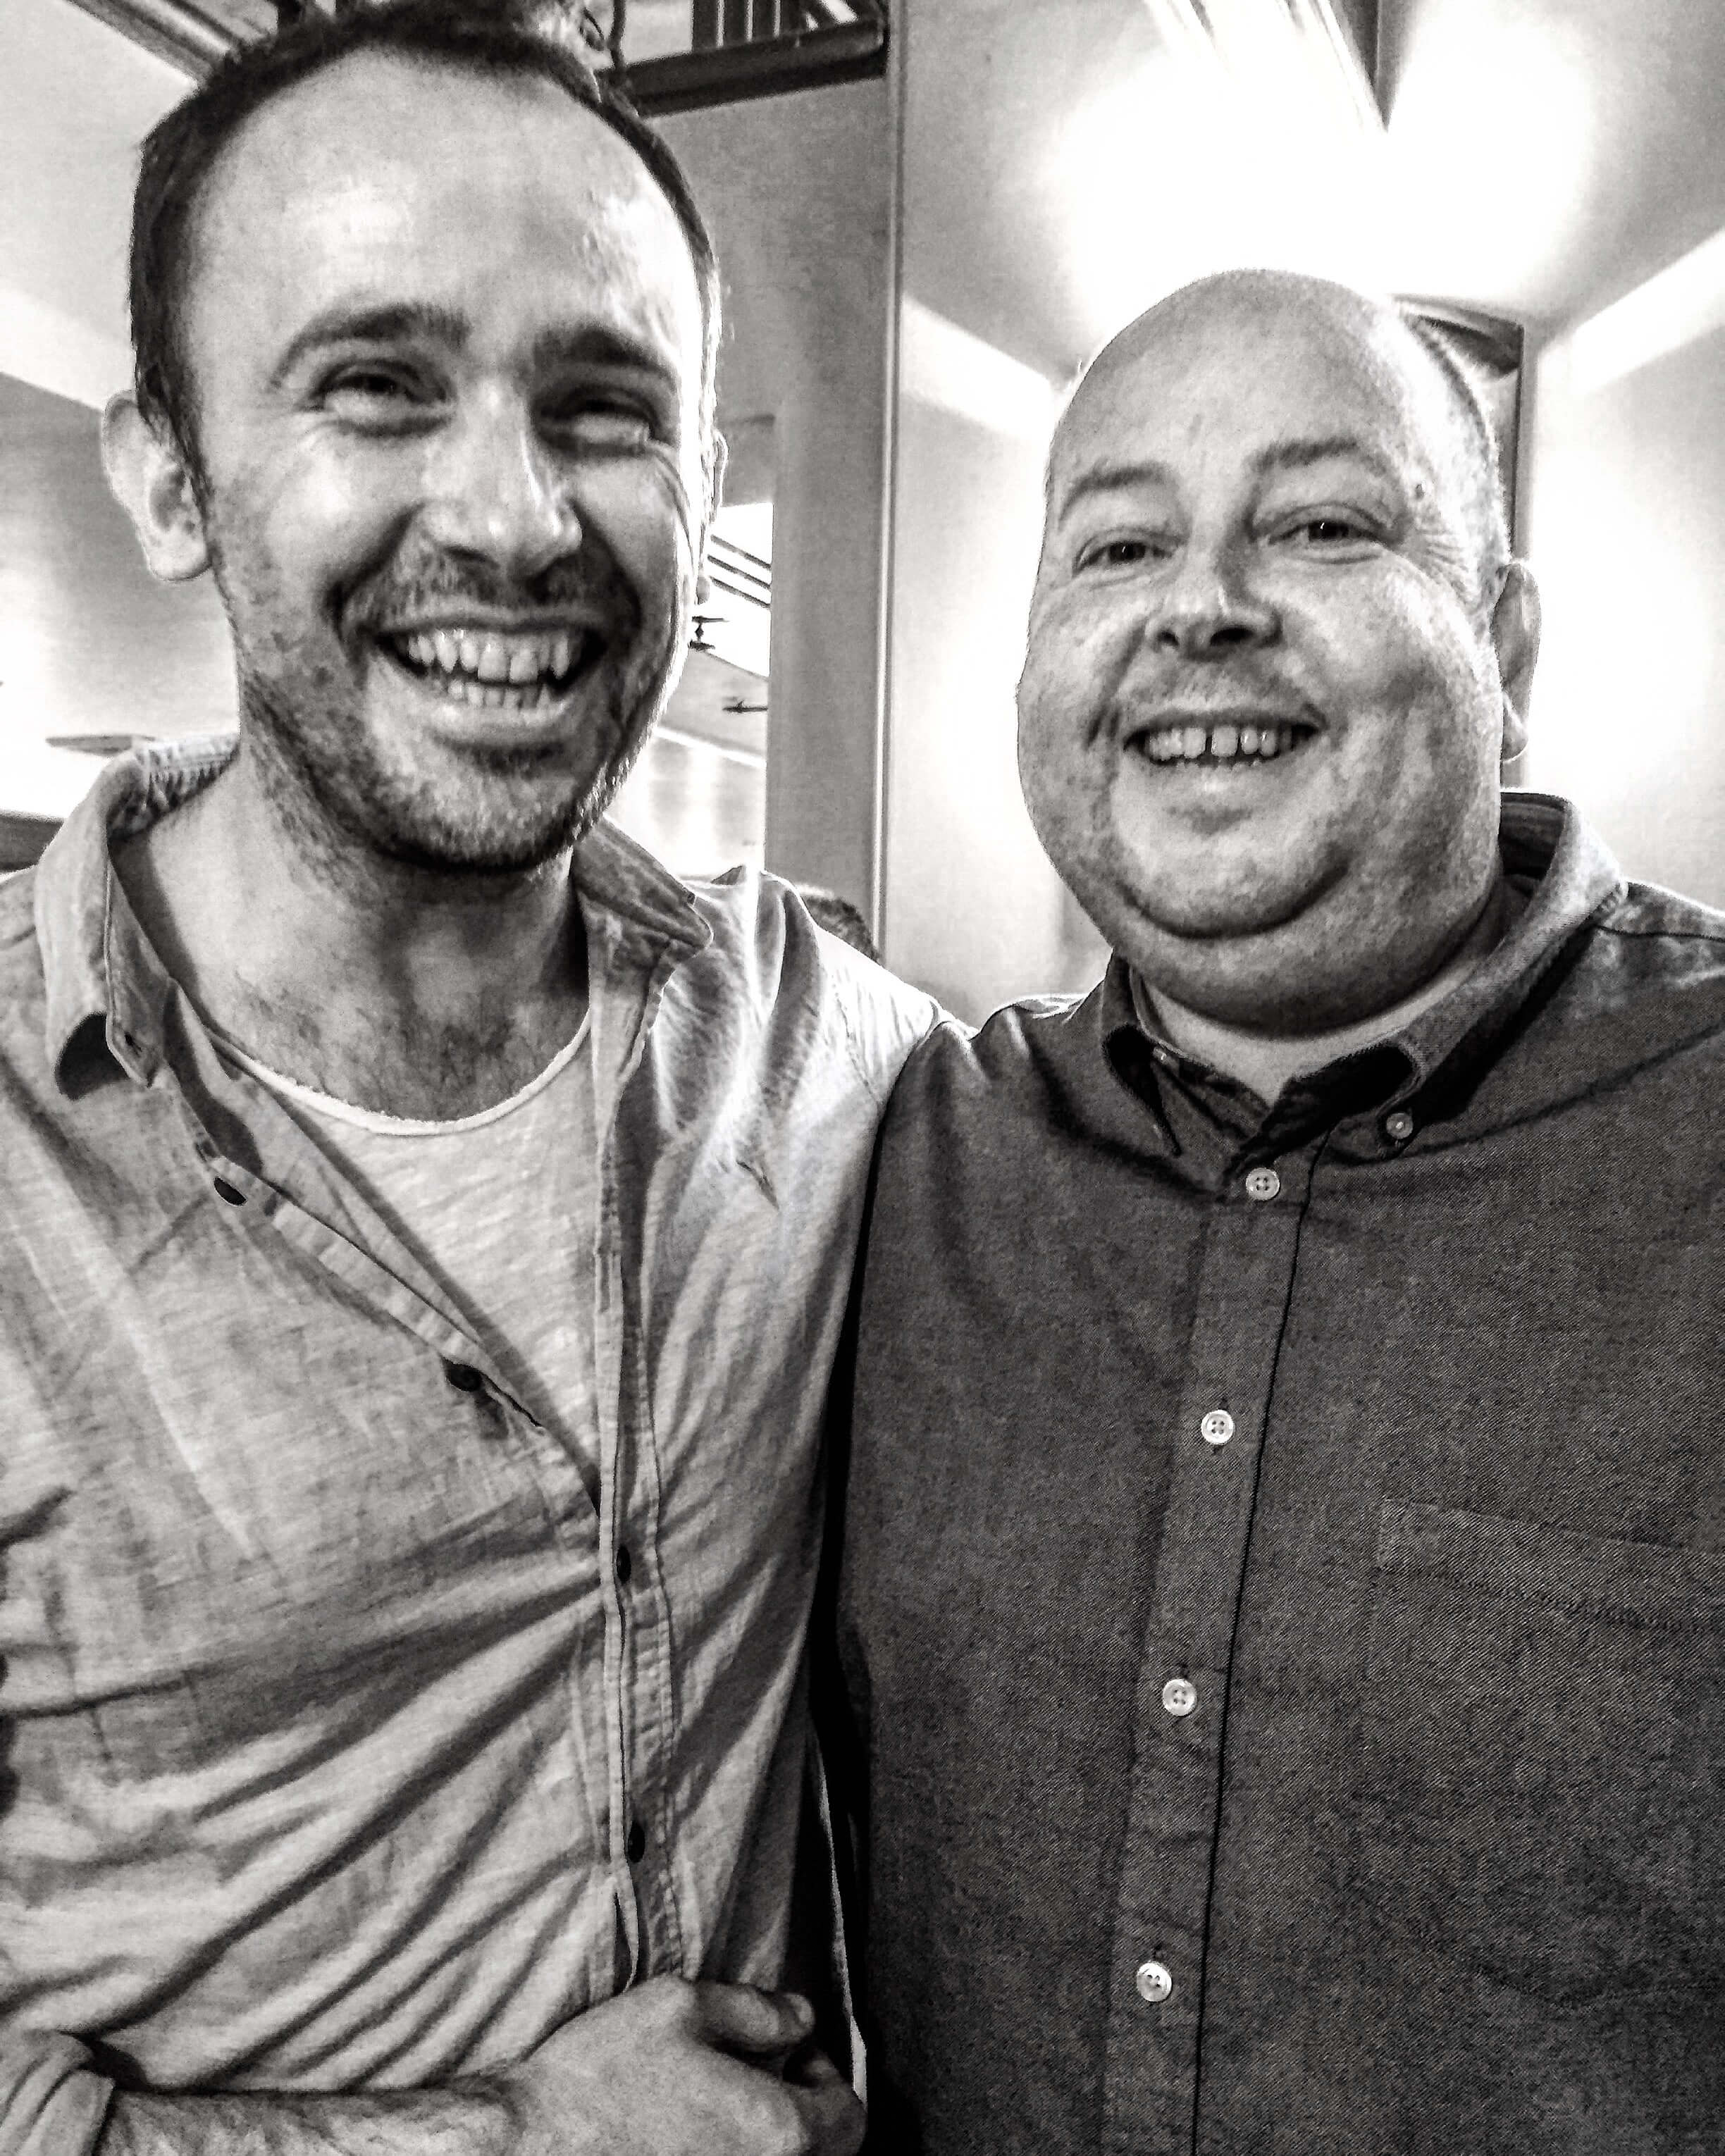
The other eureka moment was when Yanny and Chris explained what a difference baking a loaf in a Dutch oven makes. In English terms a cast iron casserole dish , think le Creuset or Van Chef. Looking on the internet I kept seeing recommendations for a 6 quart one in bread recipes. I had no idea what that size was, so I just got a big one, about 25-26 cm is perfect. This helps retain heat and steam, it’s like an oven in an oven and totally transformed my bread making. Failing that a pizza stone in the oven or heavy baking sheet to help retain some heat in the oven will also work well.
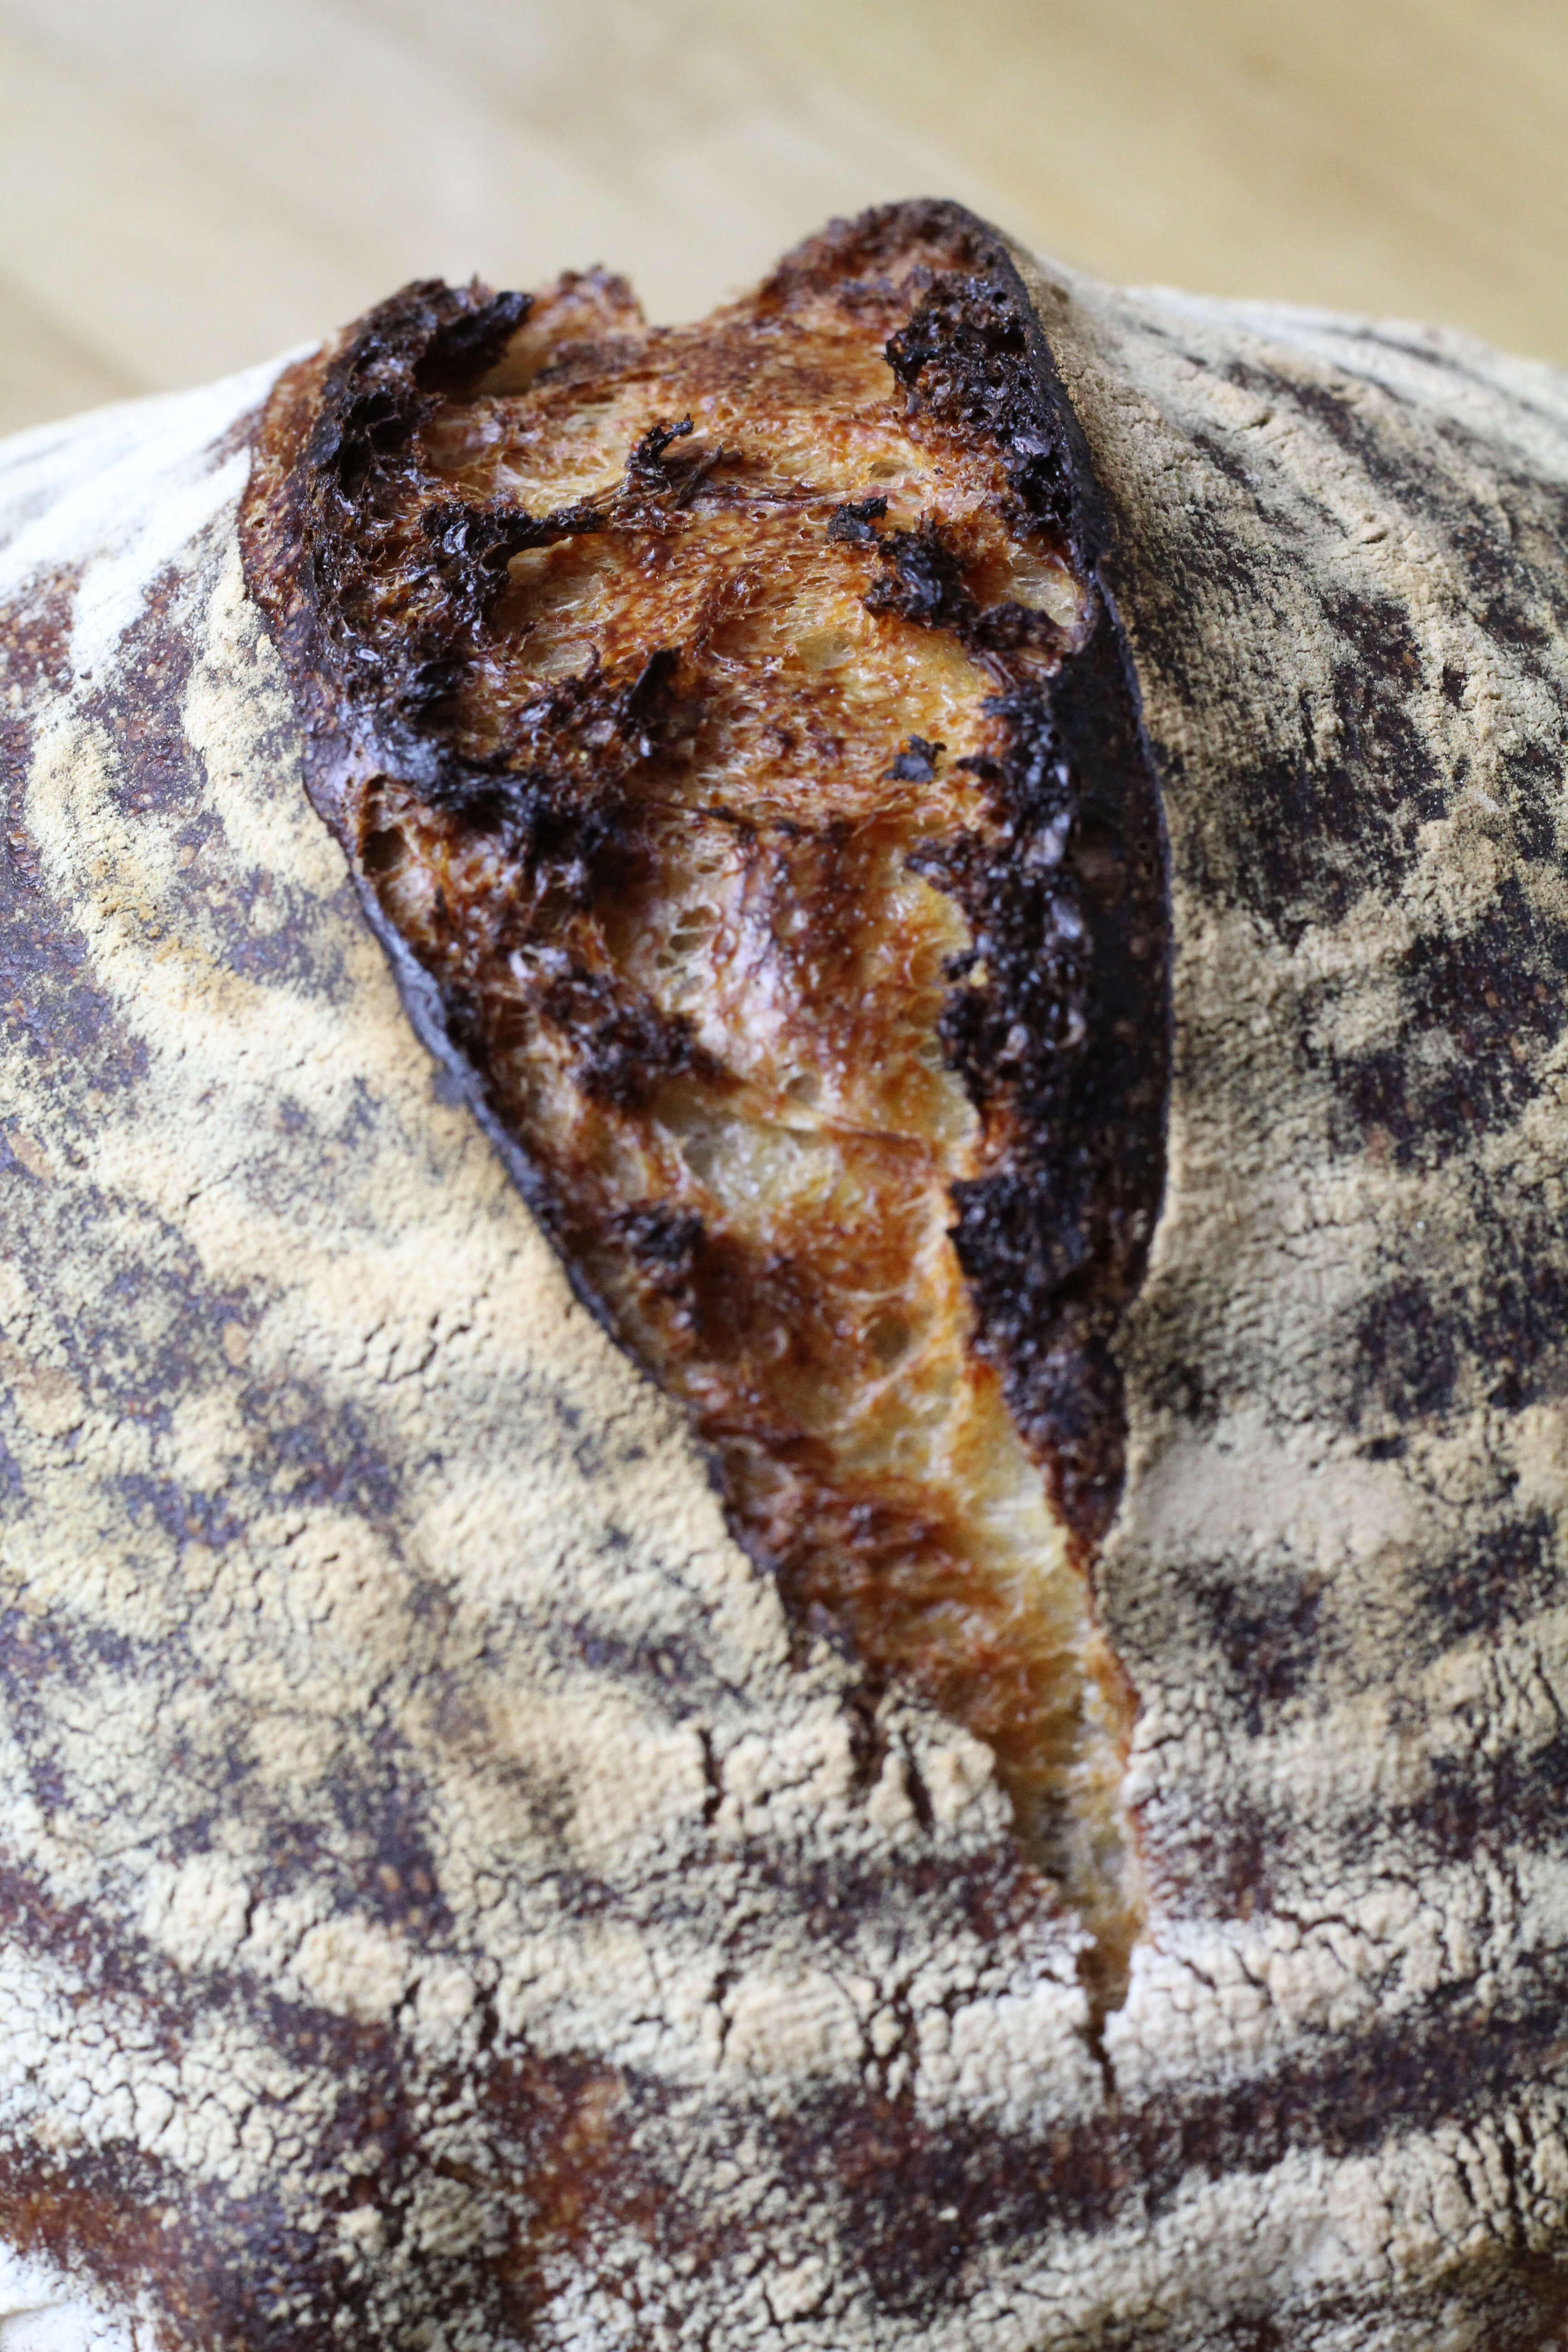
I have saved step by step photos and videos on my Instagram page under story highlights @cluckmuckcook
Ingredients:
150g active, fed starter
350g water, tepid, preferably filtered
500g strong bread flour
10g sea salt
fine polenta or cornmeal for dusting
Method:
In a large bowl, whisk together the water and sourdough starter, then mix in the flour and salt until it forms a rough dough. Cover with cling film and leave for an hour. This is the autolyse period. Basically this hydrates the flour and starts breaking it down and starts to build gluten.
For the next 2 hours, every 30 minutes, grab a portion of the dough, stretch and pull it upwards and then fold it over to the other side of the bowl and tuck under. Rotate the bowl a quarter turn and repeat until you have done it 4 times and the bowl has gone around 1 full turn, cover with cling film and repeat 4 times over the 2 hours.
On the final turn, cover with cling film and leave in a warm place to rise until doubled in size. Be patient, this will depend on the strength of your starter and how warm the ambient temperature is.
Once doubled in size, tip onto the work surface and gently fold it into a ball, pulling each side into the middle. Do not worry about knocking the air out before you do this. Flip the ball over, cup your hands either side of the dough and gently turn the ball a quarter of a turn, tightening the dough. Repeat 3 or 4 times to get a nice tension on the dough. Do not worry too much as the fridge trick will help later.
Liberally flour the bread proving basket and pop the ball of dough in it seam side up. Oil some cling film and lay it on top.
Allow to proof until double in size and pop in the fridge overnight.
In the morning, preheat the oven for at least 30 mins at 240c (220c Fan) with the Dutch oven in the oven.
When the oven has been preheated, remove the dough from the fridge. Cut a circle of baking parchment larger than the loaf and scrunch it up then flatten out.
Sprinkle the base of the loaf with polenta, lay the baking parchment on top, then place a tray on top of that.
Flip everything over carefully and allow the dough to gently release from the proving basket. Slash the top with a serrated knife.
Remove the Dutch oven from the oven, remove the lid (carefully it will be red hot), pick up the loaf on the baking parchment and drop it into the Dutch oven. Replace the lid and put it in the oven for 20 mins. After 20 minutes, remove the lid and bake for a further 30-40 minutes, depending on how dark you like the crust.
Remove from the oven and carefully take the loaf out of the Dutch oven. I use a couple of spatulas and cool on a wire rack.
It is best to let it cool thoroughly before cutting.
- Ingredients:
- 150g active, fed starter
- 350g water, tepid, preferably filtered
- 500g strong bread flour
- 10g sea salt
- fine polenta or cornmeal for dusting
- .
- In a large bowl, whisk together the water and sourdough starter, then mix in the flour and salt until it forms a rough dough. Cover with cling film and leave for an hour. This is the autolyse period. Basically this hydrates the flour and starts breaking it down and starts to build gluten.
- For the next 2 hours, every 30 minutes, grab a portion of the dough, stretch and pull it upwards and then fold it over to the other side of the bowl and tuck under. Rotate the bowl a quarter turn and repeat until you have done it 4 times and the bowl has gone around 1 full turn, cover with cling film and repeat 4 times over the 2 hours.
- On the final turn, cover with cling film and leave in a warm place to rise until doubled in size. Be patient, this will depend on the strength of your starter and how warm the ambient temperature is.
- Once doubled in size, tip onto the work surface and gently fold it into a ball, pulling each side into the middle. Do not worry about knocking the air out before you do this. Flip the ball over, cup your hands either side of the dough and gently turn the ball a quarter of a turn, tightening the dough. Repeat 3 or 4 times to get a nice tension on the dough. Do not worry too much as the fridge trick will help later.
- Liberally flour the bread proving basket and pop the ball of dough in it seam side up. Oil some cling film and lay it on top.
- Allow to proof until double in size and pop in the fridge overnight.
- In the morning, preheat the oven for at least 30 mins at 240c (220c Fan) with the Dutch oven in the oven.
- When the oven has been preheated, remove the dough from the fridge. Cut a circle of baking parchment larger than the loaf and scrunch it up then flatten out.
- Sprinkle the base of the loaf with polenta, lay the baking parchment on top, then place a tray on top of that.
- Flip everything over carefully and allow the dough to gently release from the proving basket. Slash the top with a serrated knife.
- Remove the Dutch oven from the oven, remove the lid (carefully it will be red hot), pick up the loaf on the baking parchment and drop it into the Dutch oven. Replace the lid and put it in the oven for 20 mins. After 20 minutes, remove the lid and bake for a further 30-40 minutes, depending on how dark you like the crust.
- Remove from the oven and carefully take the loaf out of the Dutch oven. I use a couple of spatulas and cool on a wire rack.
- It is best to let it cool thoroughly before cutting.
