Winter Pies
As the nights draw in for winter and we move towards the delicious variety of winter fruits, it is a perfect time to think of comfort foods and pies. Especially with all the lovely variety of apples and pears we have in the UK.
I generally steer clear of cooking apples which disintegrate to a mush when baked and look to use my favourite eating apples and pears such as a Cox, Braeburn, Conference or Williams, which hold up well in cooking.
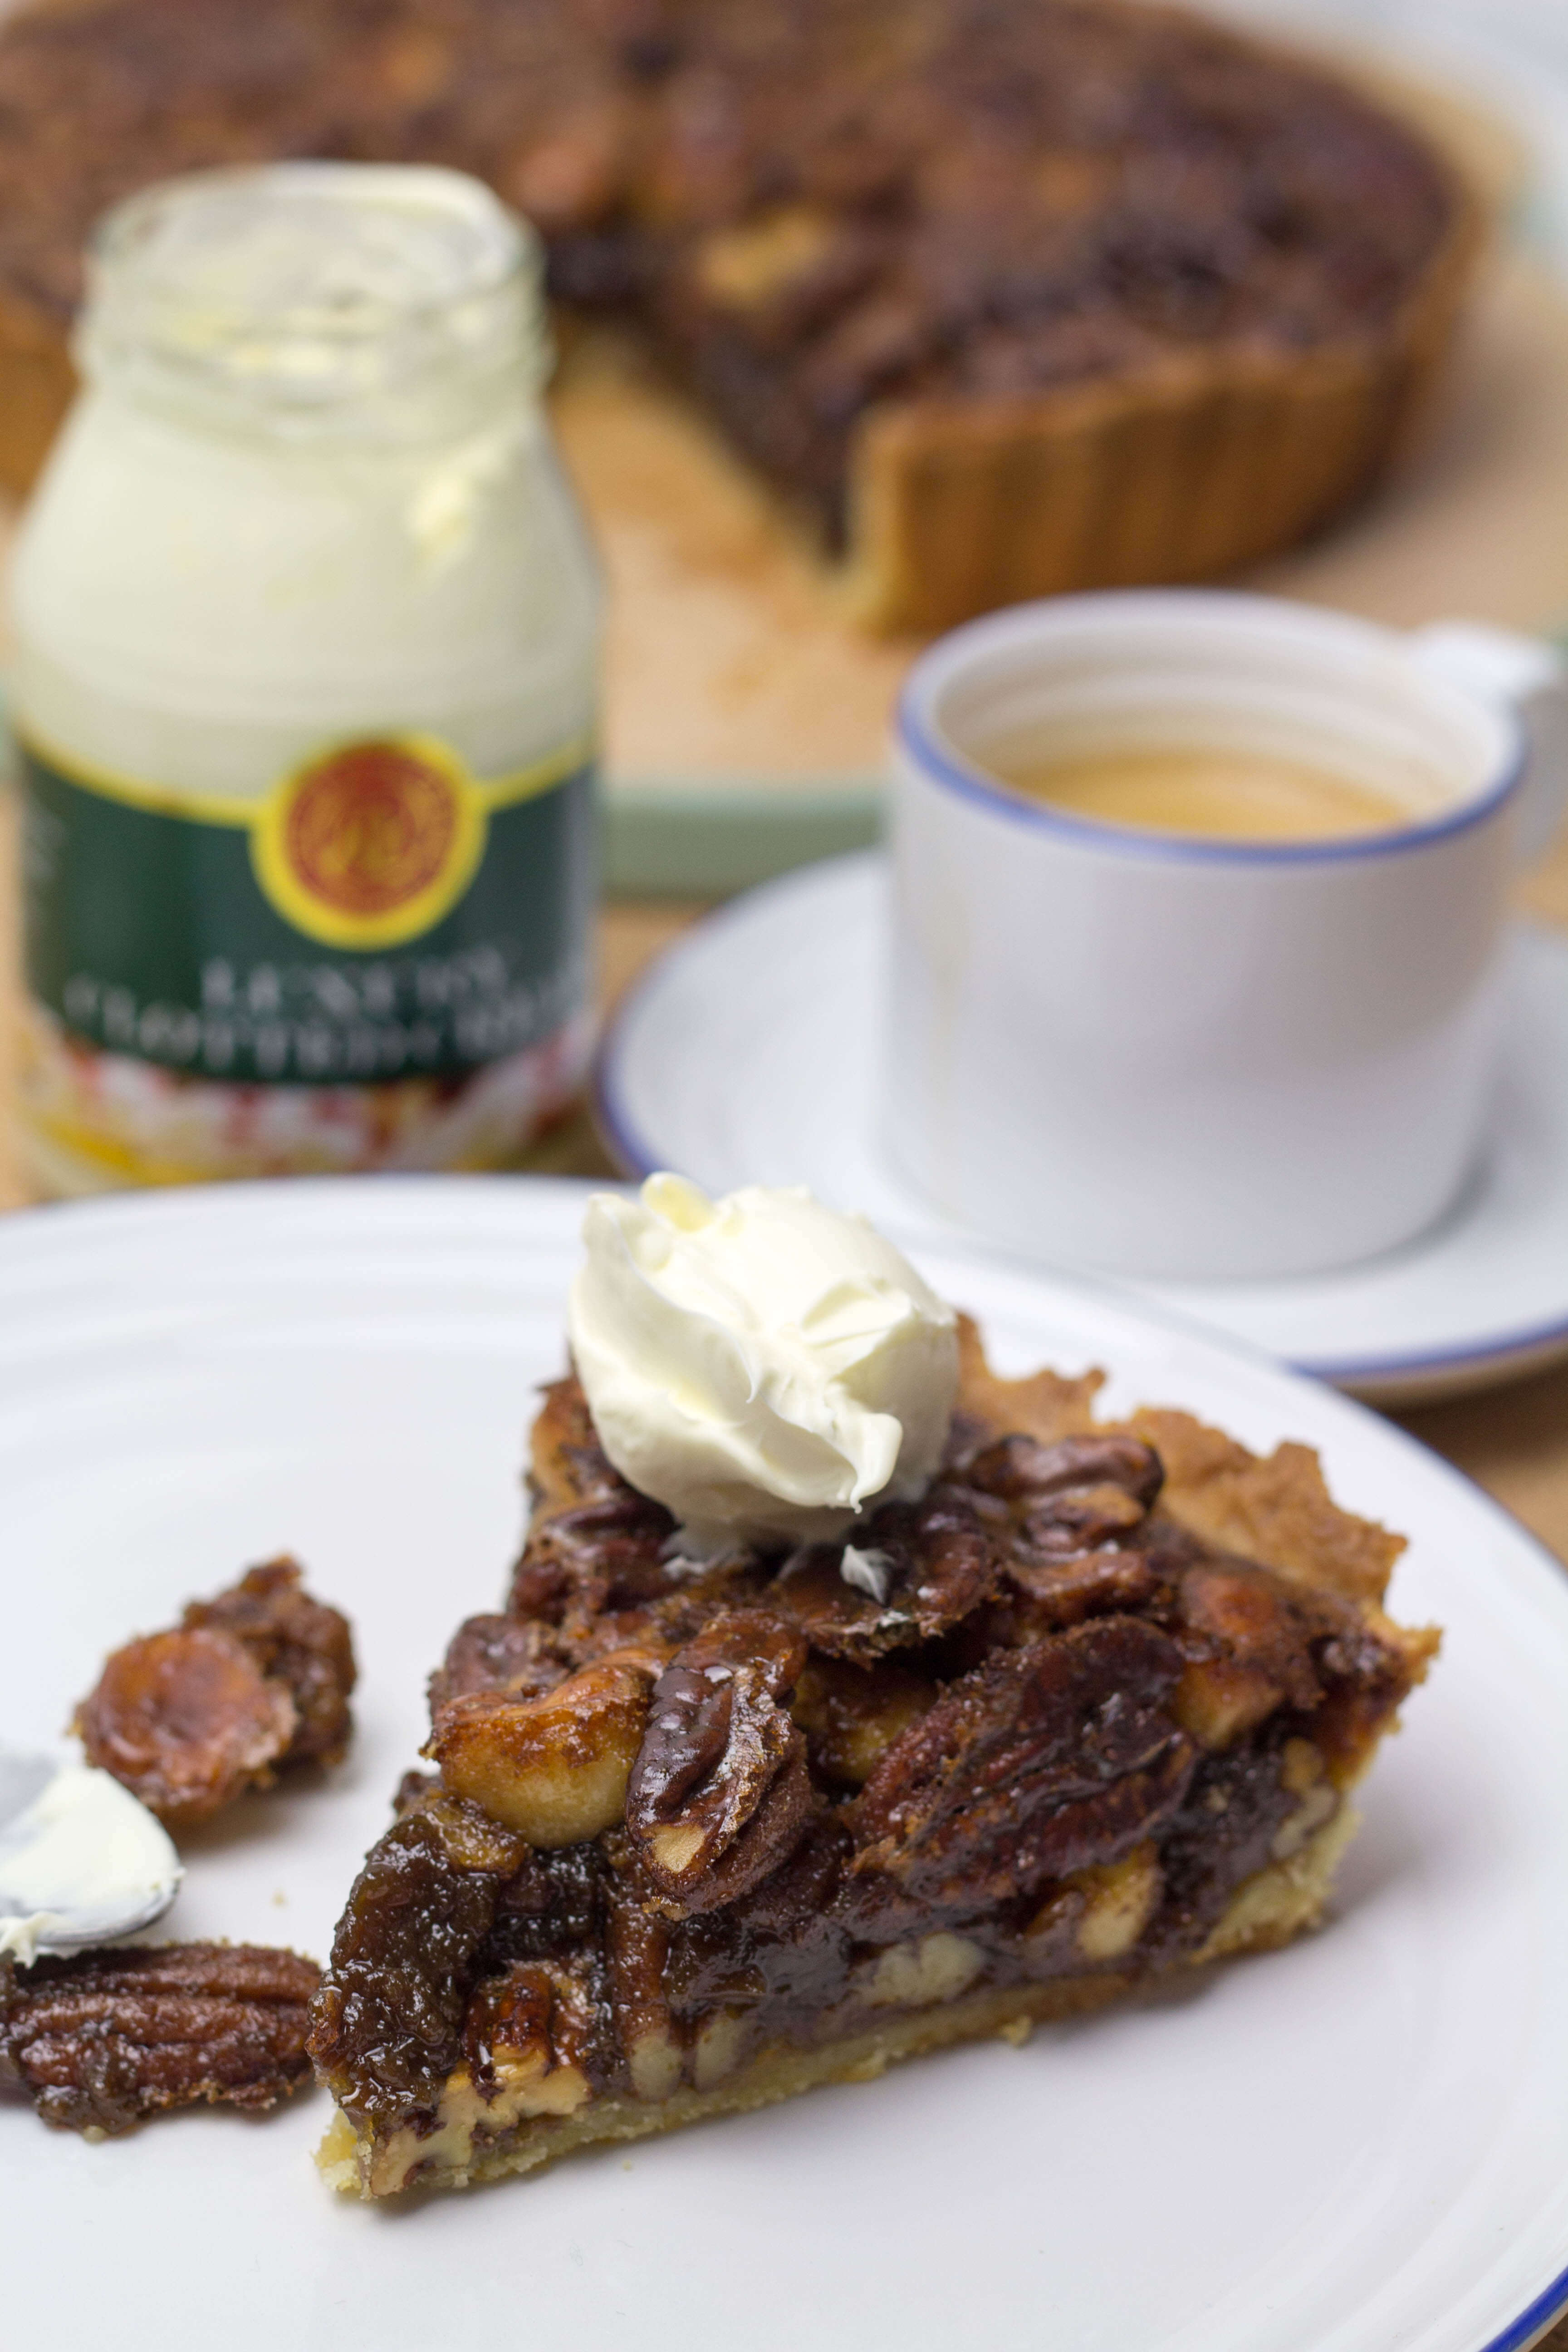
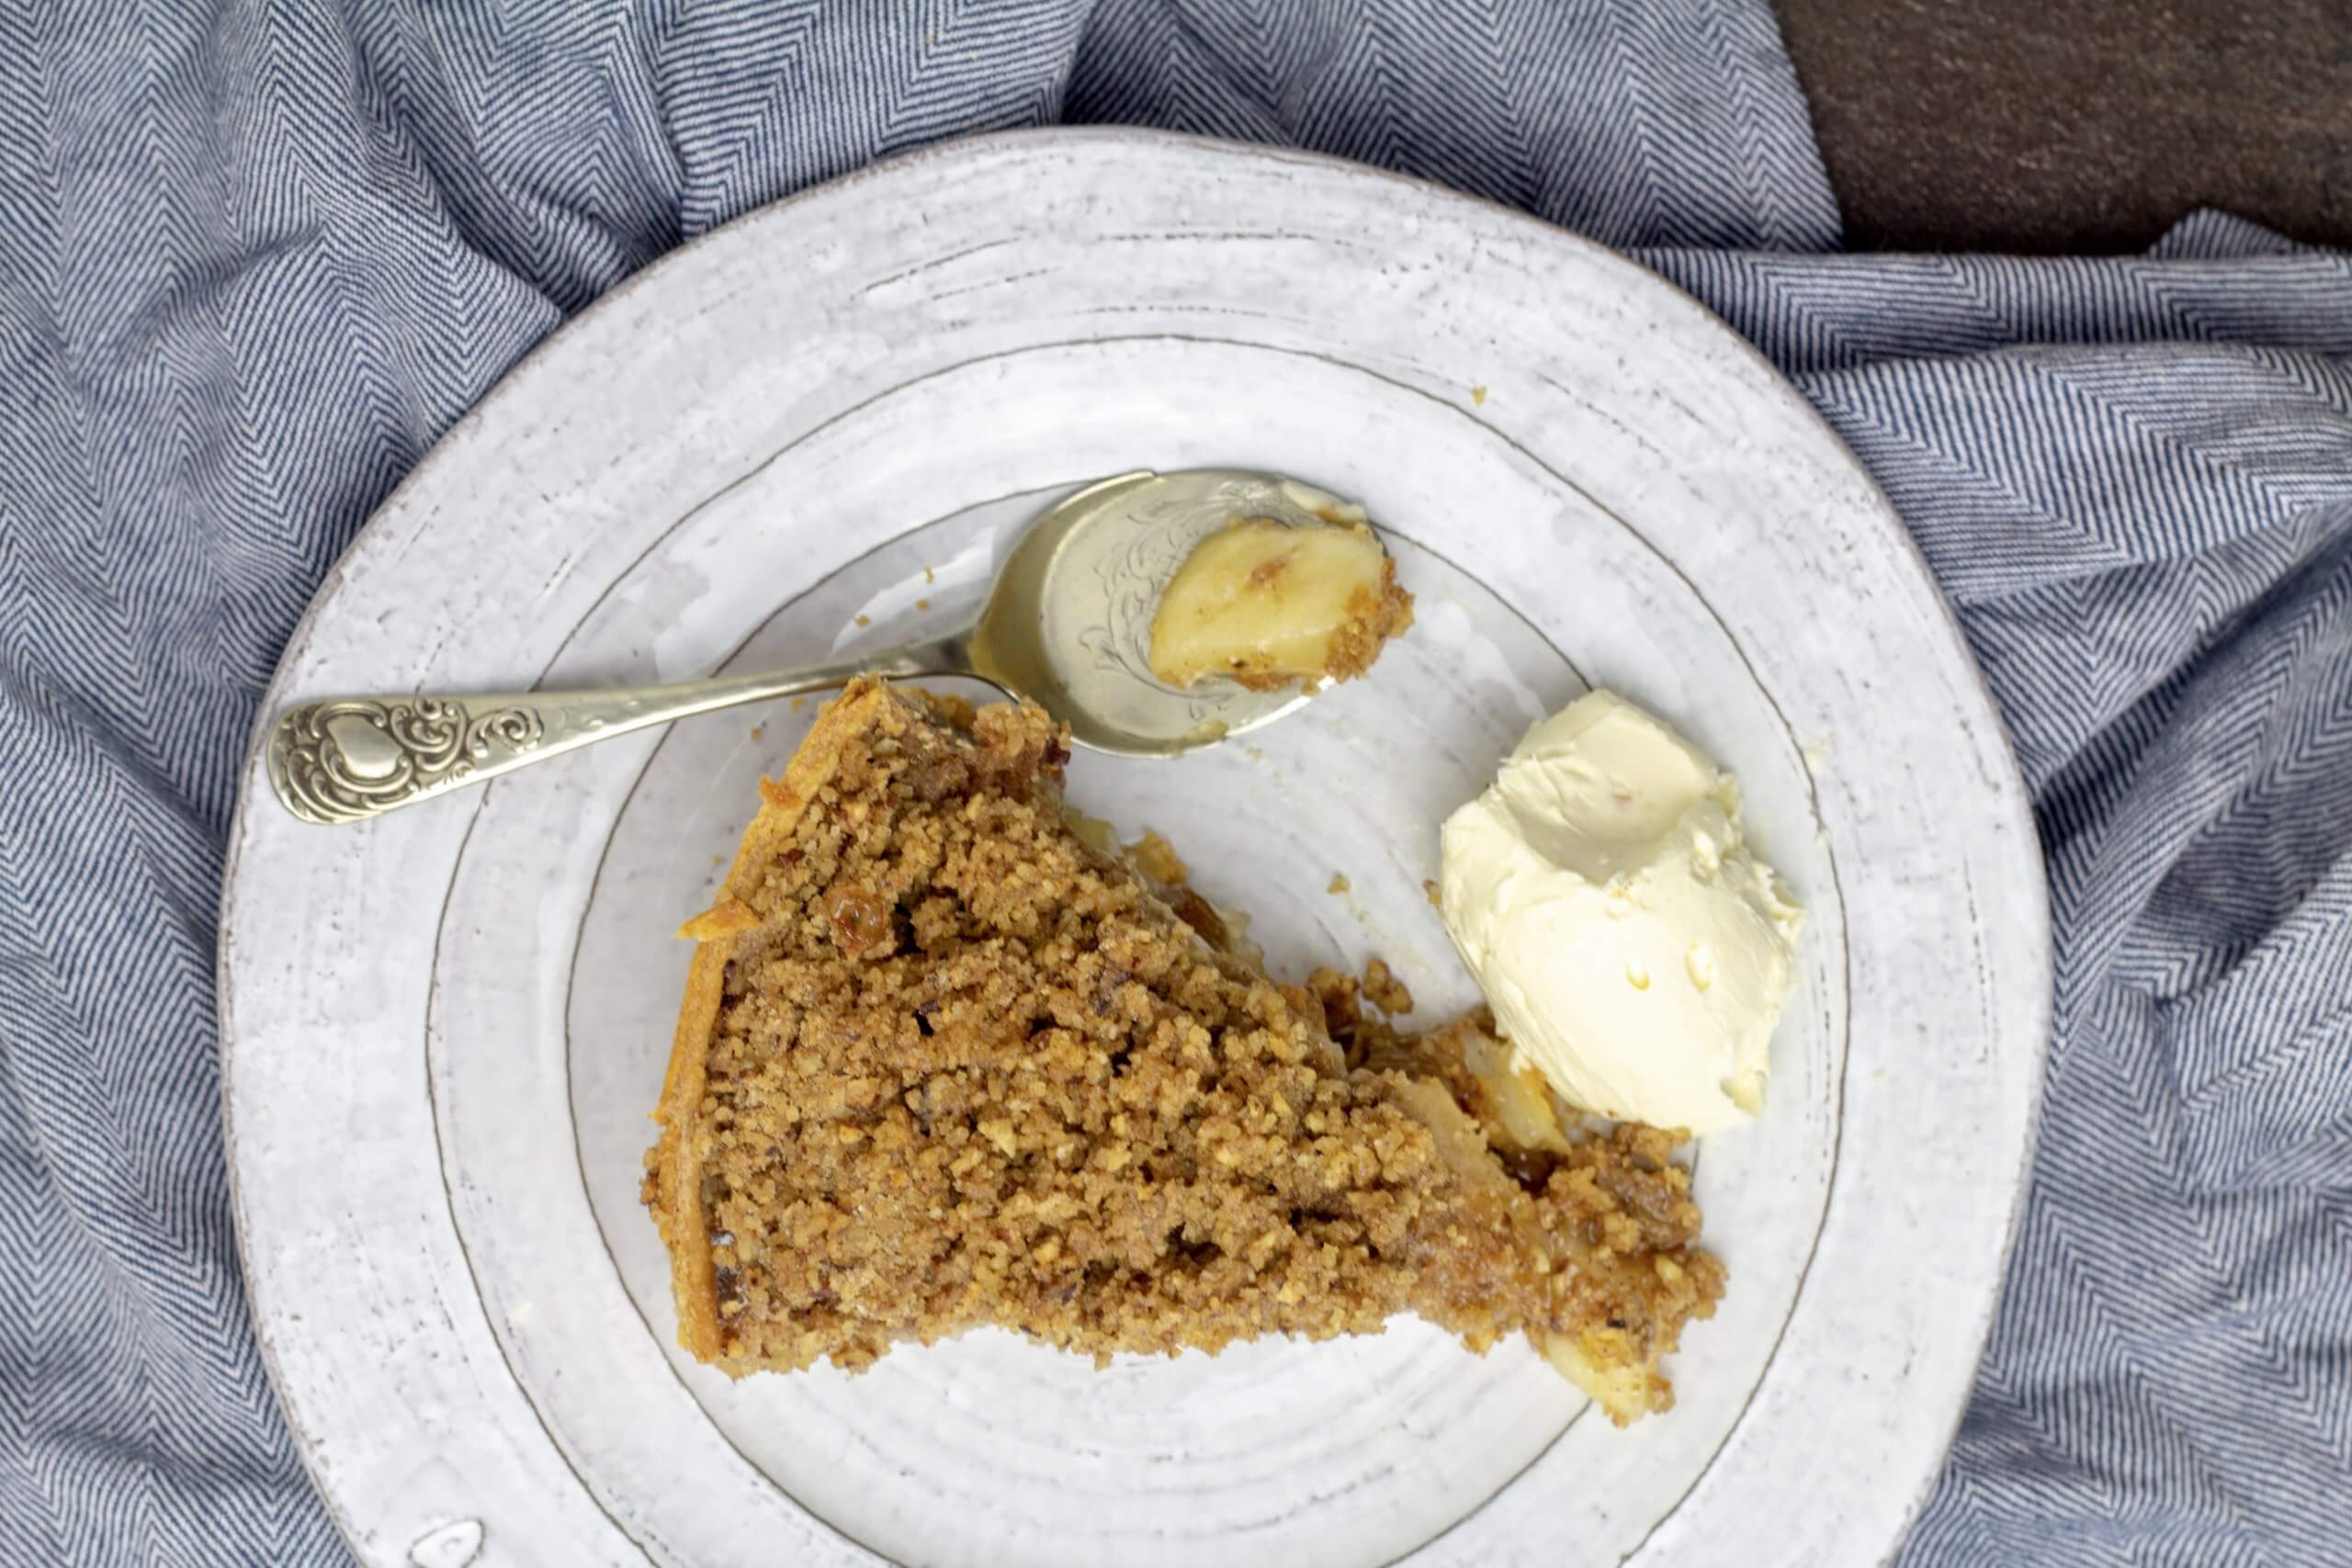
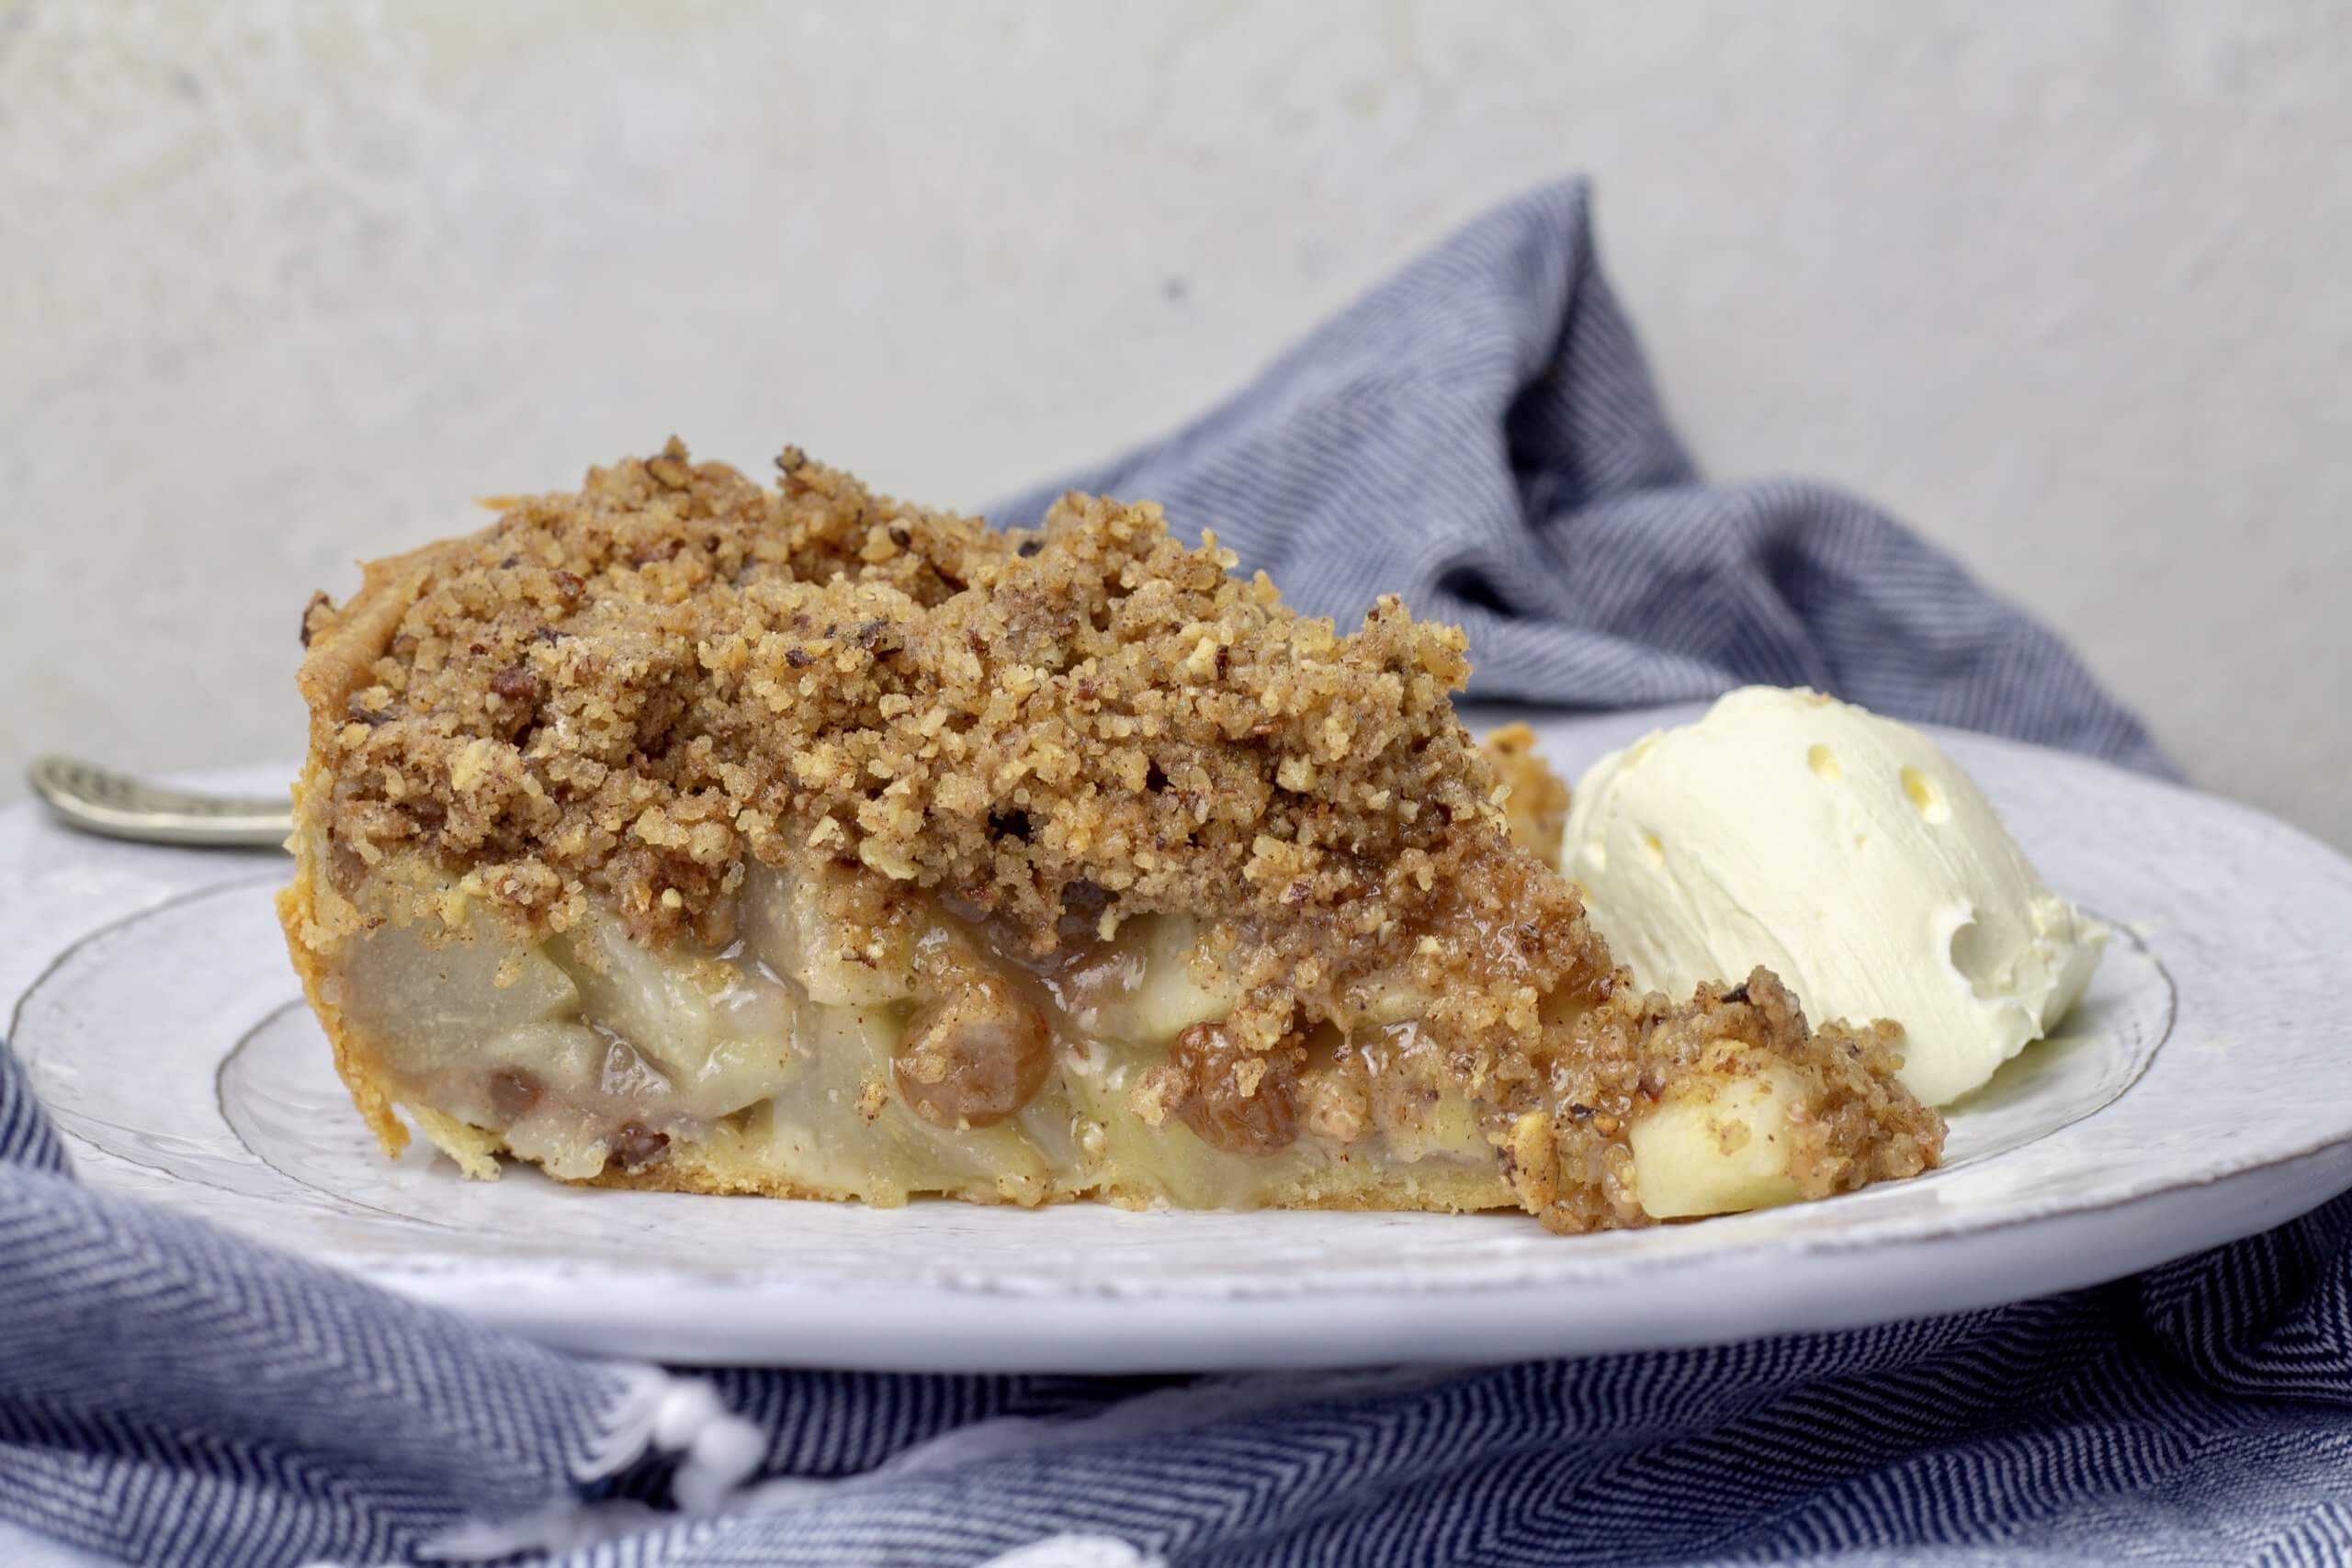
Sunday roasts in the winter need a good rib sticking dessert. I grew up on crumbles filled with whatever fruit was on hand or being grown in the garden. This is a slight twist on a normal crumble. The deep dish pie crust is filled with a mixture of apples and pears, that are in abundance at the moment. Topped with a buttery and nutty crumble mixture, I use pecans a lot in my baking as I love the sweet nutty taste but walnuts would work just as well. The demerara sugar also gives the crumble the extra crunchy texture.
Mix it up – If you have blackberries to hand swap the raisins out for a lovely alternative.
Recipe originally created for Kitchen Garden Magazine.
Ingredients:
Pastry
225g plain flour
150g butter, chilled
25g icing sugar
1 large free-range egg
2 tablespoons milk
1 teaspoon of cinnamon powder.
Crumble Topping
110g plain flour
160g demerara sugar (or soft brown sugar)
90g butter
90g pecans, roughly chopped
1 1/2 teaspoons of ground cinnamon
Pinch of salt
Fruit Filling
4 large Cox’s apples, peeled, cored, and chopped into thick slices
4 Conference pears, peeled, cored, and chopped into thick slices
½ lemon (Juice only)
100g raisins
100g caster sugar
2 tablespoons cornflour
Instructions:
Pastry
• Sift the flour into a bowl and rub in the butter using your fingertips until the mixture resembles fine breadcrumbs. Or blitz in a food processor. Then mix in the icing sugar and cinnamon.
•Add the egg and 2 tablespoons of cold milk and mix until it forms a dough. Try not to overwork the dough.
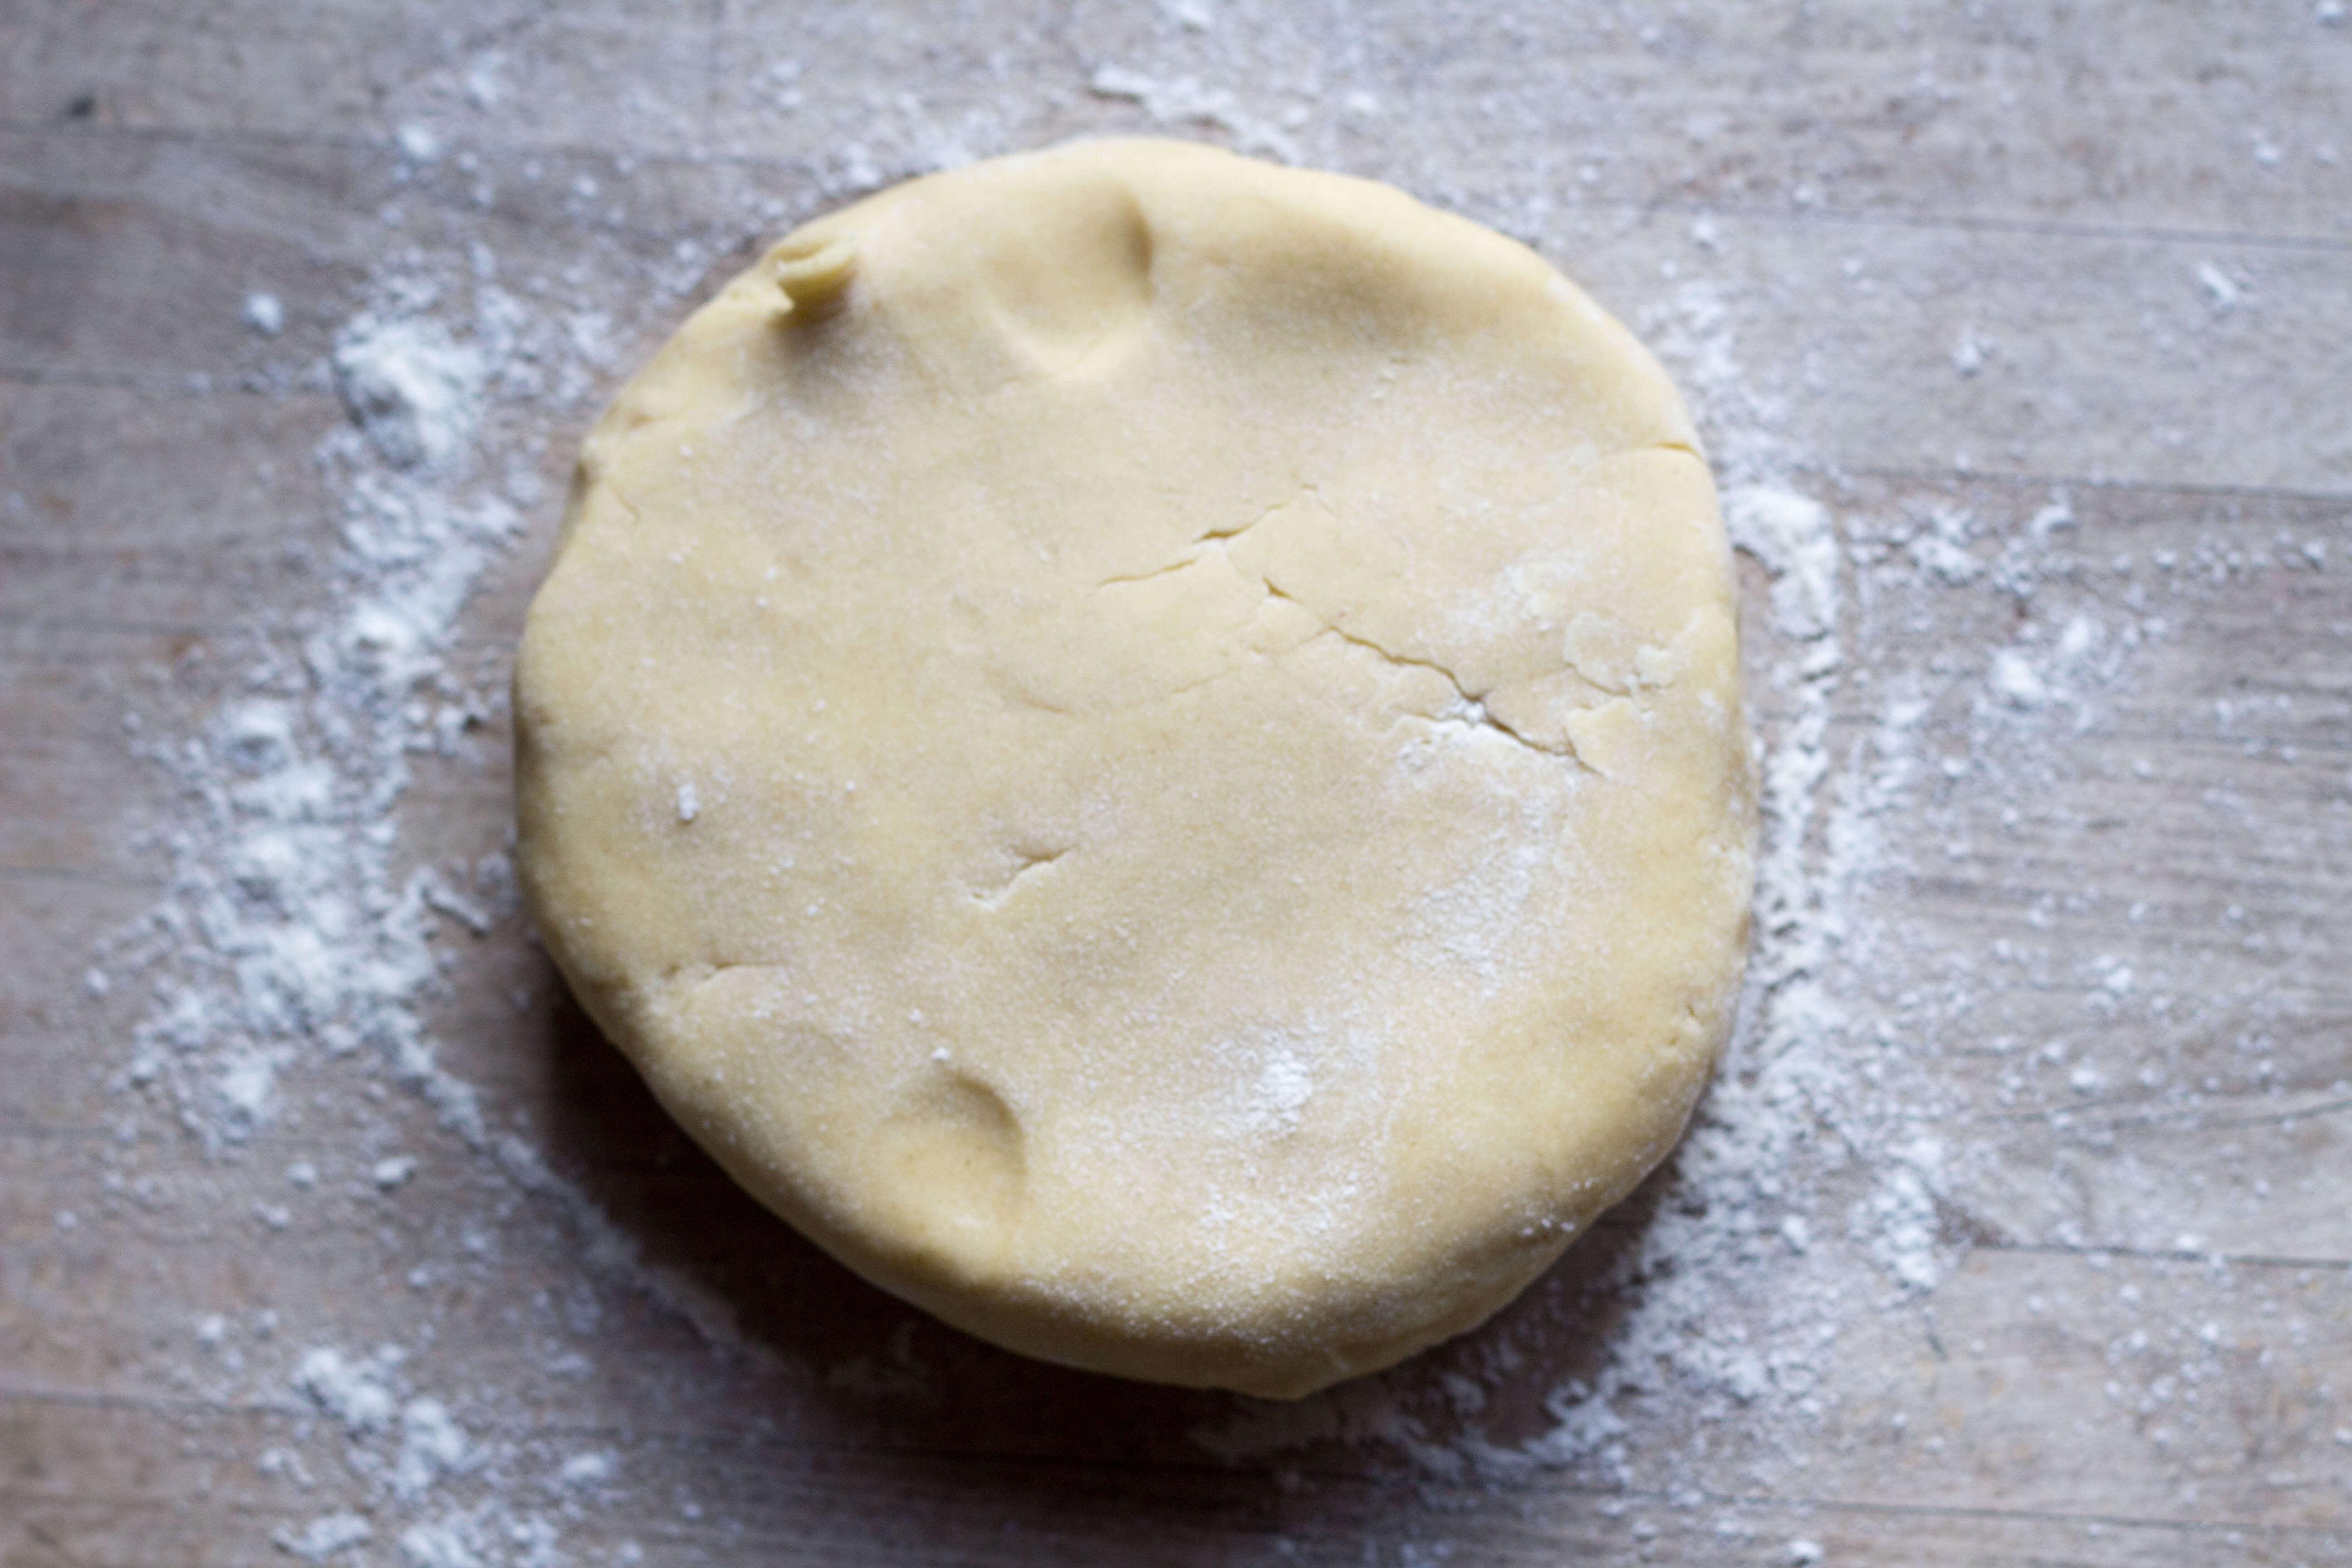
•Wrap the ball of dough in cling film and chill For 30 minutes
• Roll the chilled dough into about a 14-inch disk, then line a 9 to 10 inch wide, (2 to 3 inch deep) pie dish.
• Pop back in the fridge and chill for another 30 minutes while you prepare the fruit and crumb topping.
Topping
• Add the flour, sugar, cinnamon, and salt to a large bowl and rub in the butter using your fingertips until the mixture resembles fine breadcrumbs.
• Then mix in the roughly chopped pecans and pop the bowl in the fridge whilst you prepare the filling.
Filling
• Peel, core and chop up the apples and pears into thick slices. Place into a bowl and add the lemon juice to stop them going brown.
• Mix together the sugar and cornflour and add to the apples and pears .
• Add in the raisins and mix until everything is distributed evenly and the apples and pears are coated with sugar and cornflour.
• Preheat the oven to 190c/170c Fan/ Gas Mark 5.
• Add the filling to the pastry case, then top with the crumble. Heap it up in the middle to get it all on, as the fruit will settle a little when cooked.
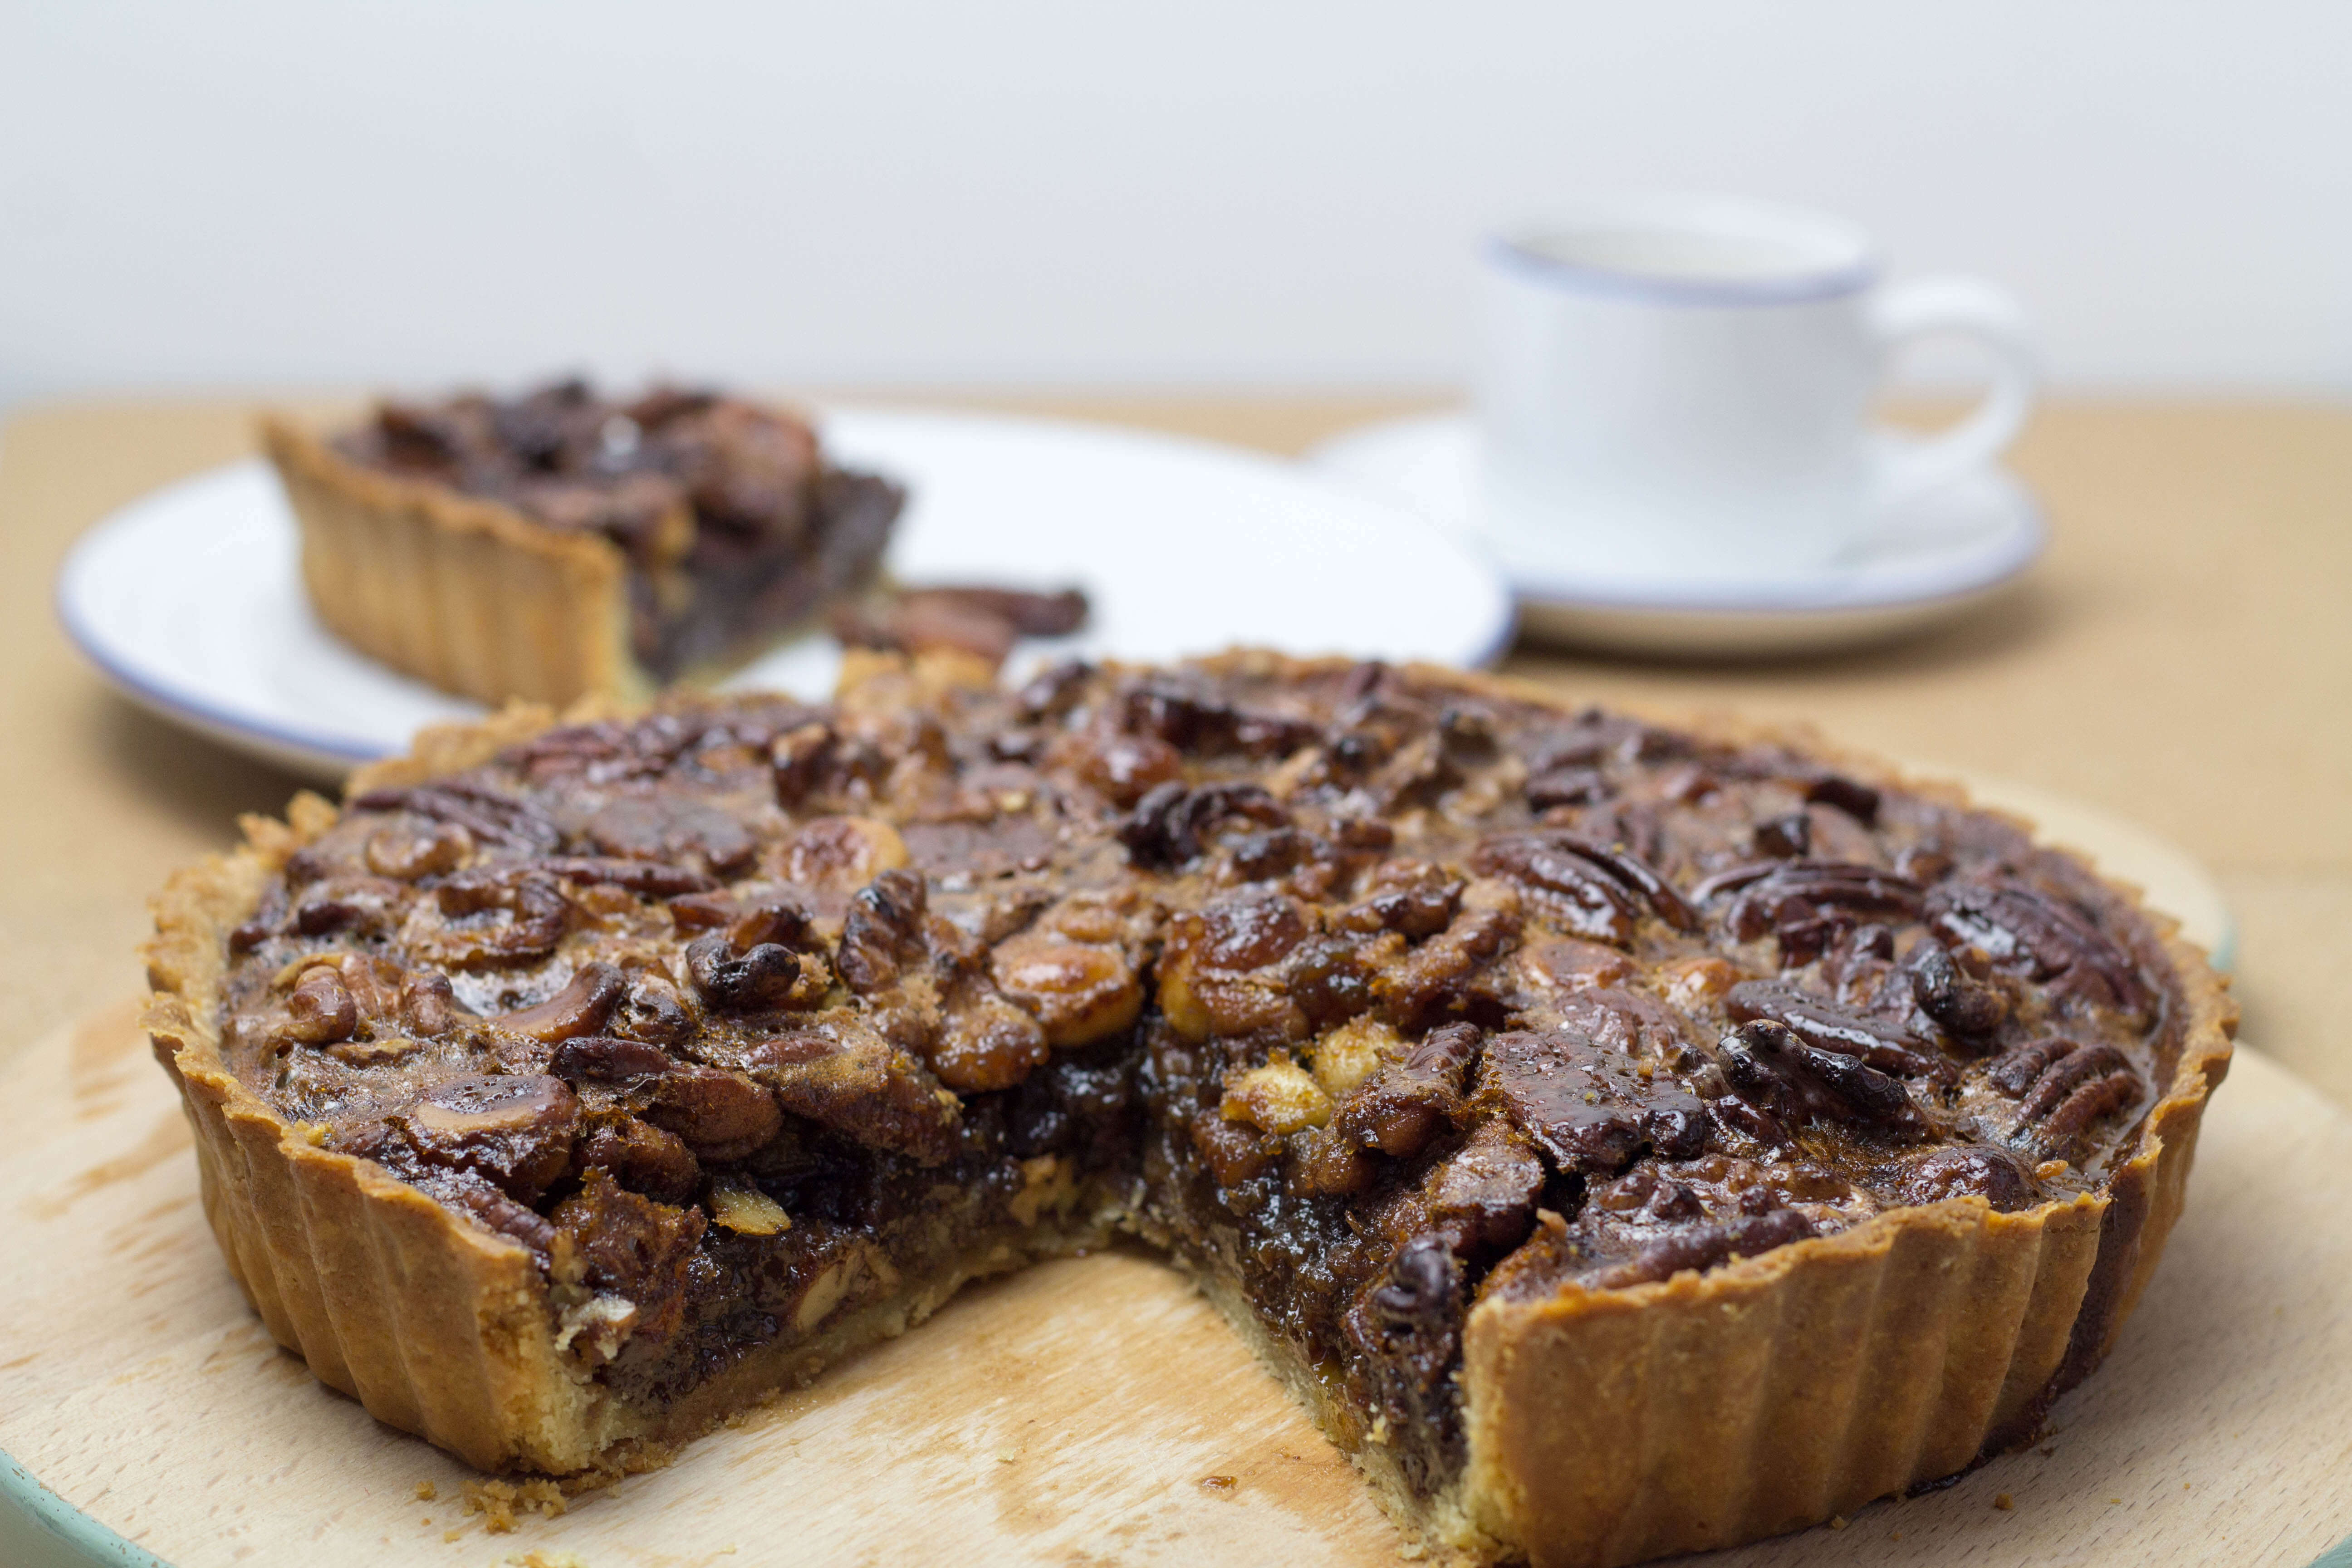
• Place into the preheated oven and bake for 1 to 1 ¼ hours or until the crumble topping is golden and the fruit juices are bubbling around the edge.
• Allow to cool to room temperature to get the perfect slice.
- Ingredients:
- Pastry
- 225g plain flour
- 150g butter, chilled
- 25g icing sugar
- 1 large free-range egg
- 2 tablespoons milk
- 1 teaspoon of cinnamon powder.
- Crumble Topping
- 110g plain flour
- 160g demerara sugar (or soft brown sugar)
- 90g butter
- 90g pecans, roughly chopped
- 1½ teaspoons of ground cinnamon
- Pinch of salt
- Fruit Filling
- 4 large Cox’s apples, peeled, cored, and chopped into thick slices
- 4 Conference pears, peeled, cored, and chopped into thick slices
- ½ lemon (Juice only)
- 100g raisins
- 100g caster sugar
- 2 tablespoons cornflour.
- Pastry
- Sift the flour into a bowl and rub in the butter using your fingertips until the mixture resembles fine breadcrumbs. Or blitz in a food processor. Then mix in the icing sugar and cinnamon.
- Add the egg and 2 tablespoons of cold milk and mix until it forms a dough. Try not to overwork the dough.
- Wrap the ball of dough in cling film and chill For 30 minutes
- Roll the chilled dough into about a 14-inch disk, then line a 9 to 10 inch wide, (2 to 3 inch deep) pie dish.
- Pop back in the fridge and chill for another 30 minutes while you prepare the fruit and crumb topping.
- Topping
- Add the flour, sugar, cinnamon, and salt to a large bowl and rub in the butter using your fingertips until the mixture resembles fine breadcrumbs.
- Then mix in the roughly chopped pecans and pop the bowl in the fridge whilst you prepare the filling.
- Filling
- Peel, core and chop up the apples and pears into thick slices. Place into a bowl and add the lemon juice to stop them going brown.
- Mix together the sugar and cornflour and add to the apples and pears .
- Add in the raisins and mix until everything is distributed evenly and the apples and pears are coated with sugar and cornflour.
- Preheat the oven to 190c/170c Fan/ Gas Mark 5.
- Add the filling to the pastry case, then top with the crumble. Heap it up in the middle to get it all on, as the fruit will settle a little when cooked.
- Place into the preheated oven and bake for 1 to 1 ¼ hours or until the crumble topping is golden and the fruit juices are bubbling around the edge.
- Allow to cool to room temperature to get the perfect slice.