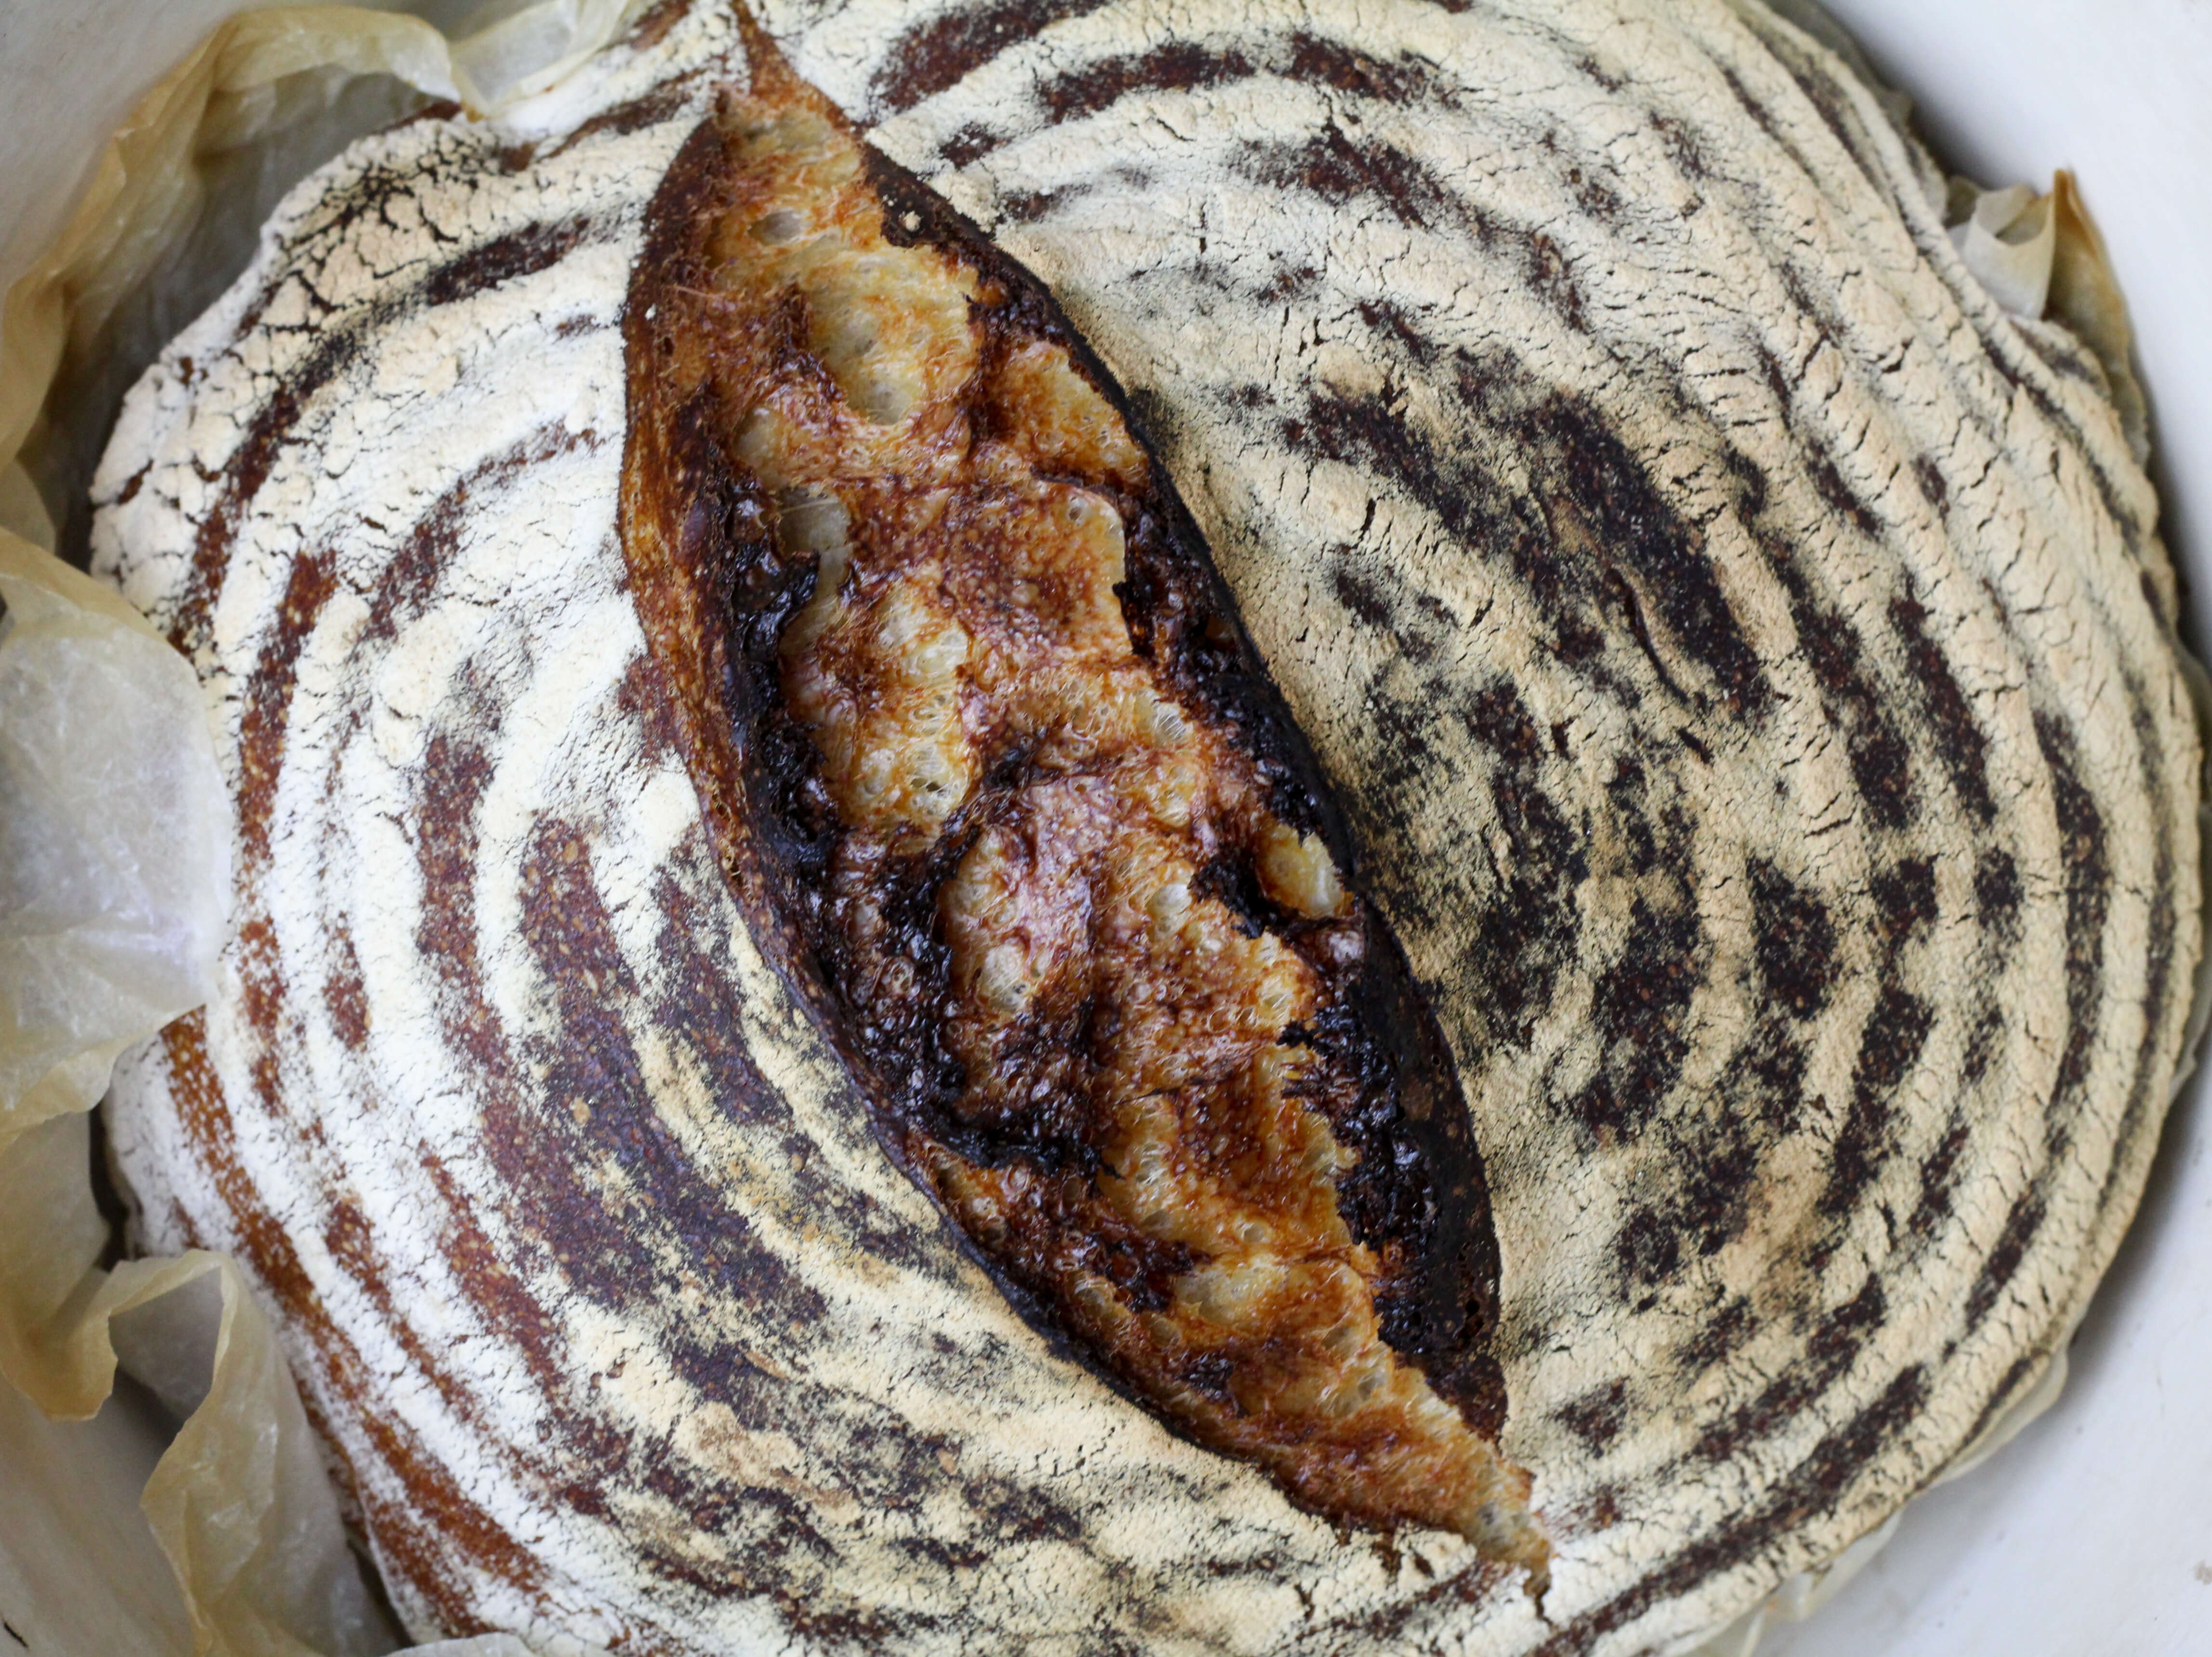
I have been inspired by a lot of vegan baking posts of late, especially the Little Blog of Vegan, whose bakes always look so delicious, so I committed to a weekend of Vegan baking, Alongside a vegan carrot cake for work and a vegan no bake Lotus Biscoff tart for home, I also wanted to develop something new. I love baking bread and also have a passion for Lotus Biscoff biscuits. So I set about trying to bring the flavour of speculoos, which is basically what a biscoff biscuit is, into a roll that had a little bit of sweetness but not too much and had to have those lovely spice flavours.
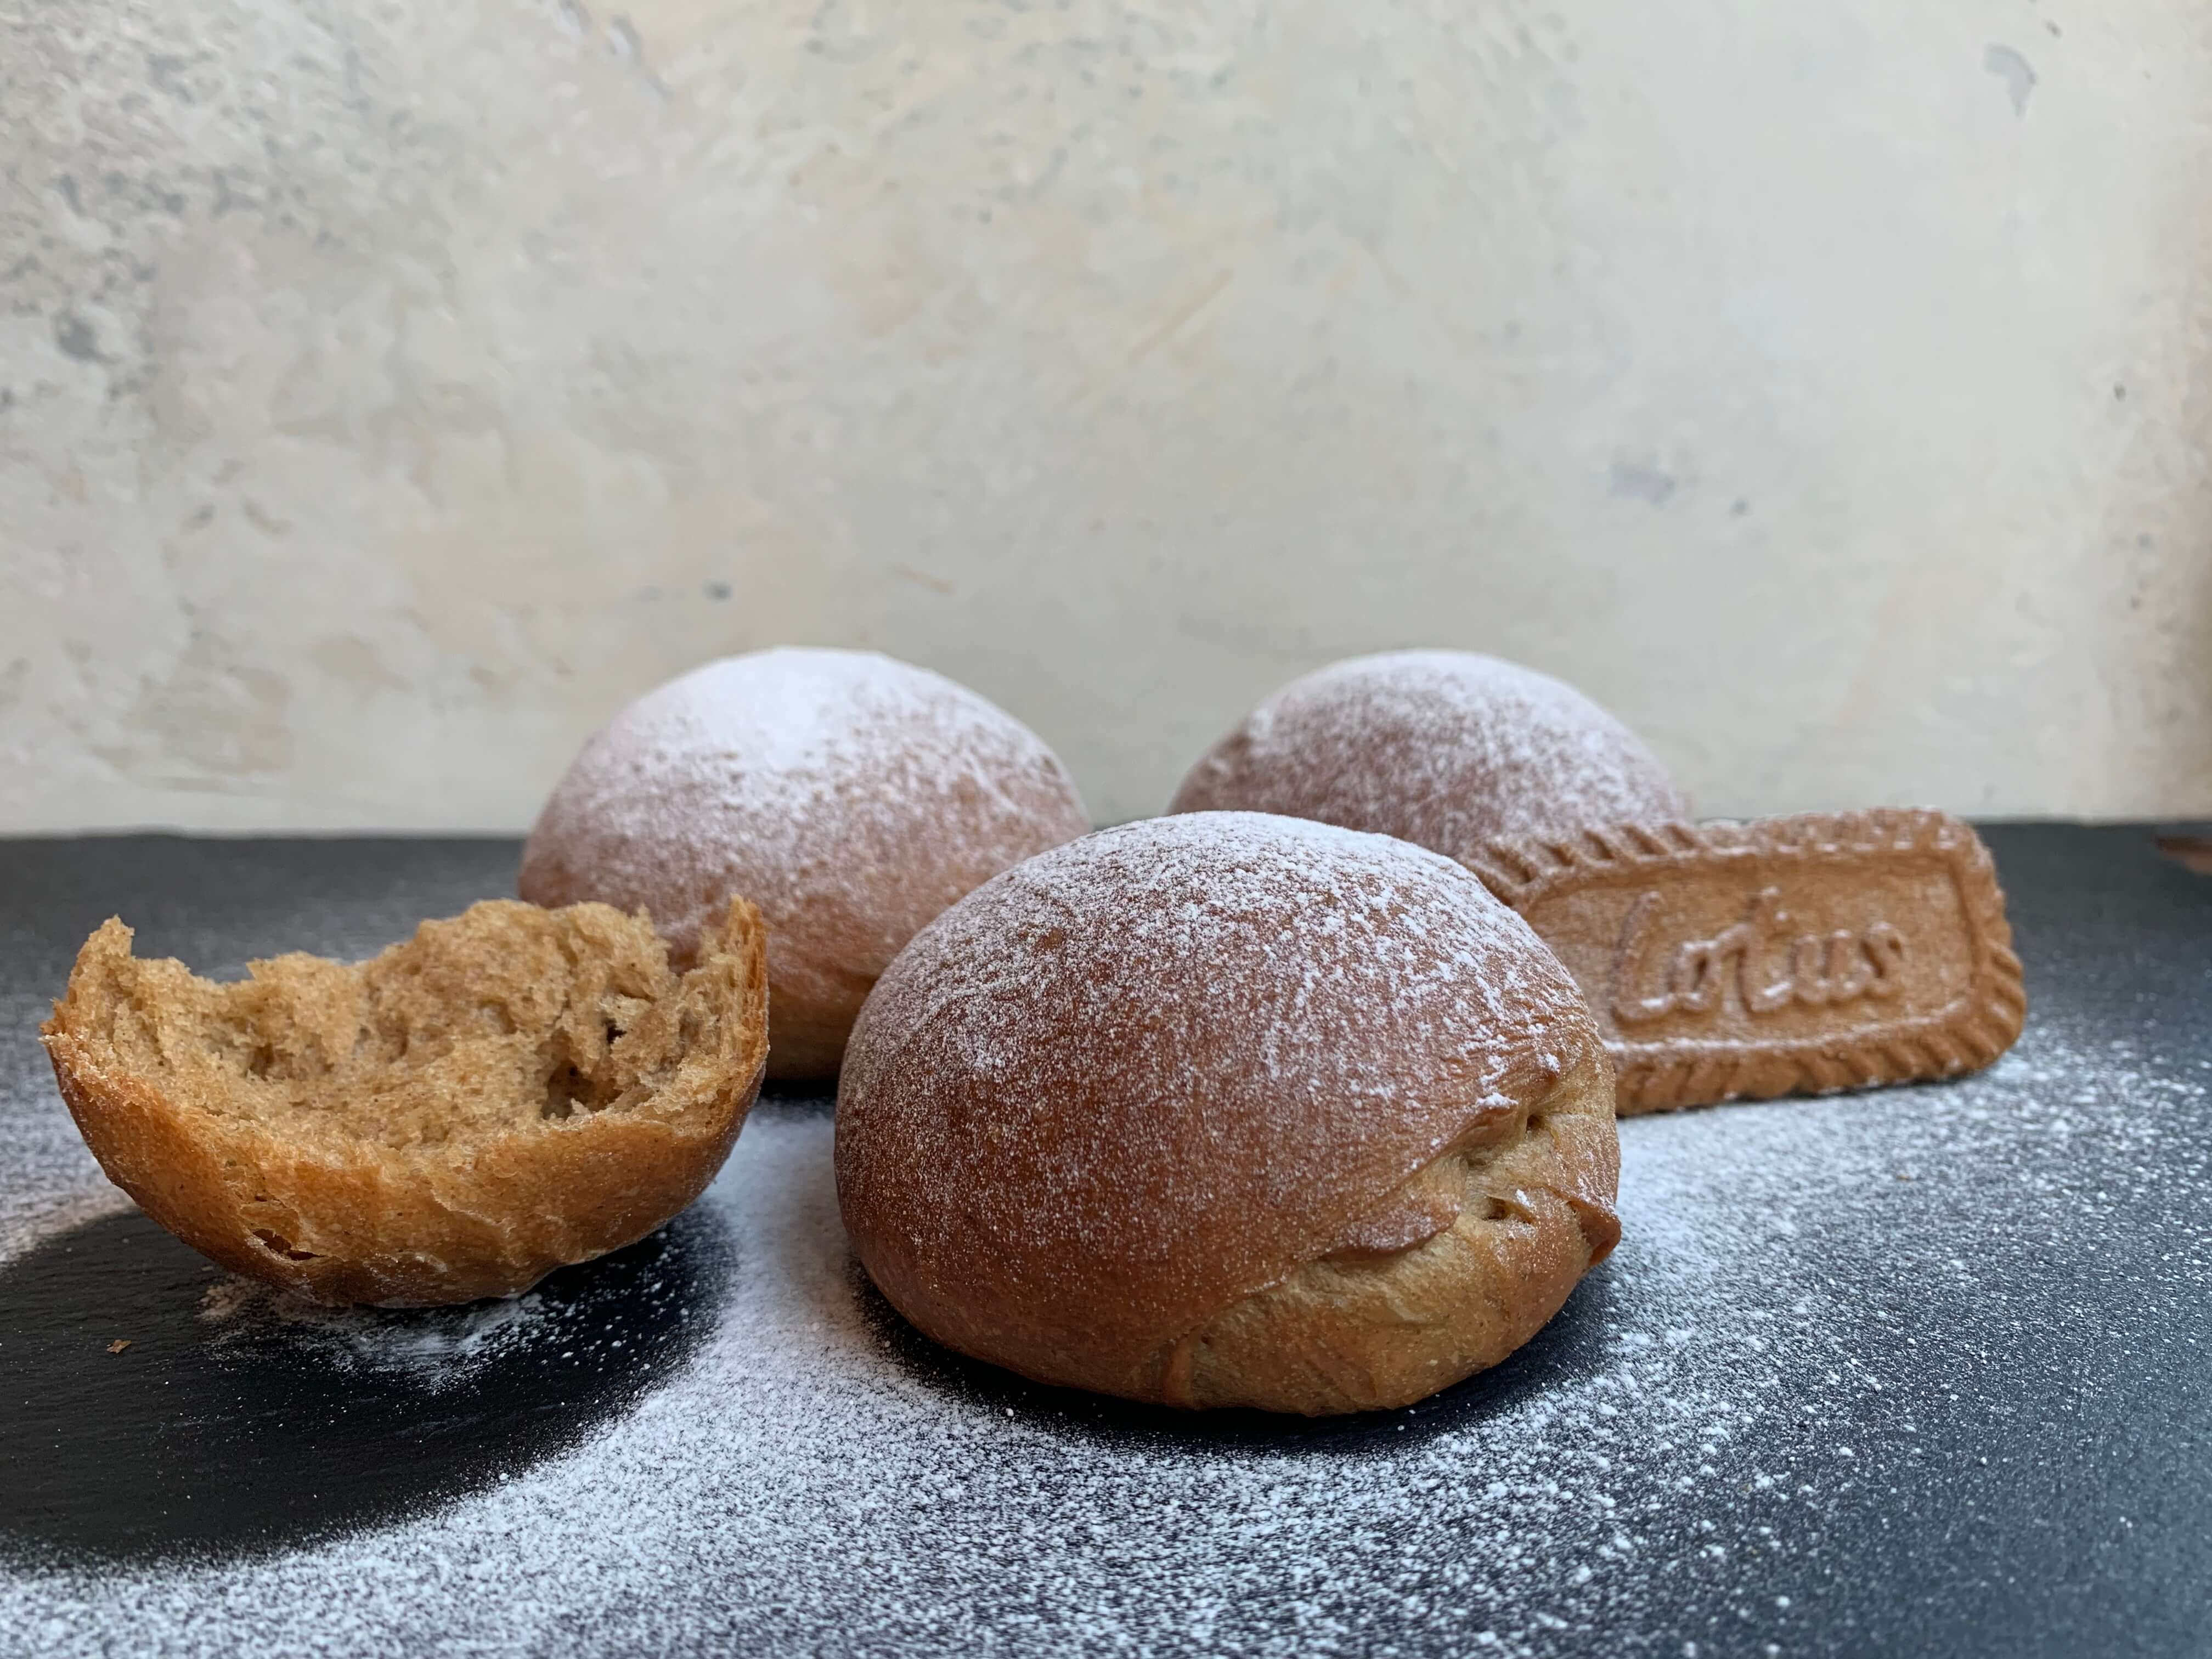
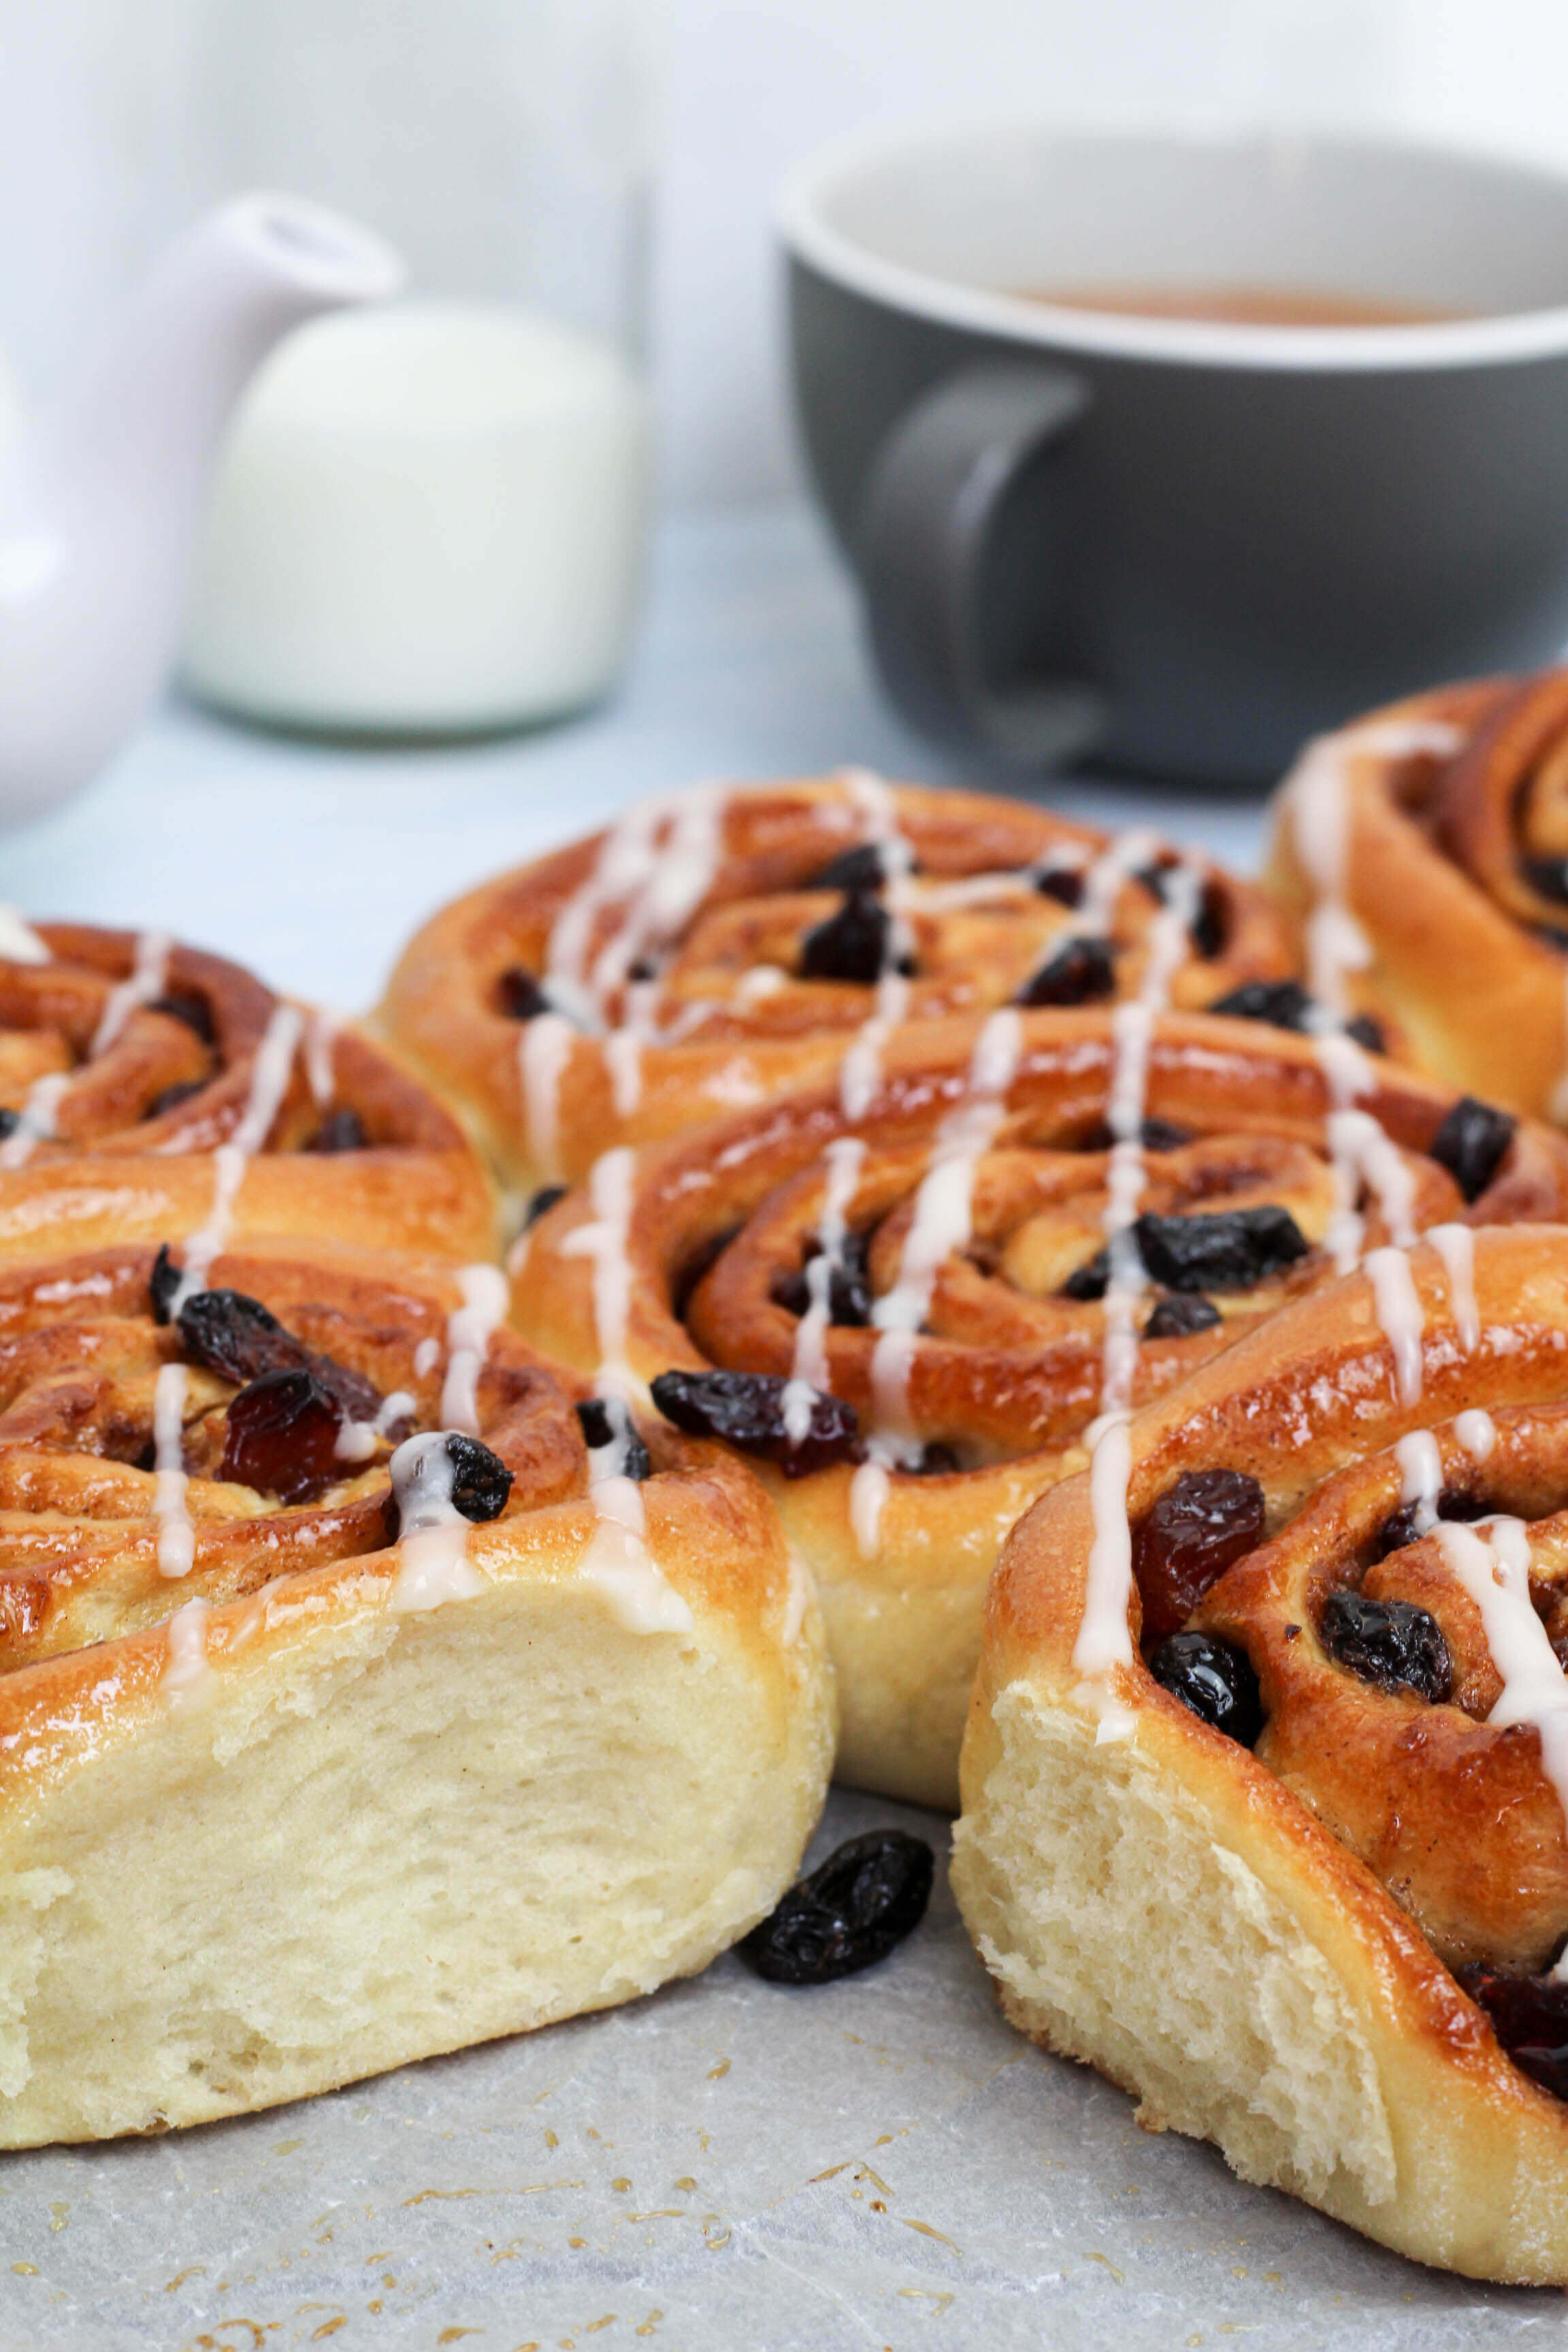
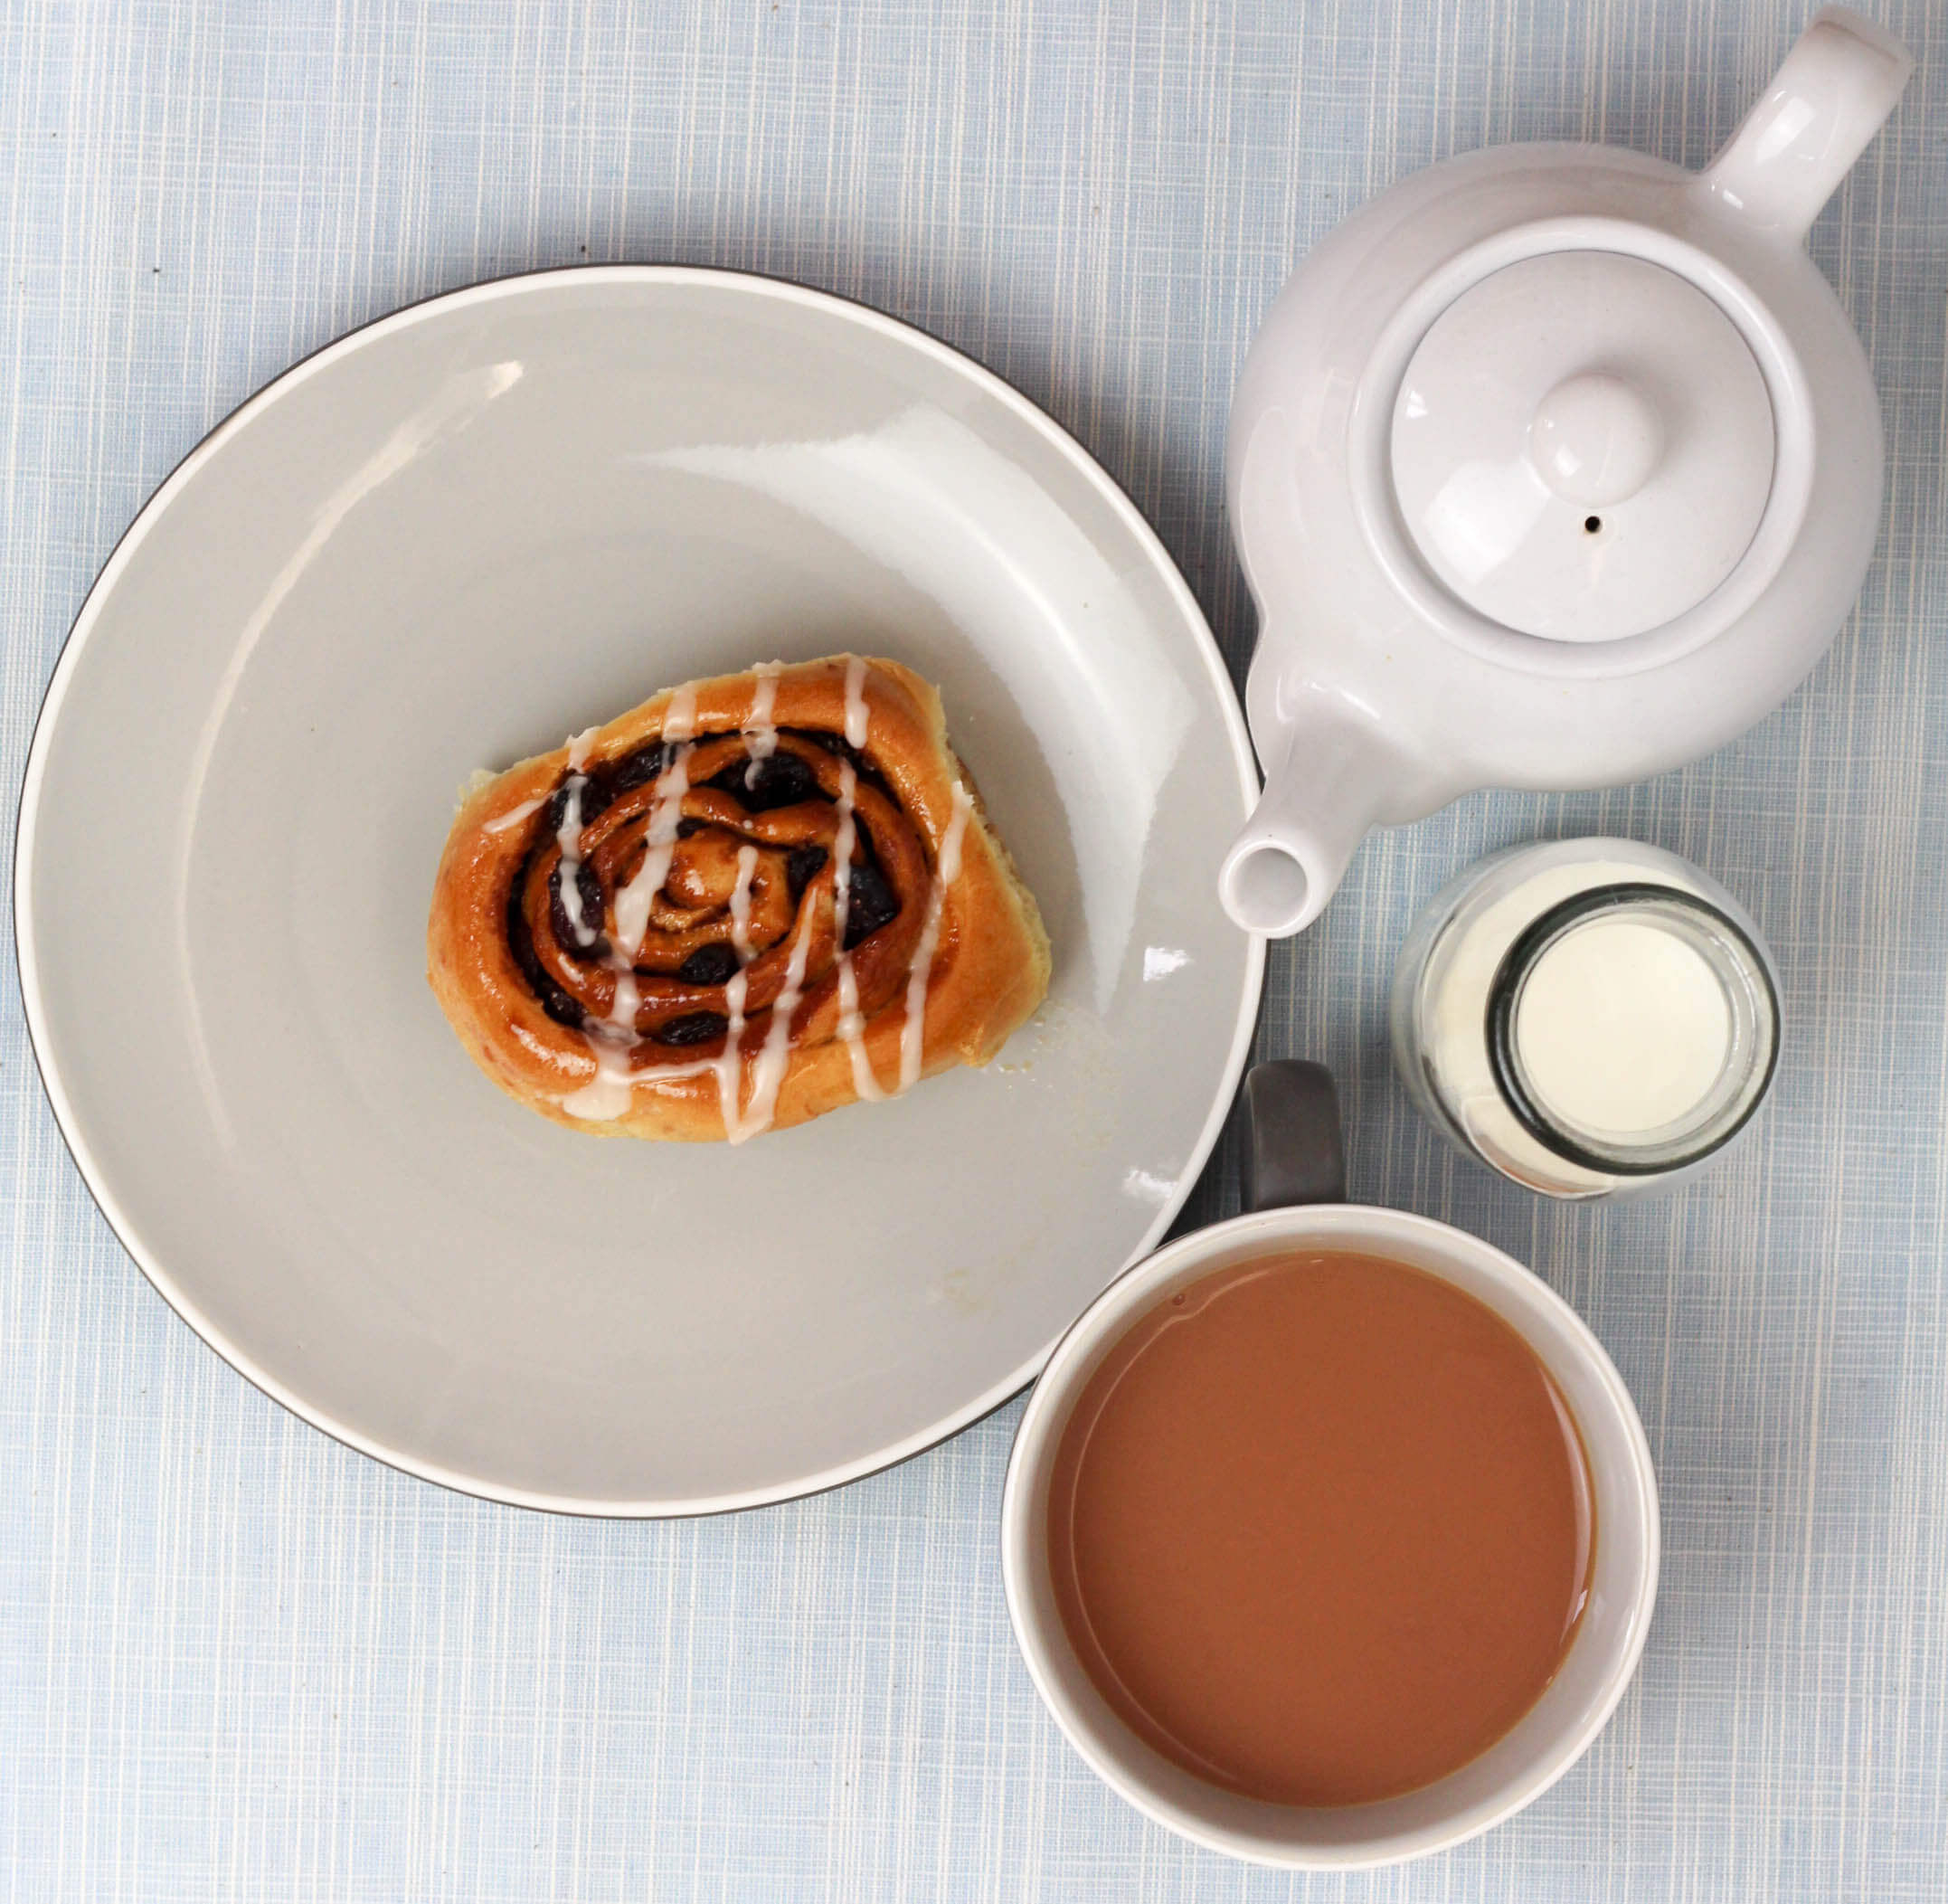
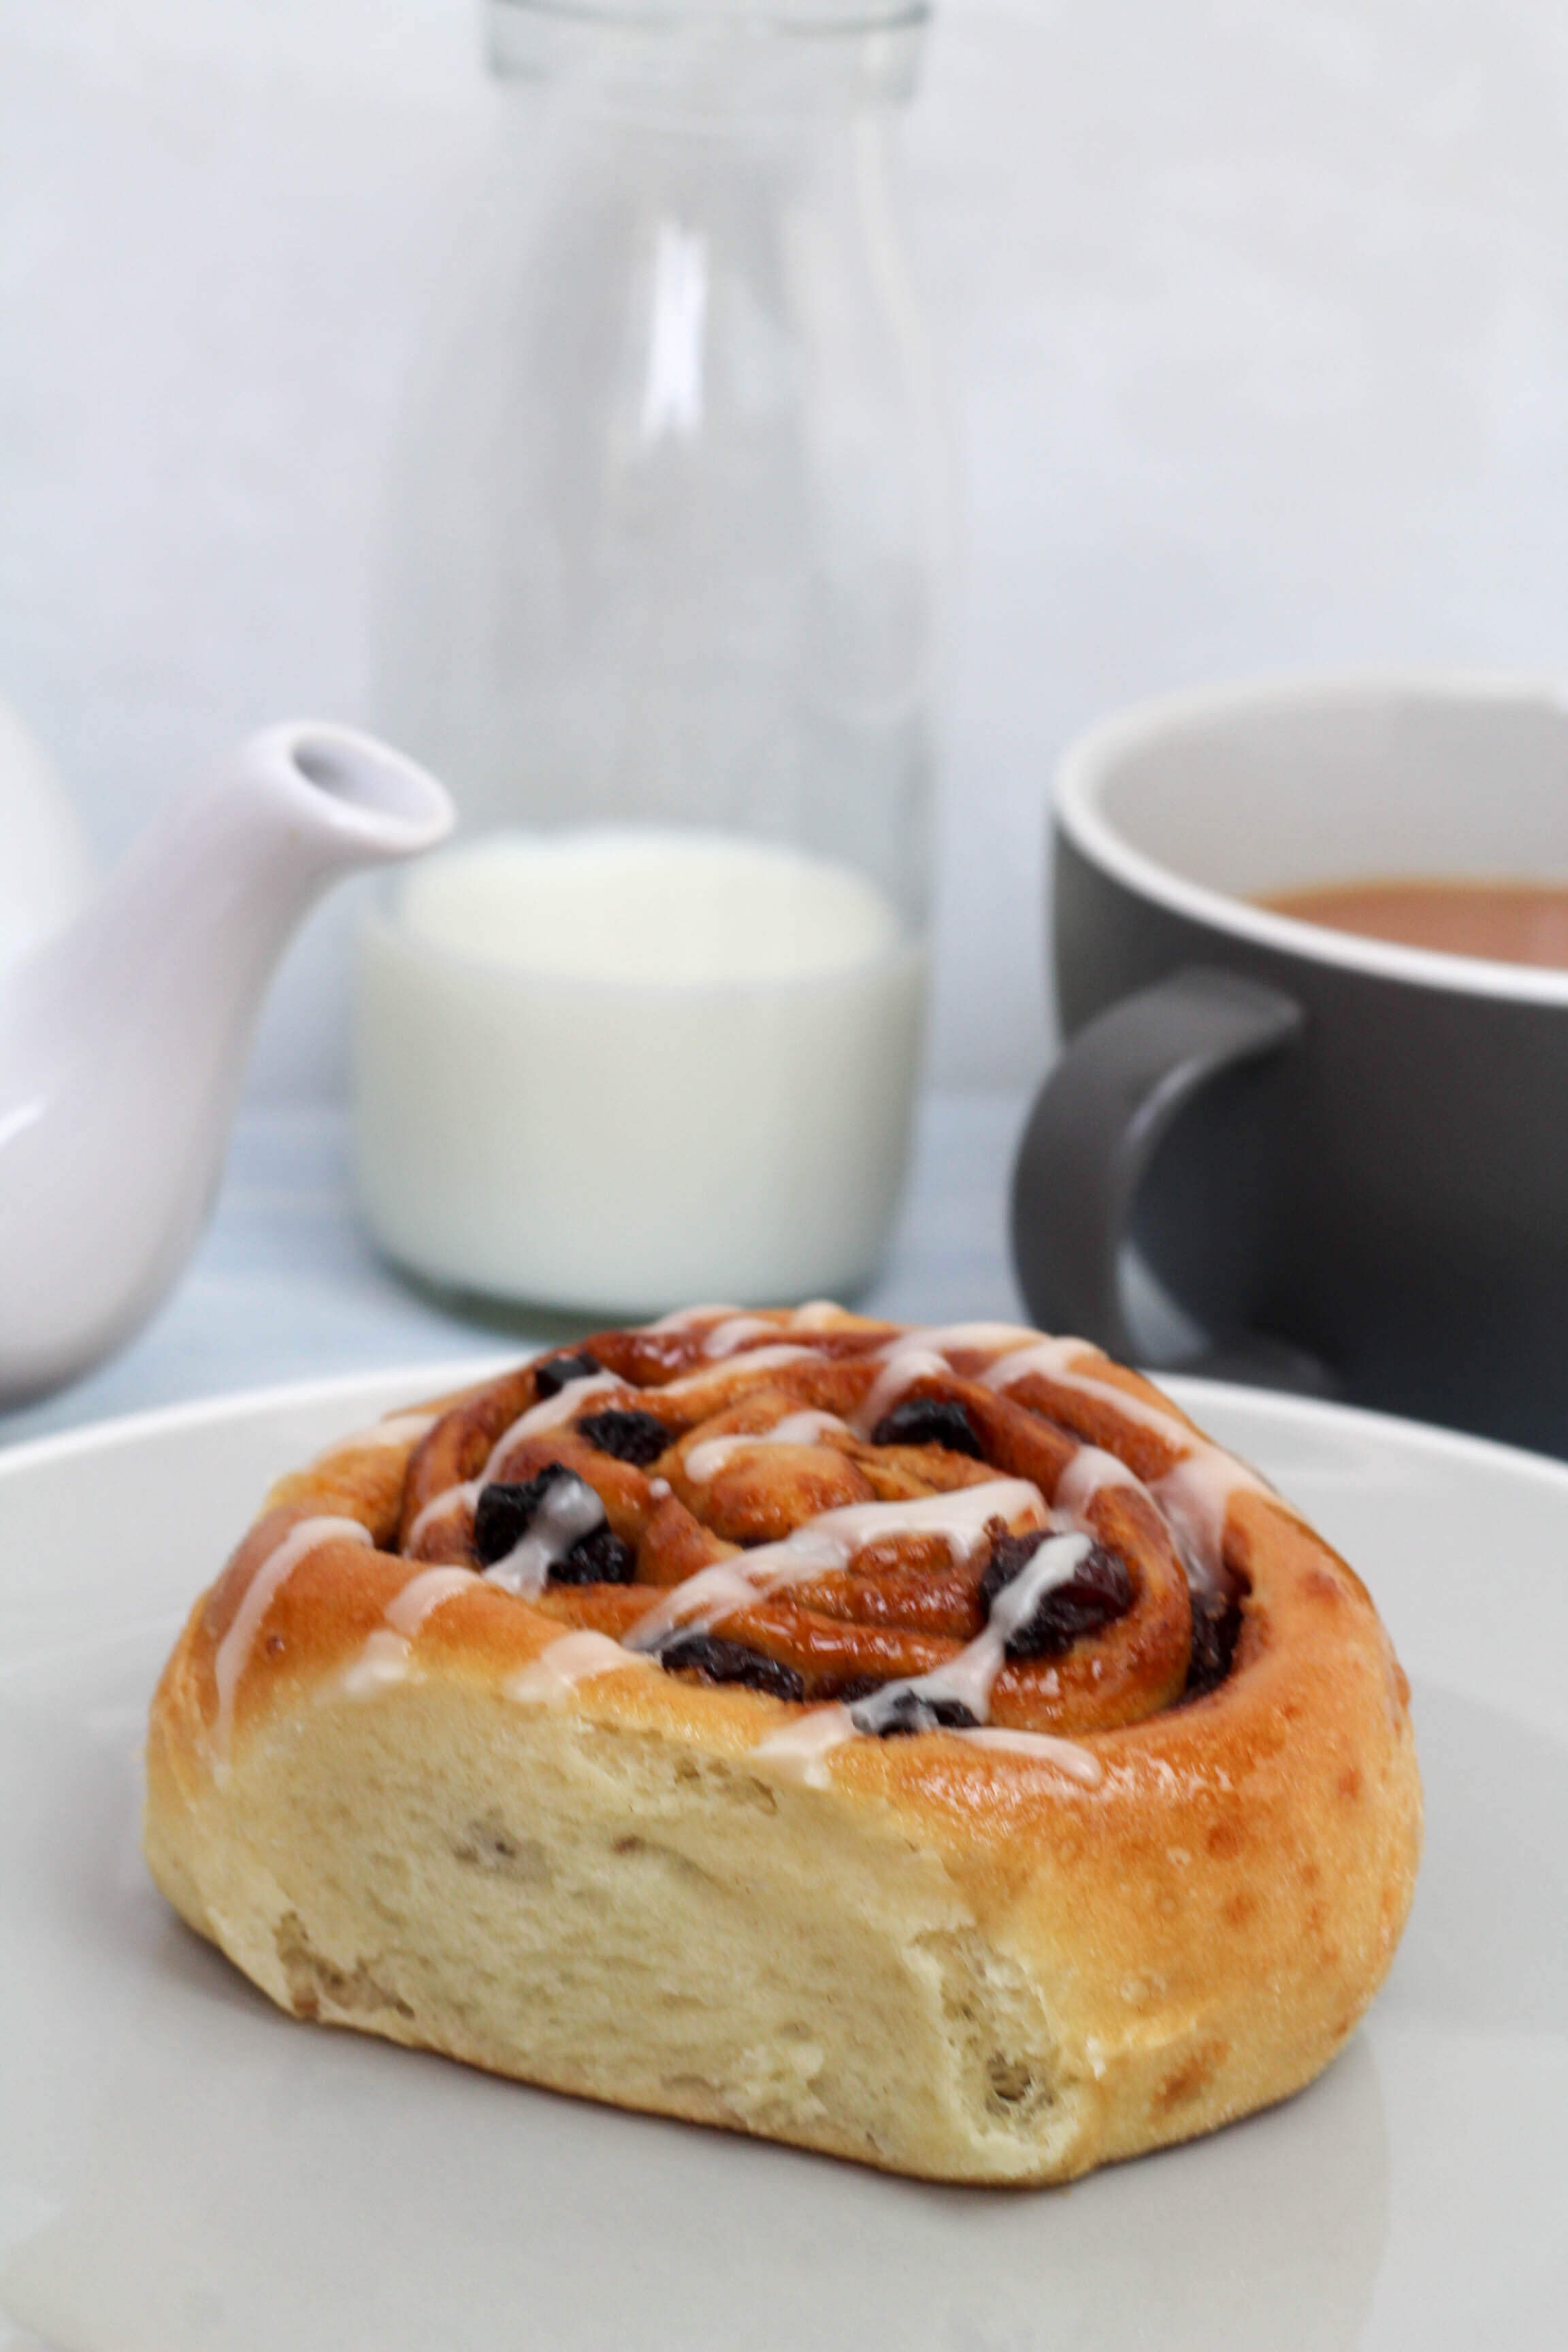
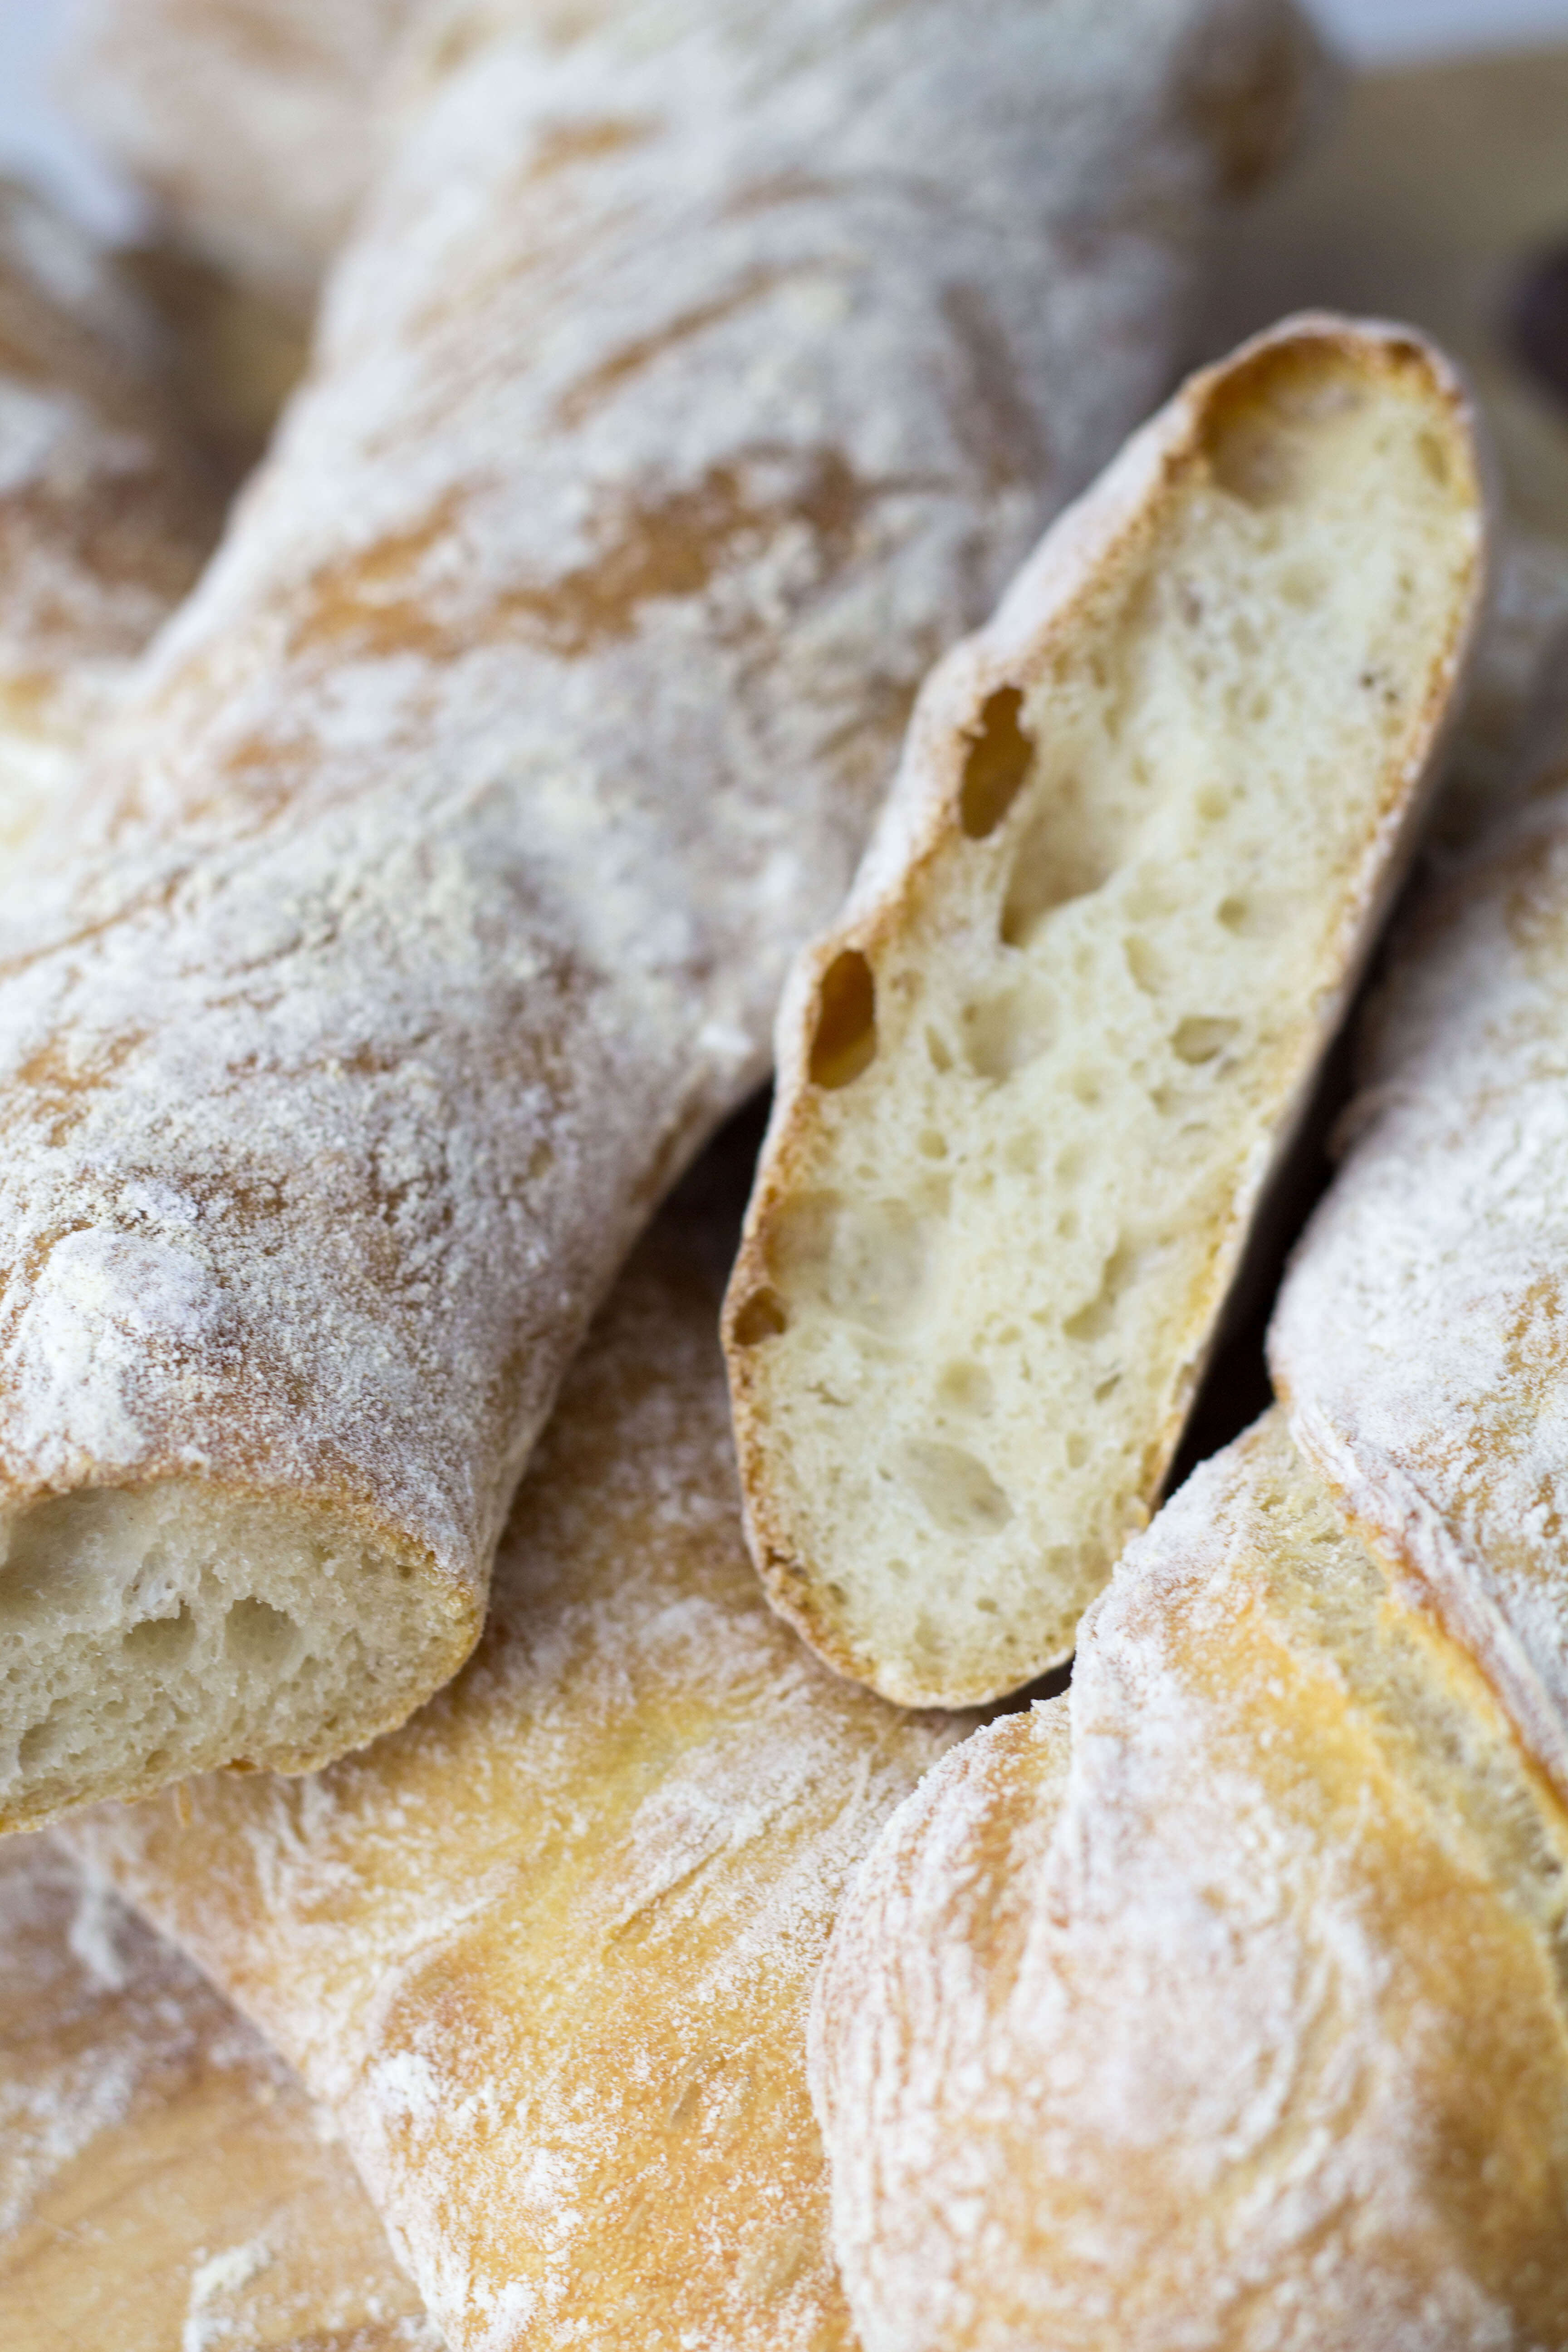
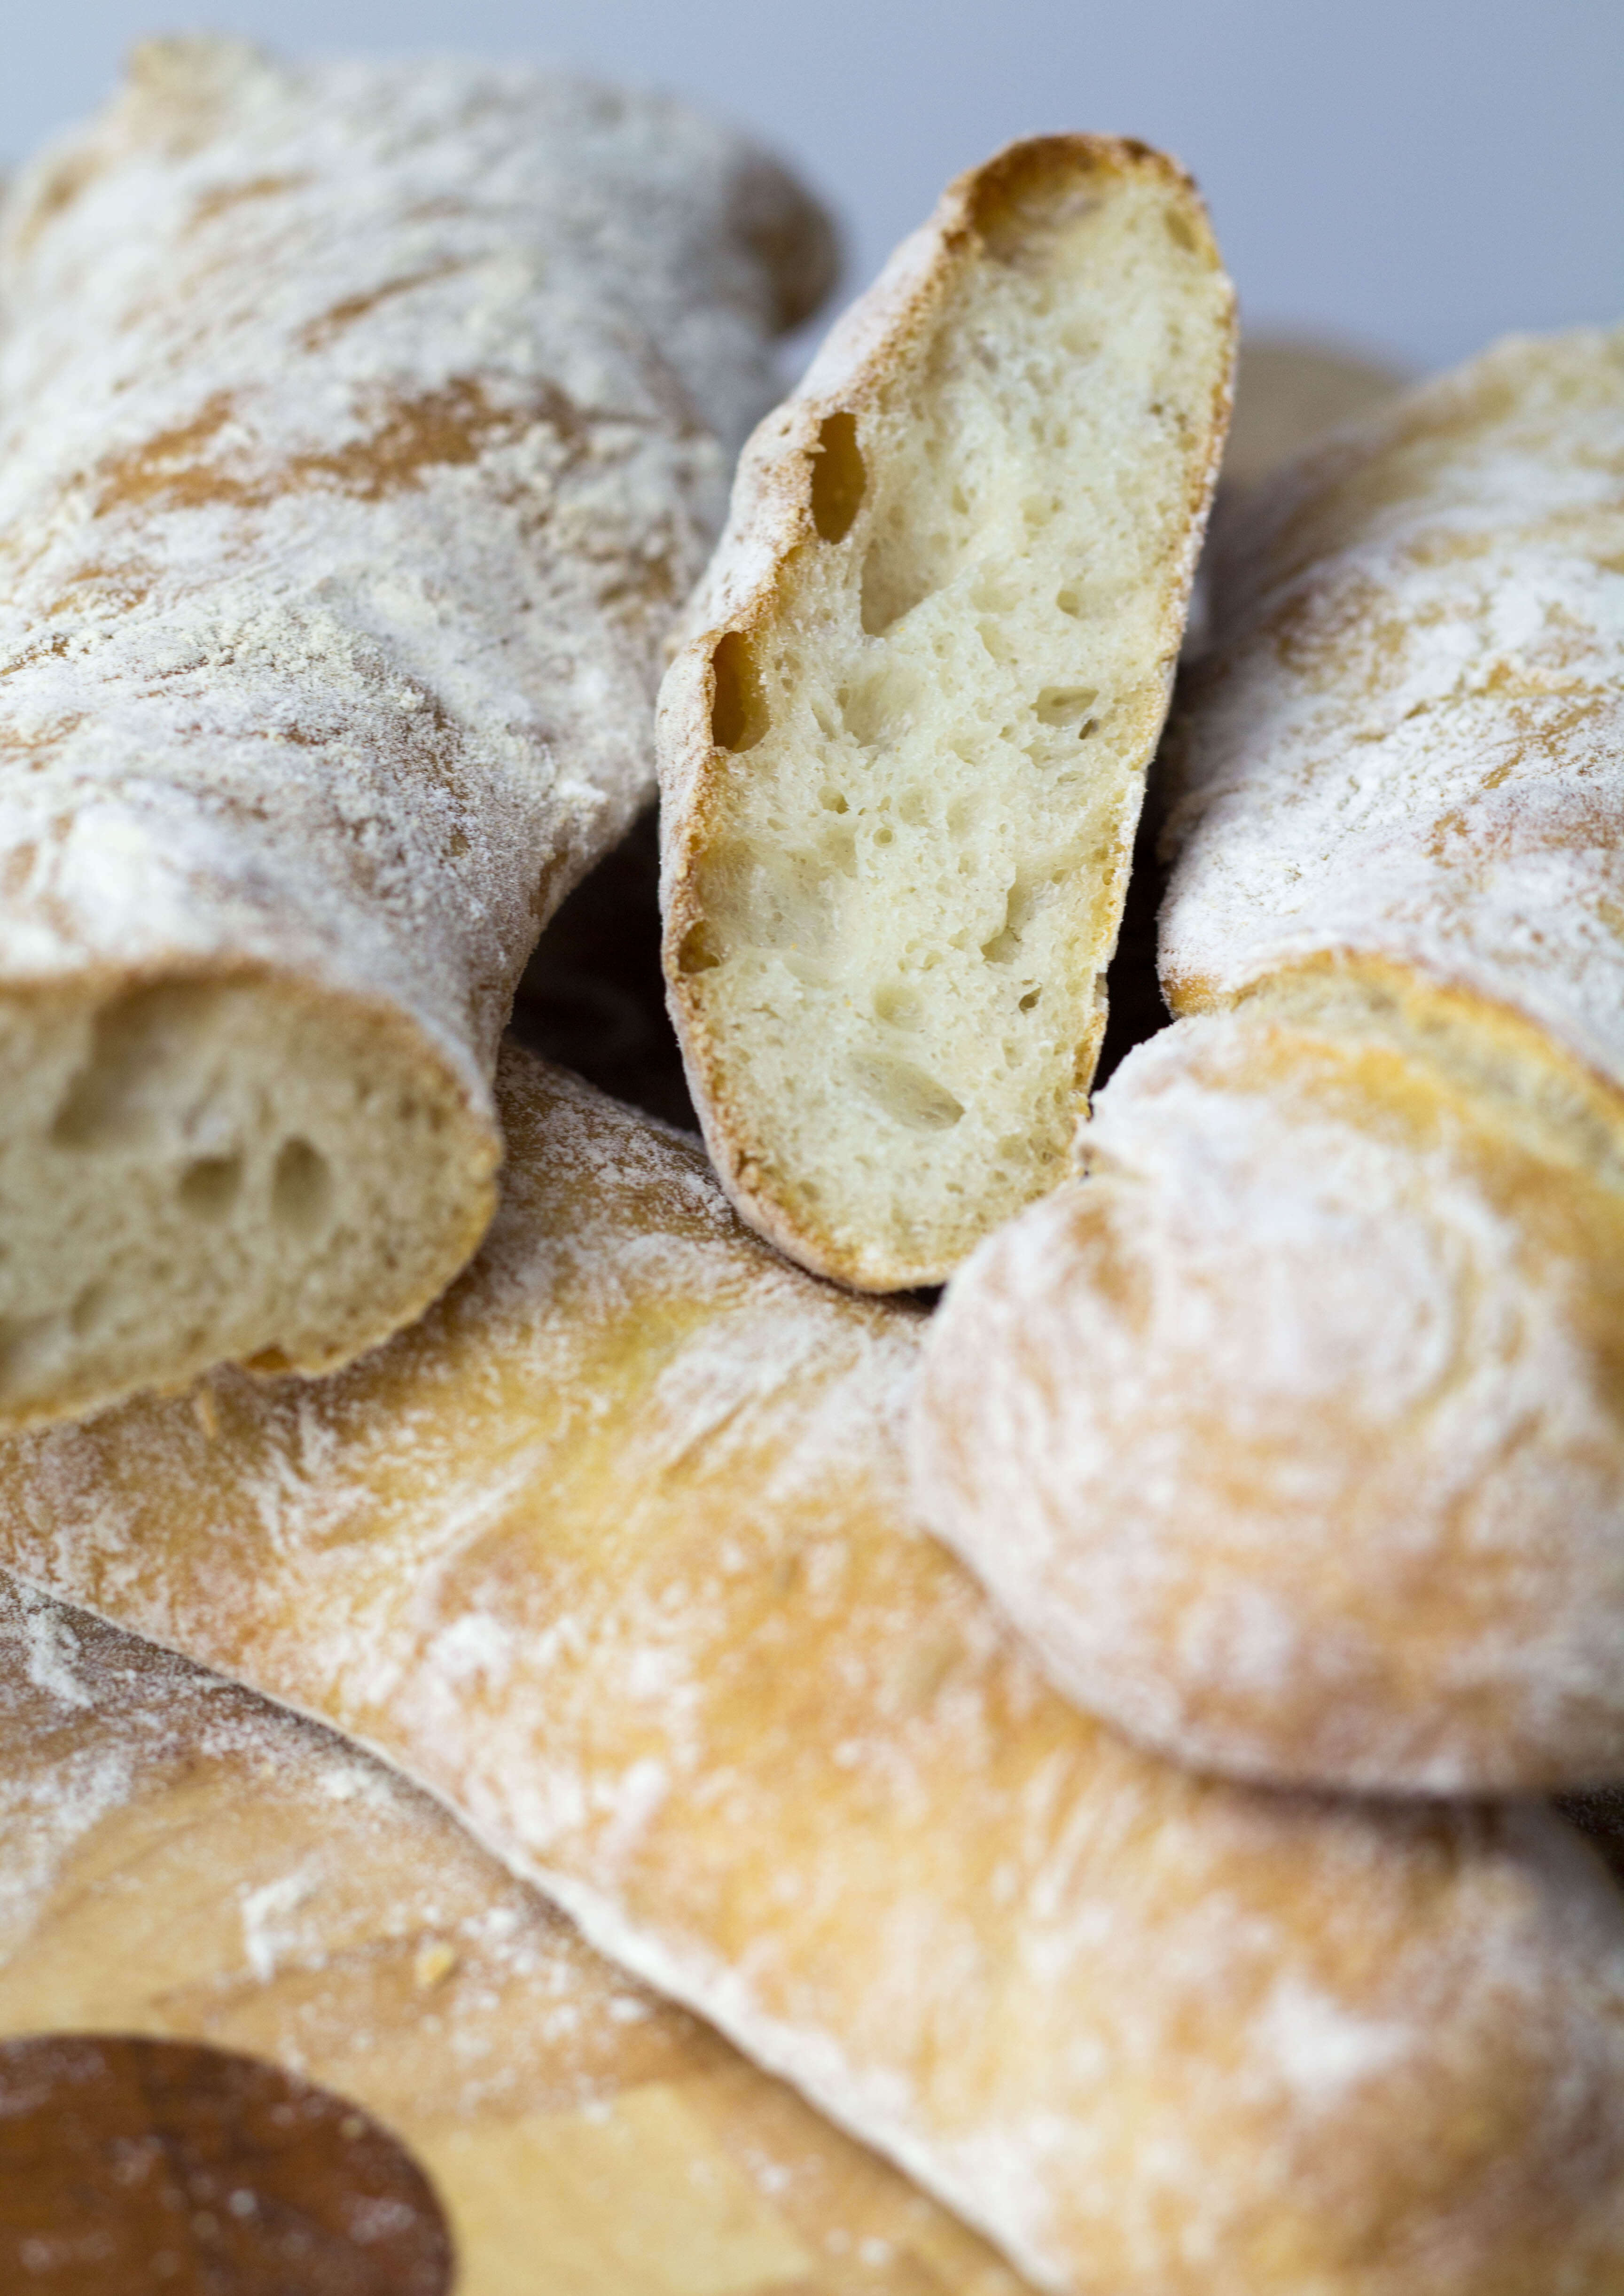
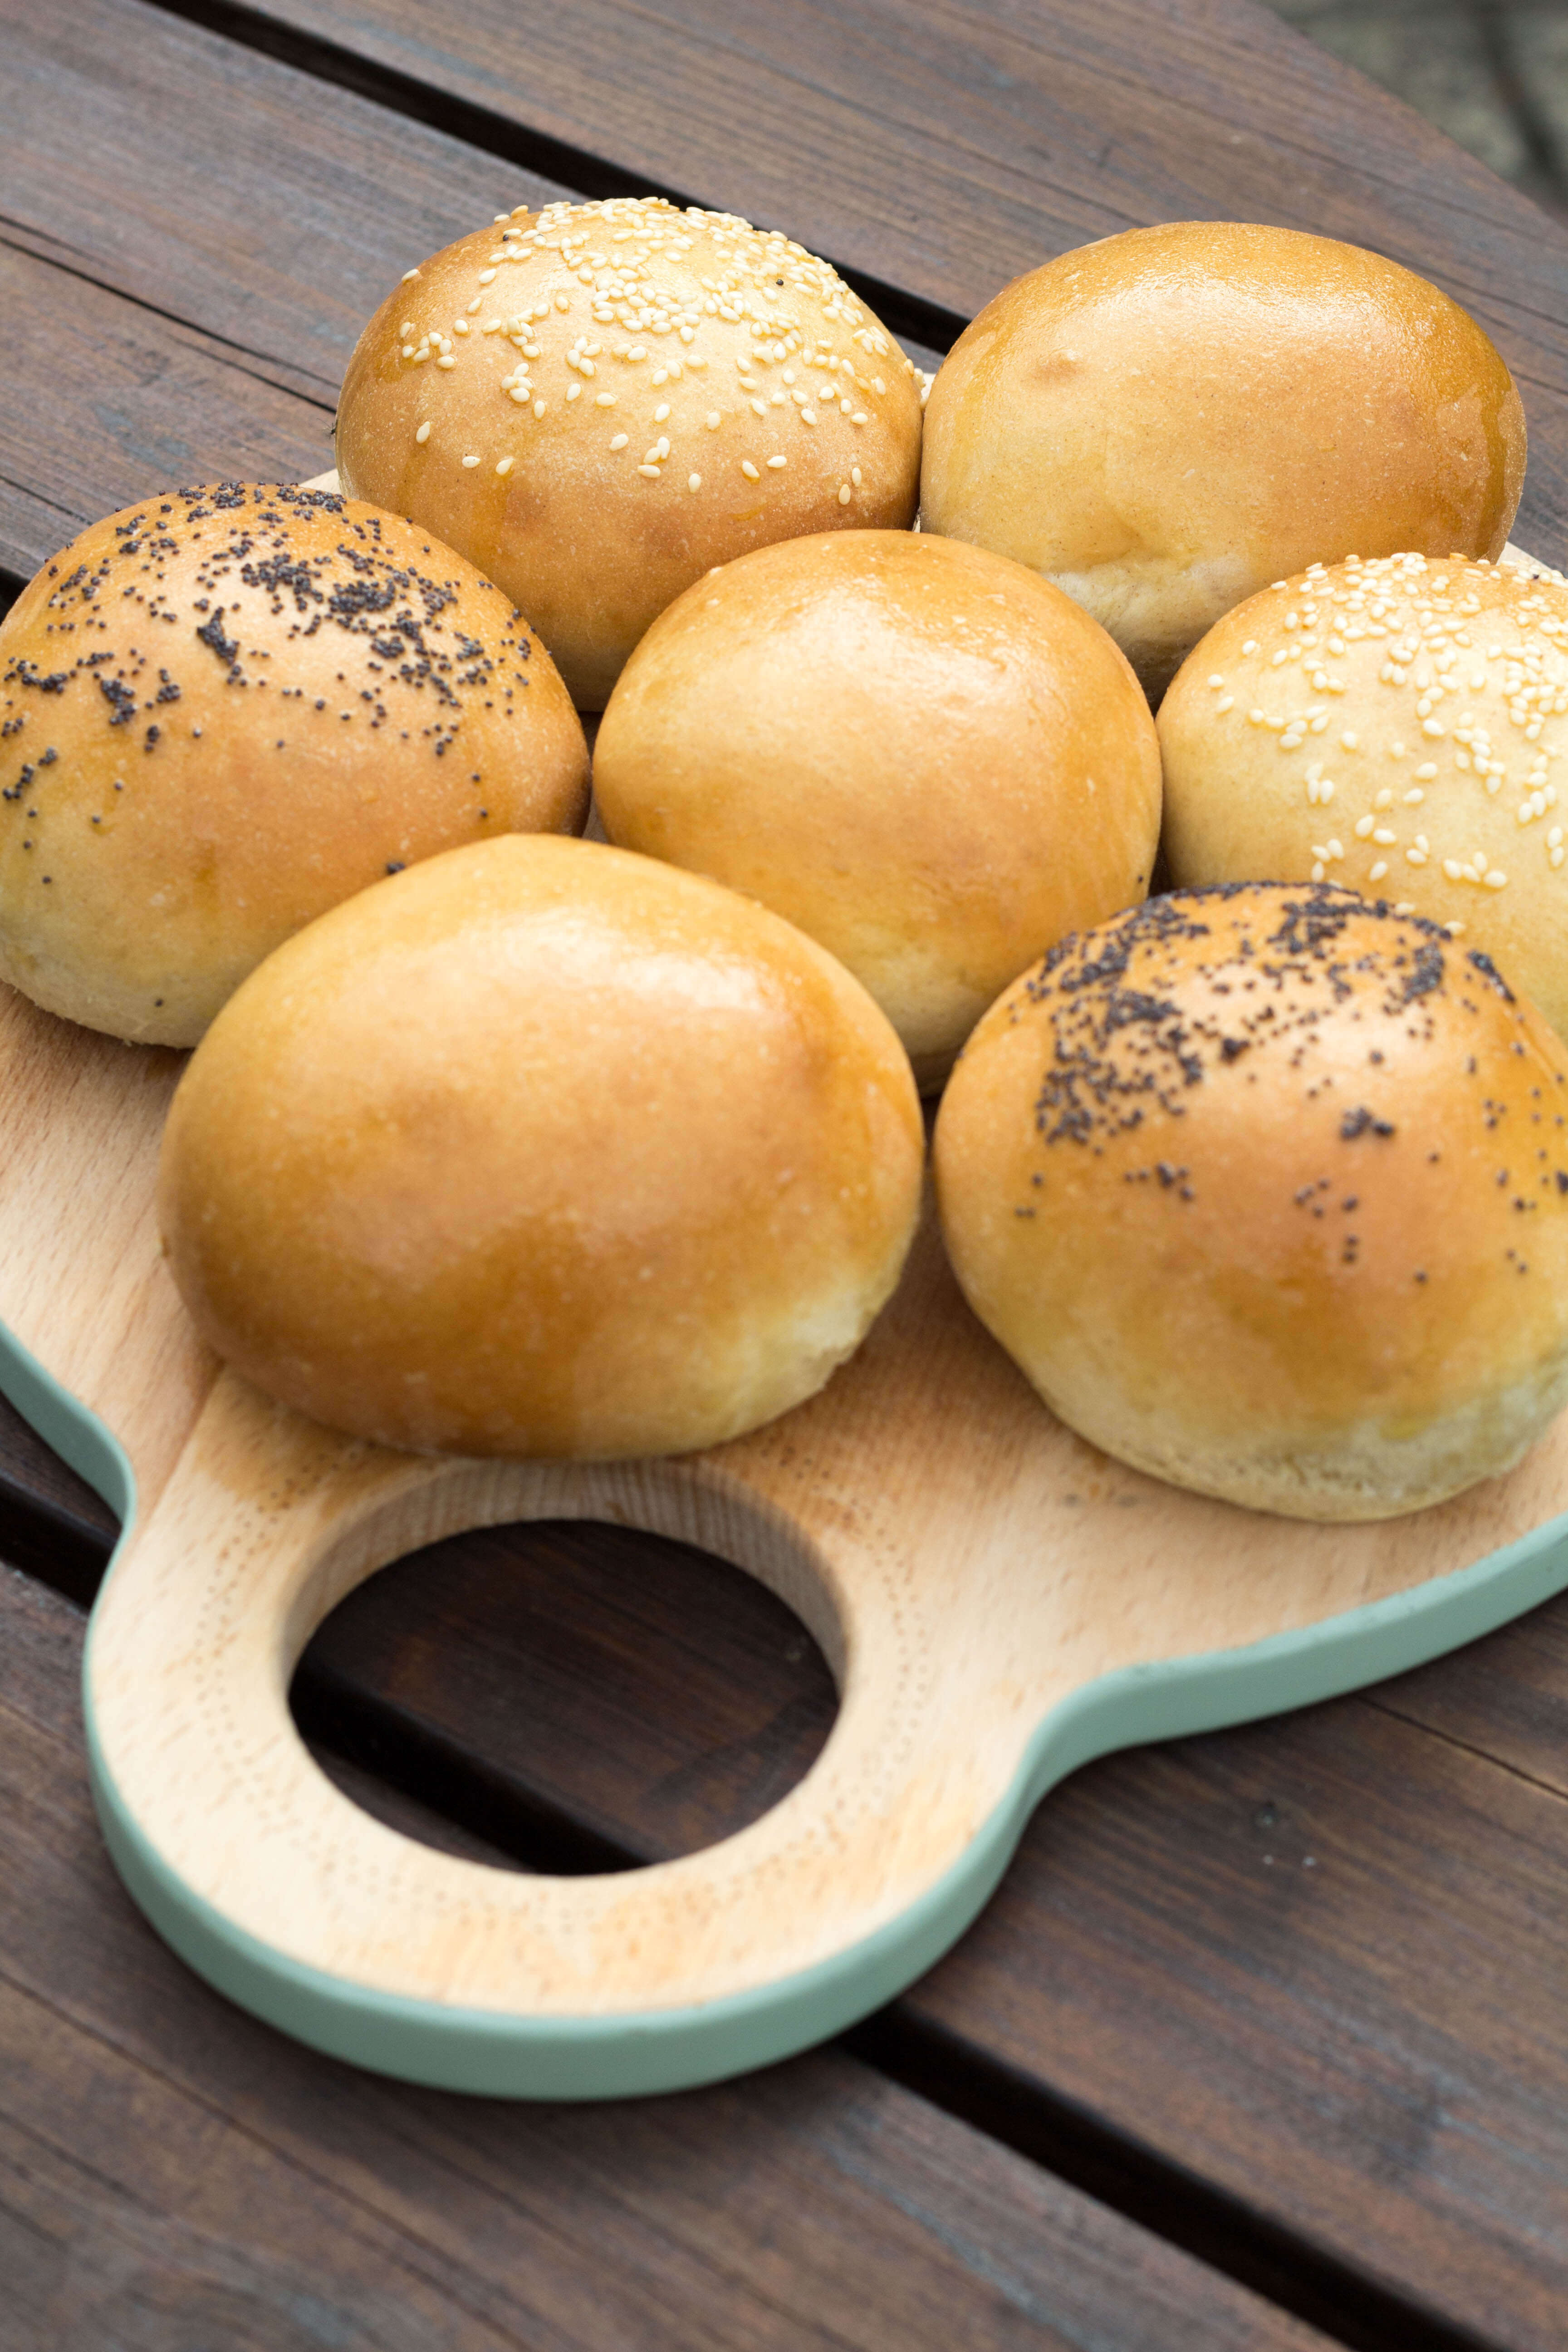
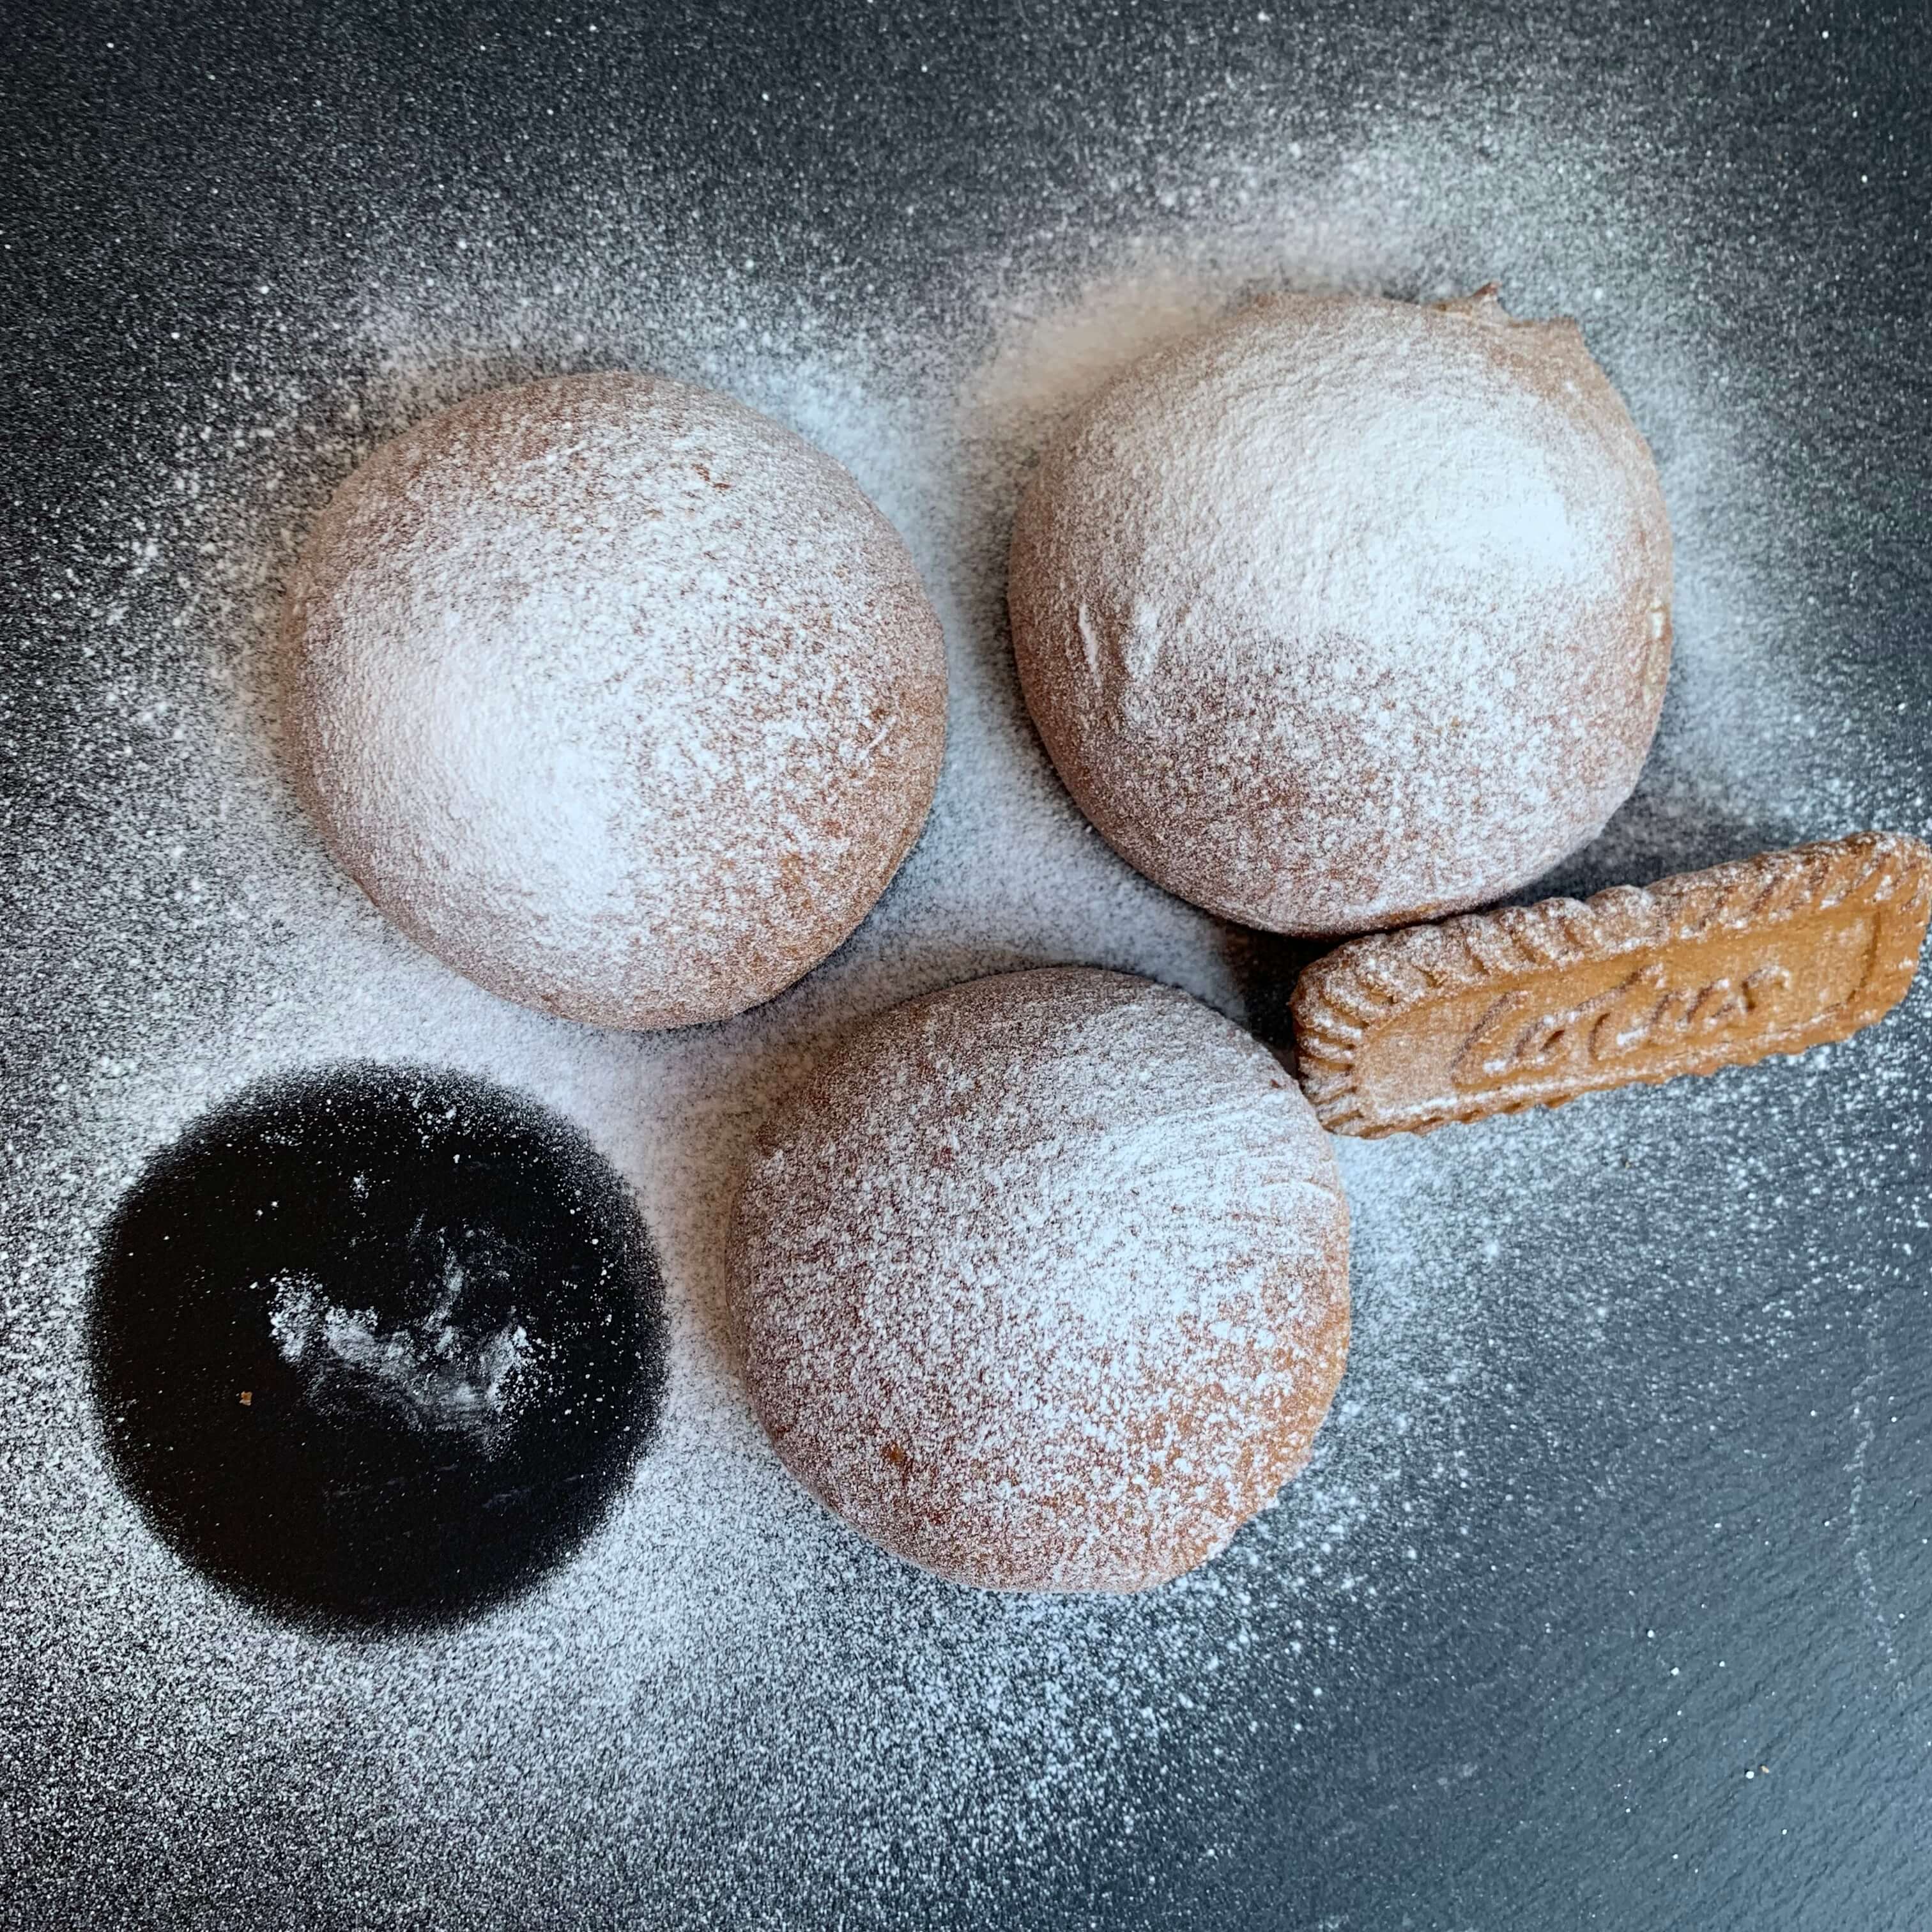
Biscoff Sweet Rolls
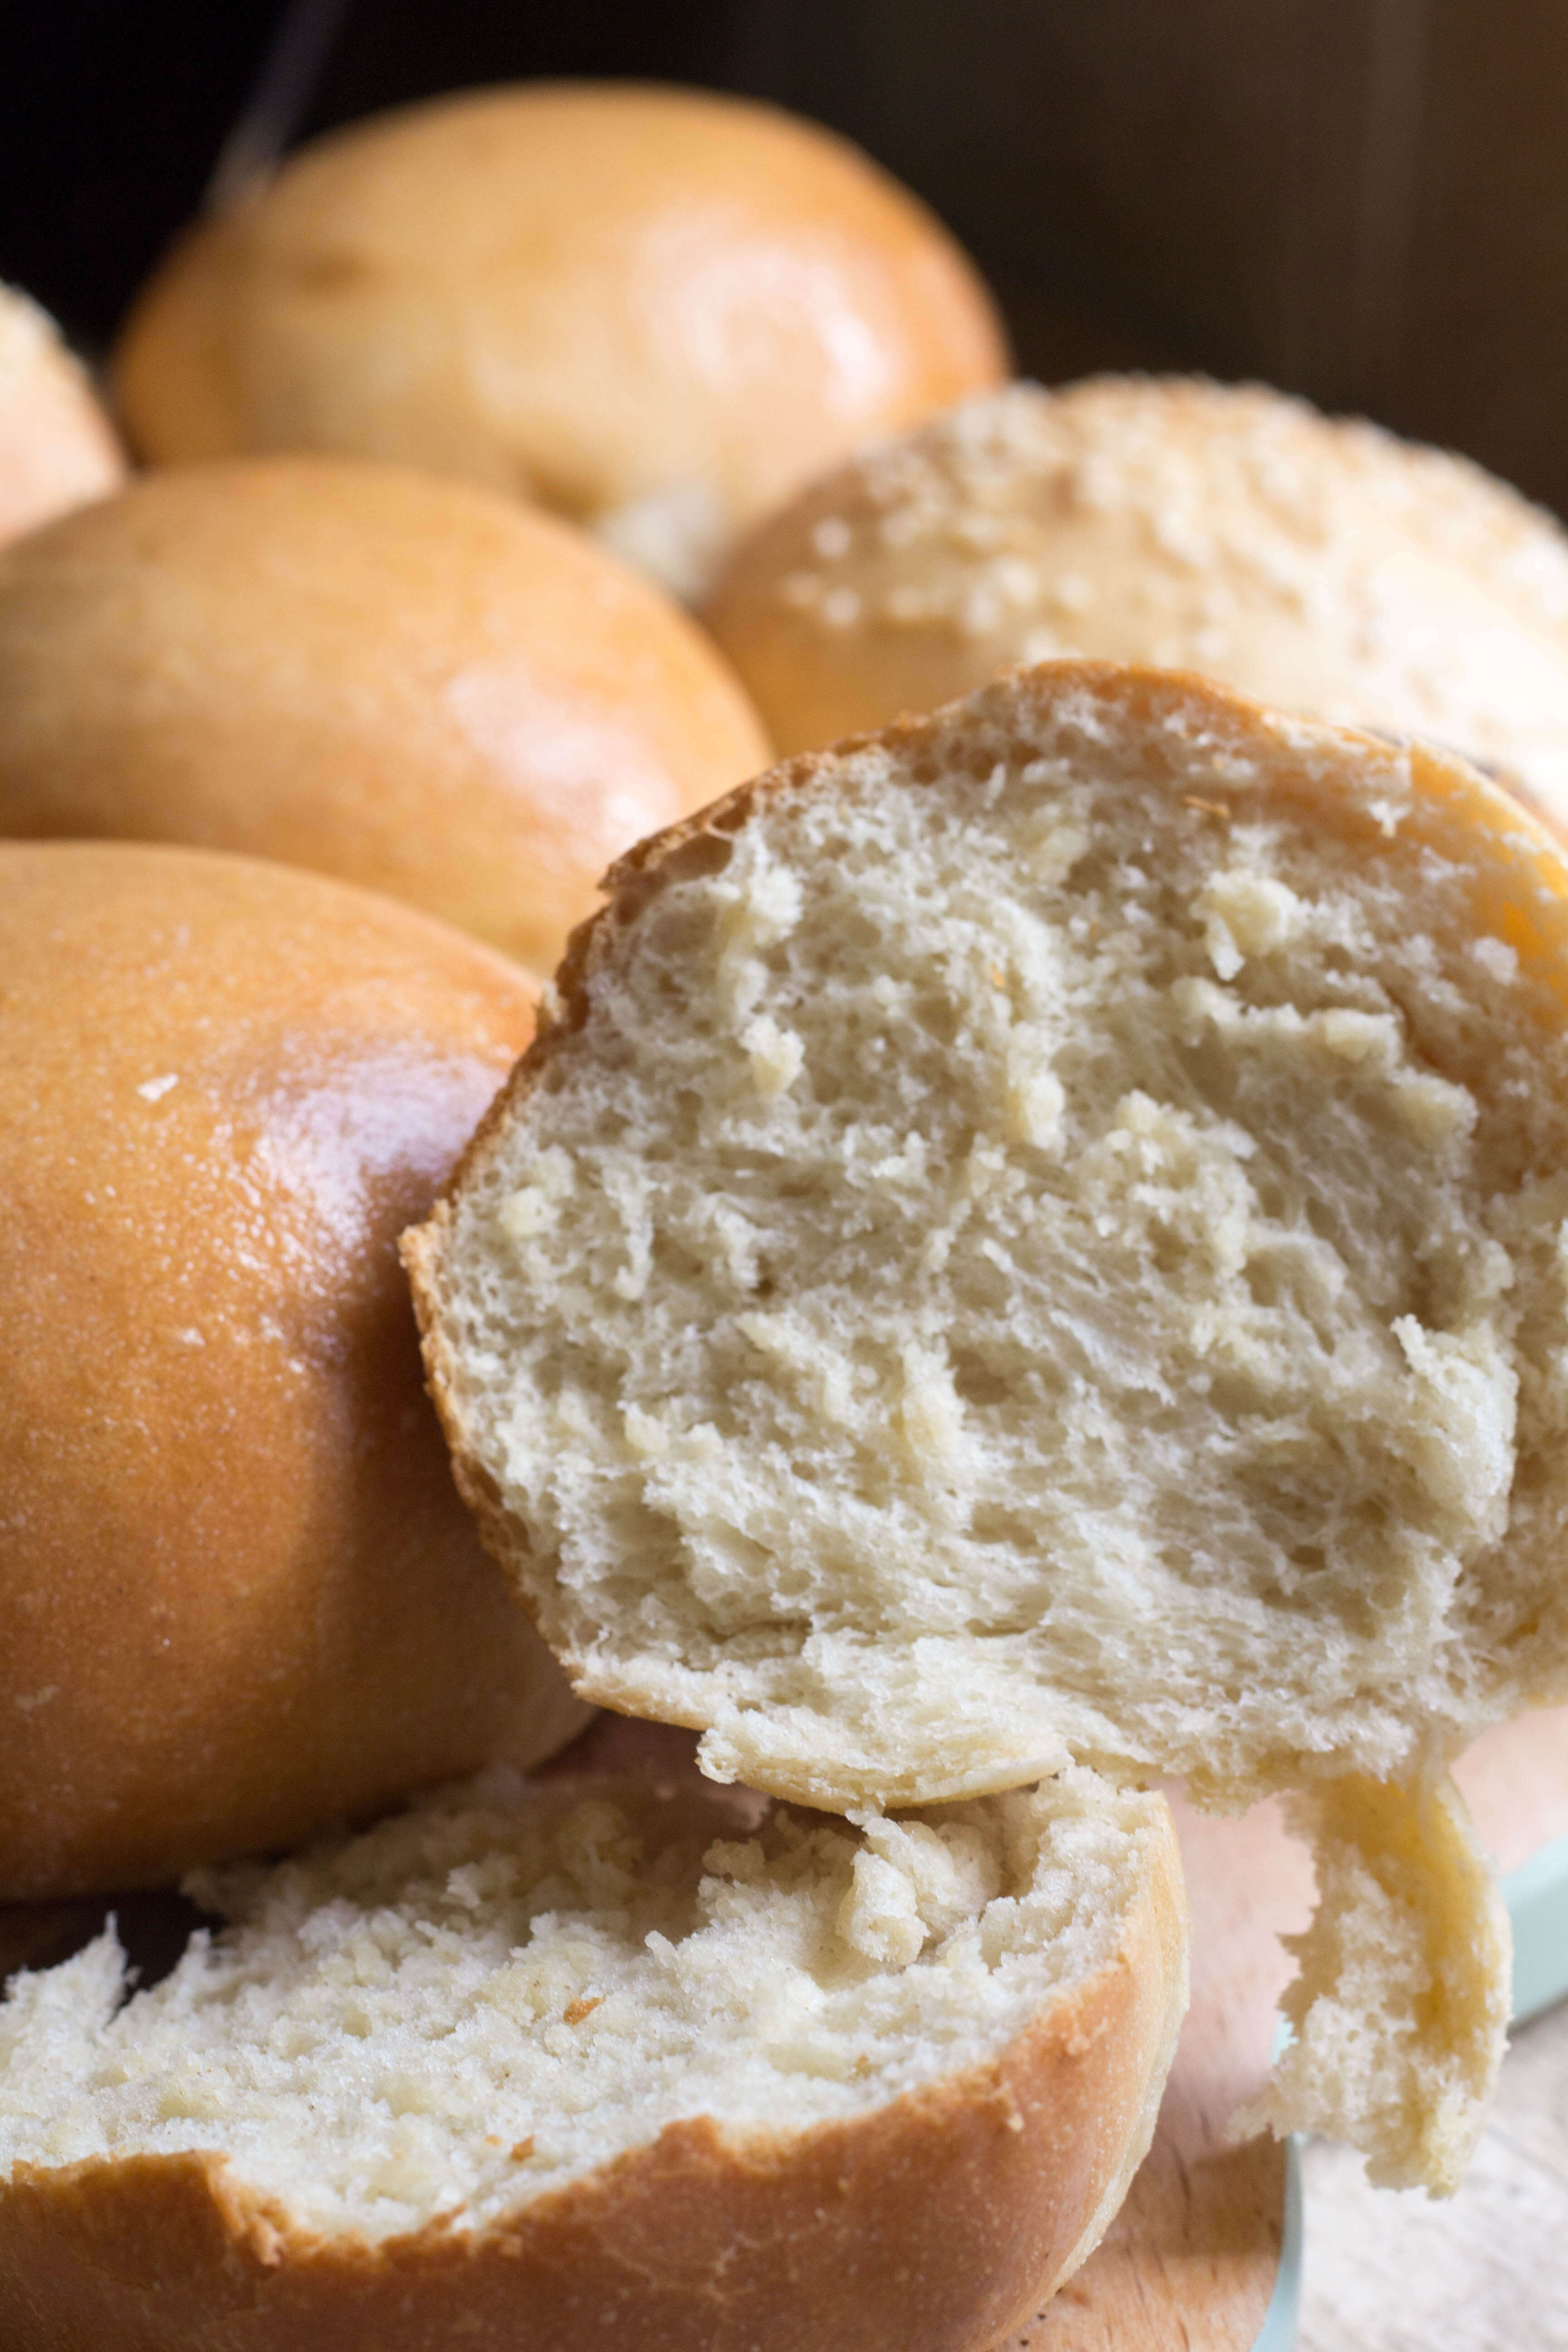
As always with anything Biscoff related, my youngest son volunteers as chief tester and he is a hard judge to please. A few attempts later I got the thumbs up, the rolls being the right consistency and they had enough spices to amp up the actual Biscoff spread also added to the dough.
Biscoff Sweet Rolls
These are easy enough to make and are delicious slightly warm but can also be stored in an airtight box for a day or two.
With the amount of Lotus Biscoff biscuits we get through in our house you would think we are sponsored by them, sadly not, we are just addicts 😉
Makes 9-10 rolls
INGREDIENTS
130g warm water
250g white bread flour
1 teaspoon dry yeast
25g soft brown sugar
60g Biscoff spread
1 teaspoon vanilla bean extract
1/2 teaspoon salt
1/2 teaspoon cinnamon
1/8 teaspoon nutmeg
1/8 teaspoon ground ginger
1/8 teaspoon ground cloves
30g vegetable oil (I use rapeseed oil)
Icing sugar to dust
Method
- Whisk together the hand warm water with the Biscoff spread, brown sugar, vanilla extract and yeast.
- In the bowl of a stand mixer with a dough hook, mix together the flour, salt and spices.
- Pour in the liquid mixture and add the oil.
- Knead for 7 minutes in the mix until the dough is smooth and elastic. If doing this by hand, knead for about 10 minutes.
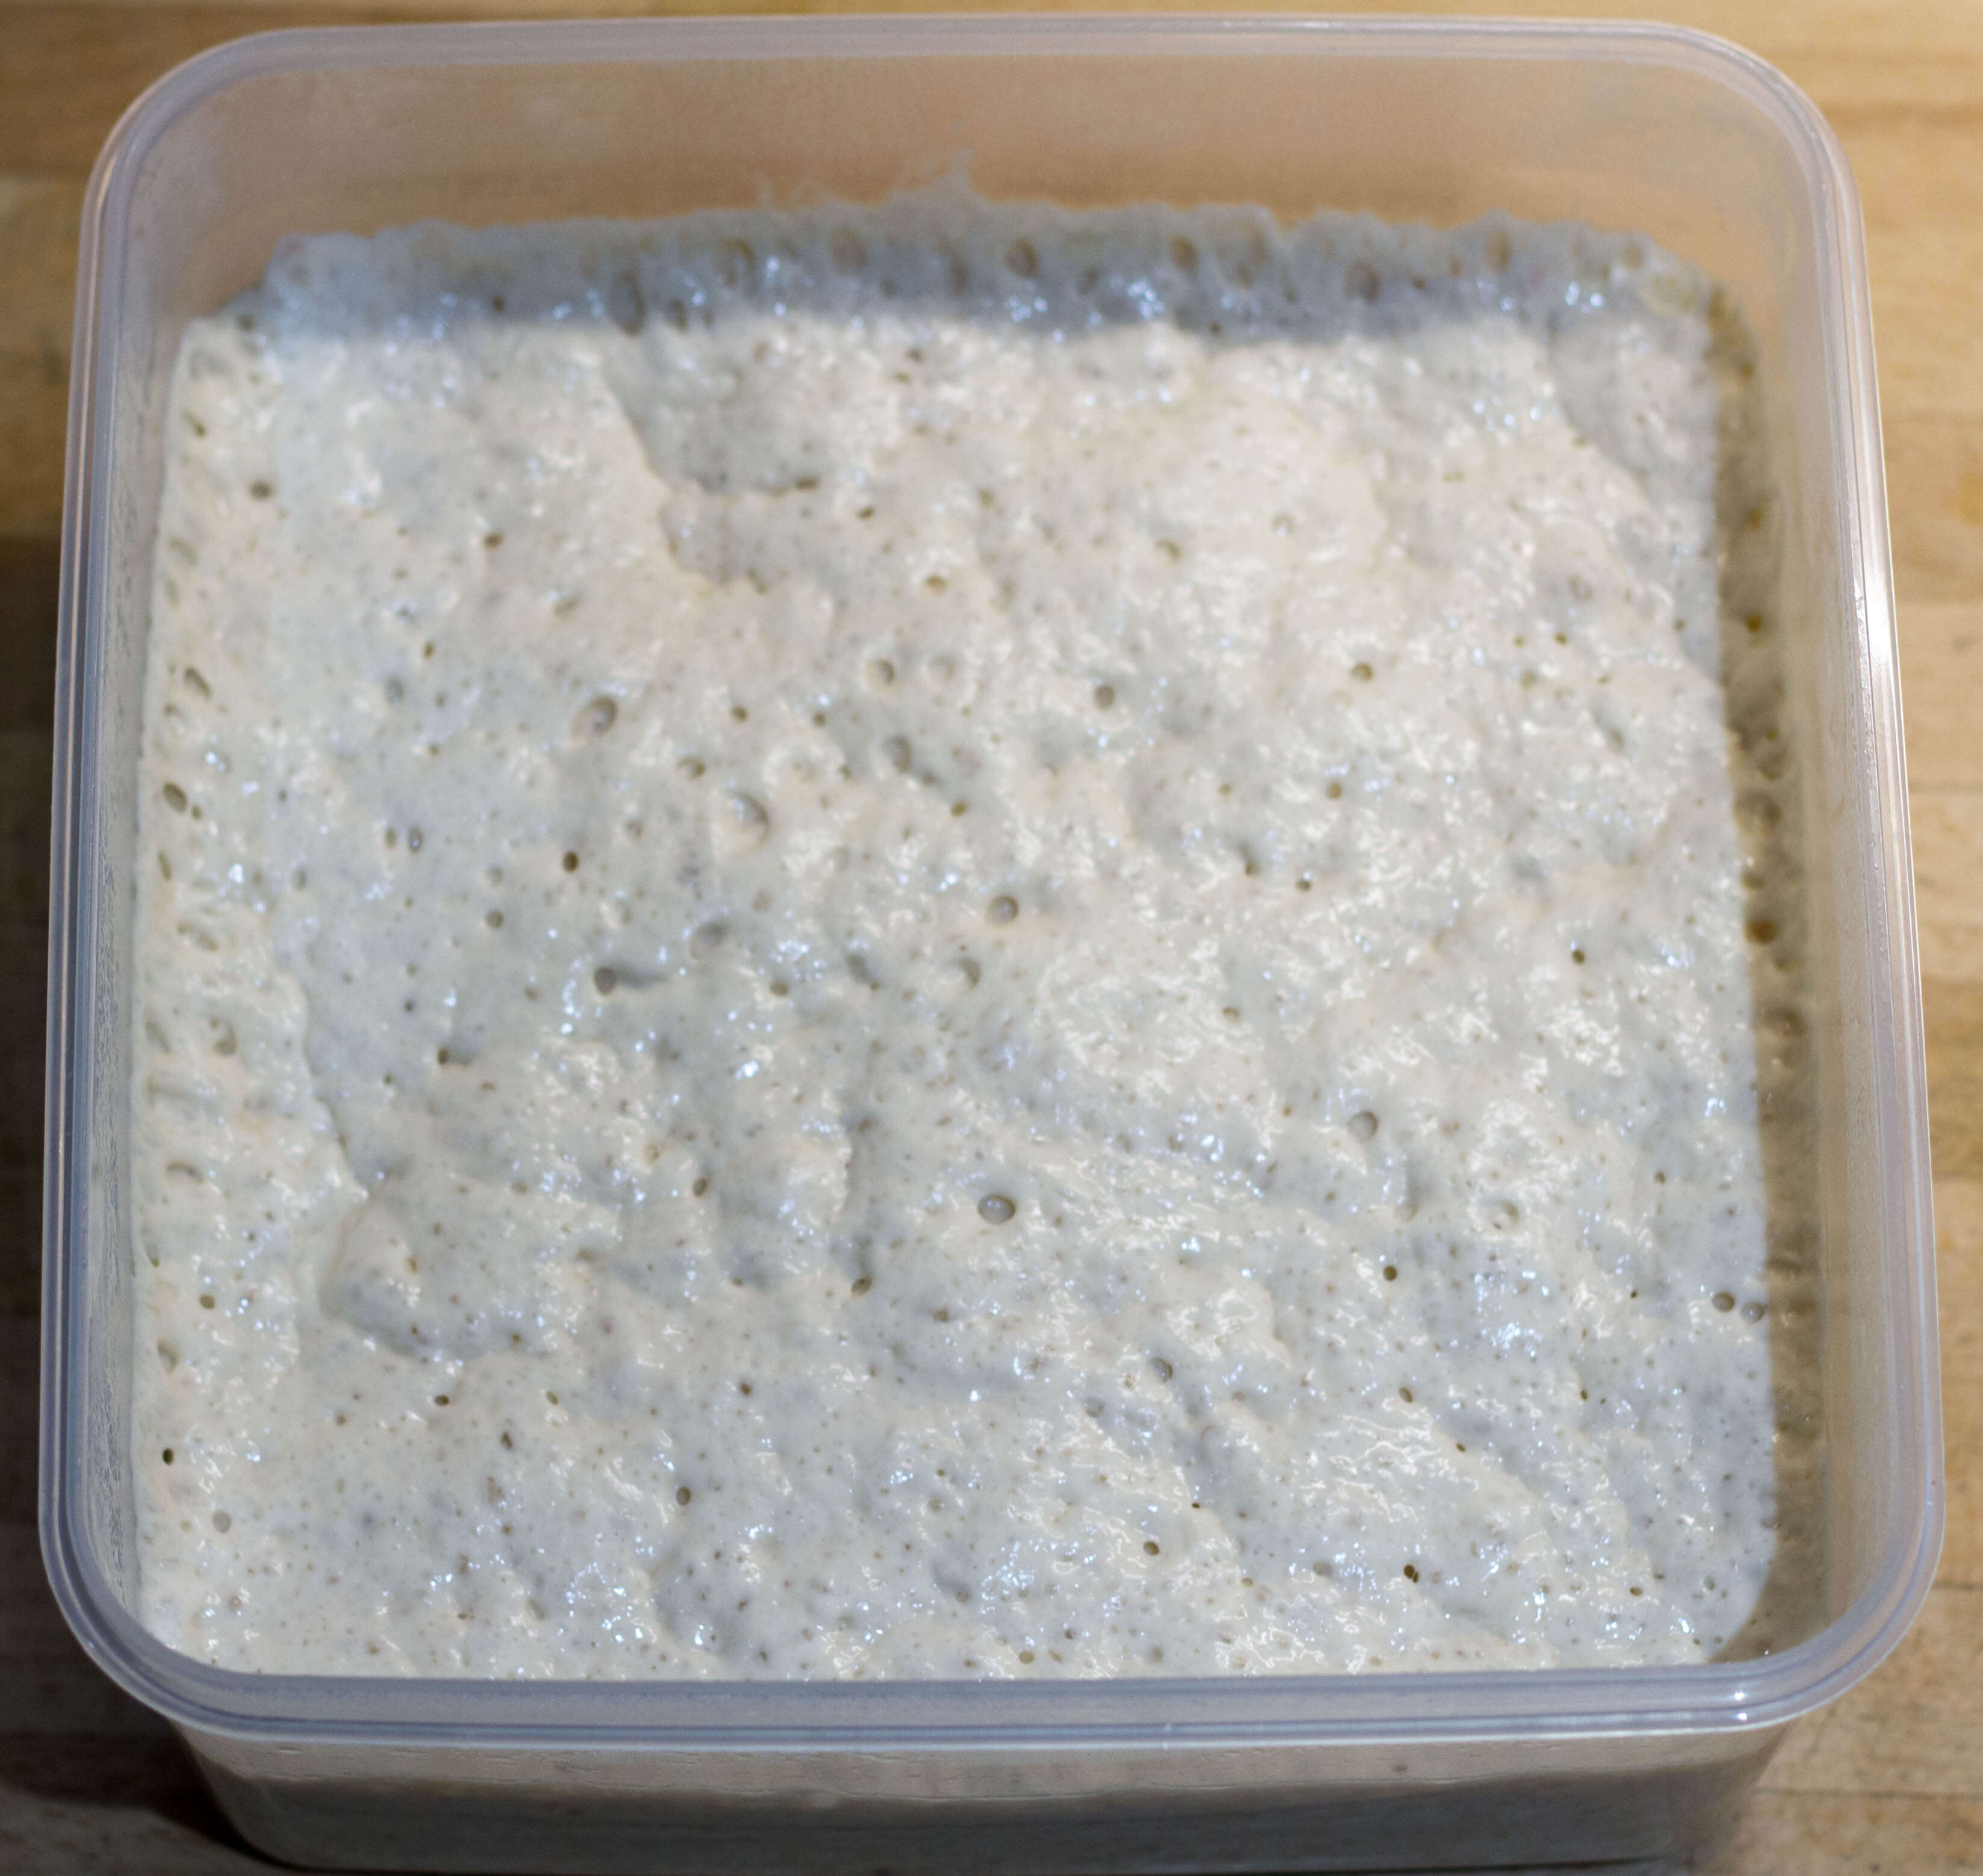
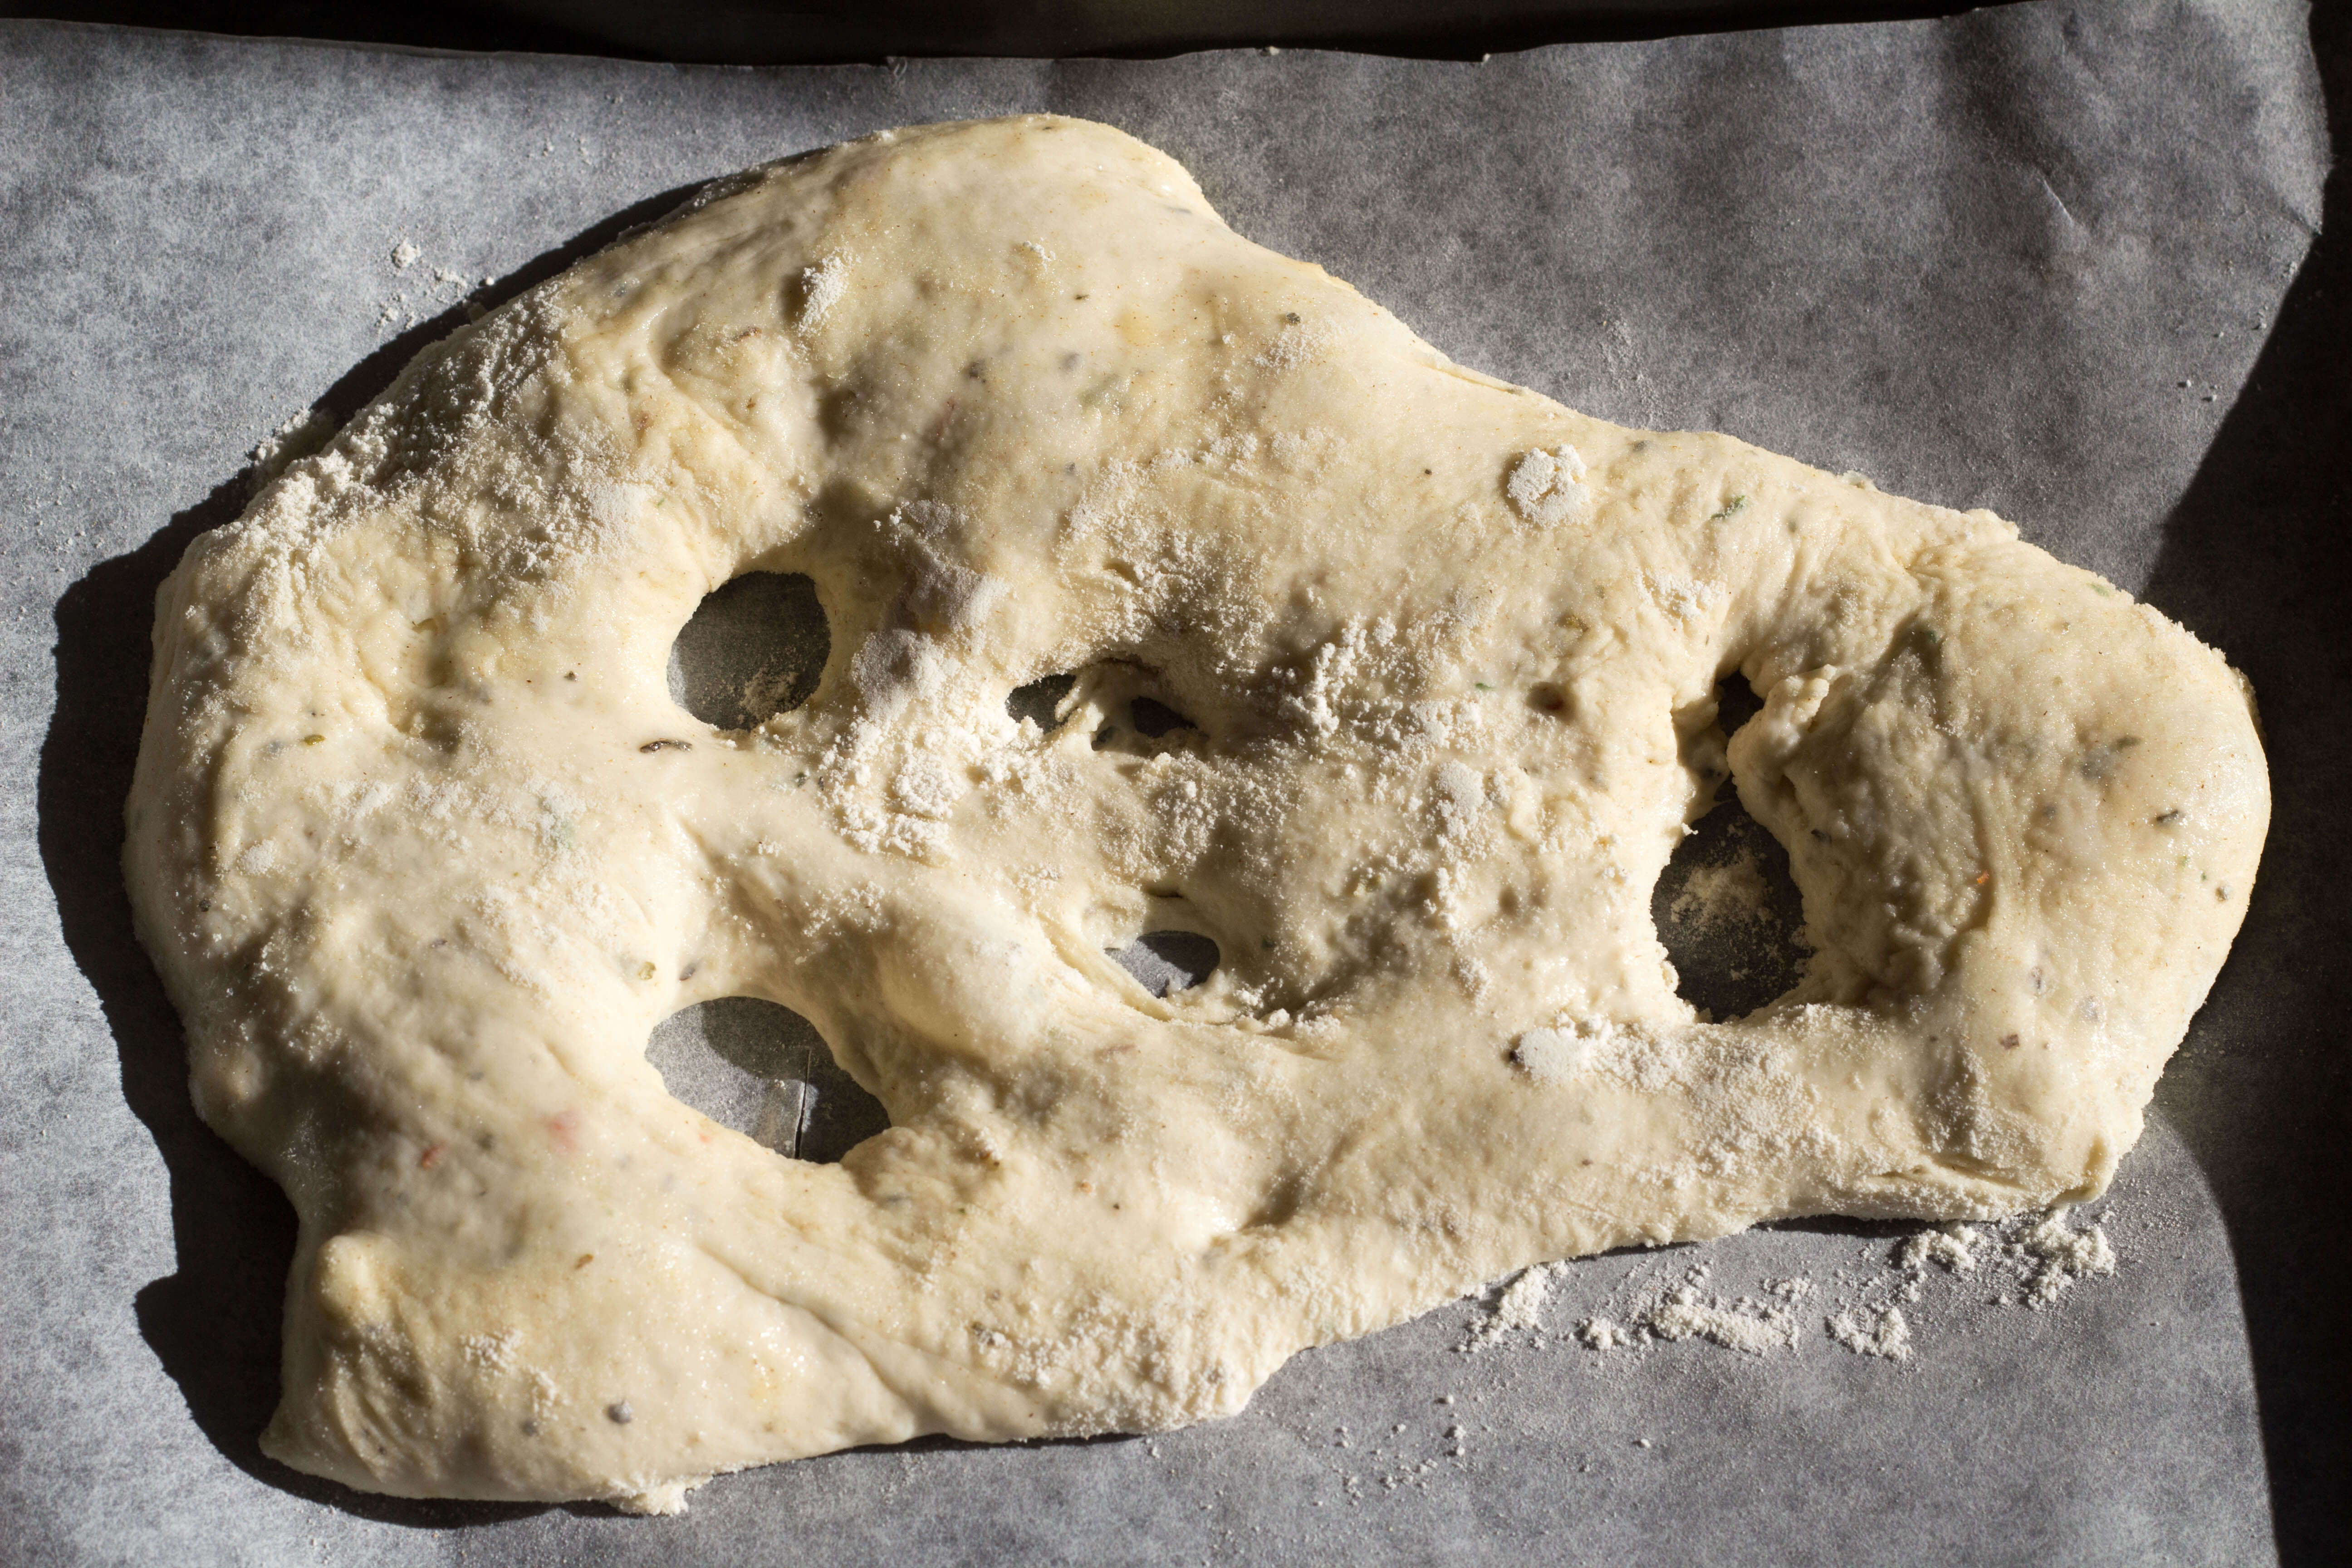
- Place the dough into a lightly oiled bowl, cover with clingfilm and allow to rise in a warm place until doubled in size (about 2 hours).
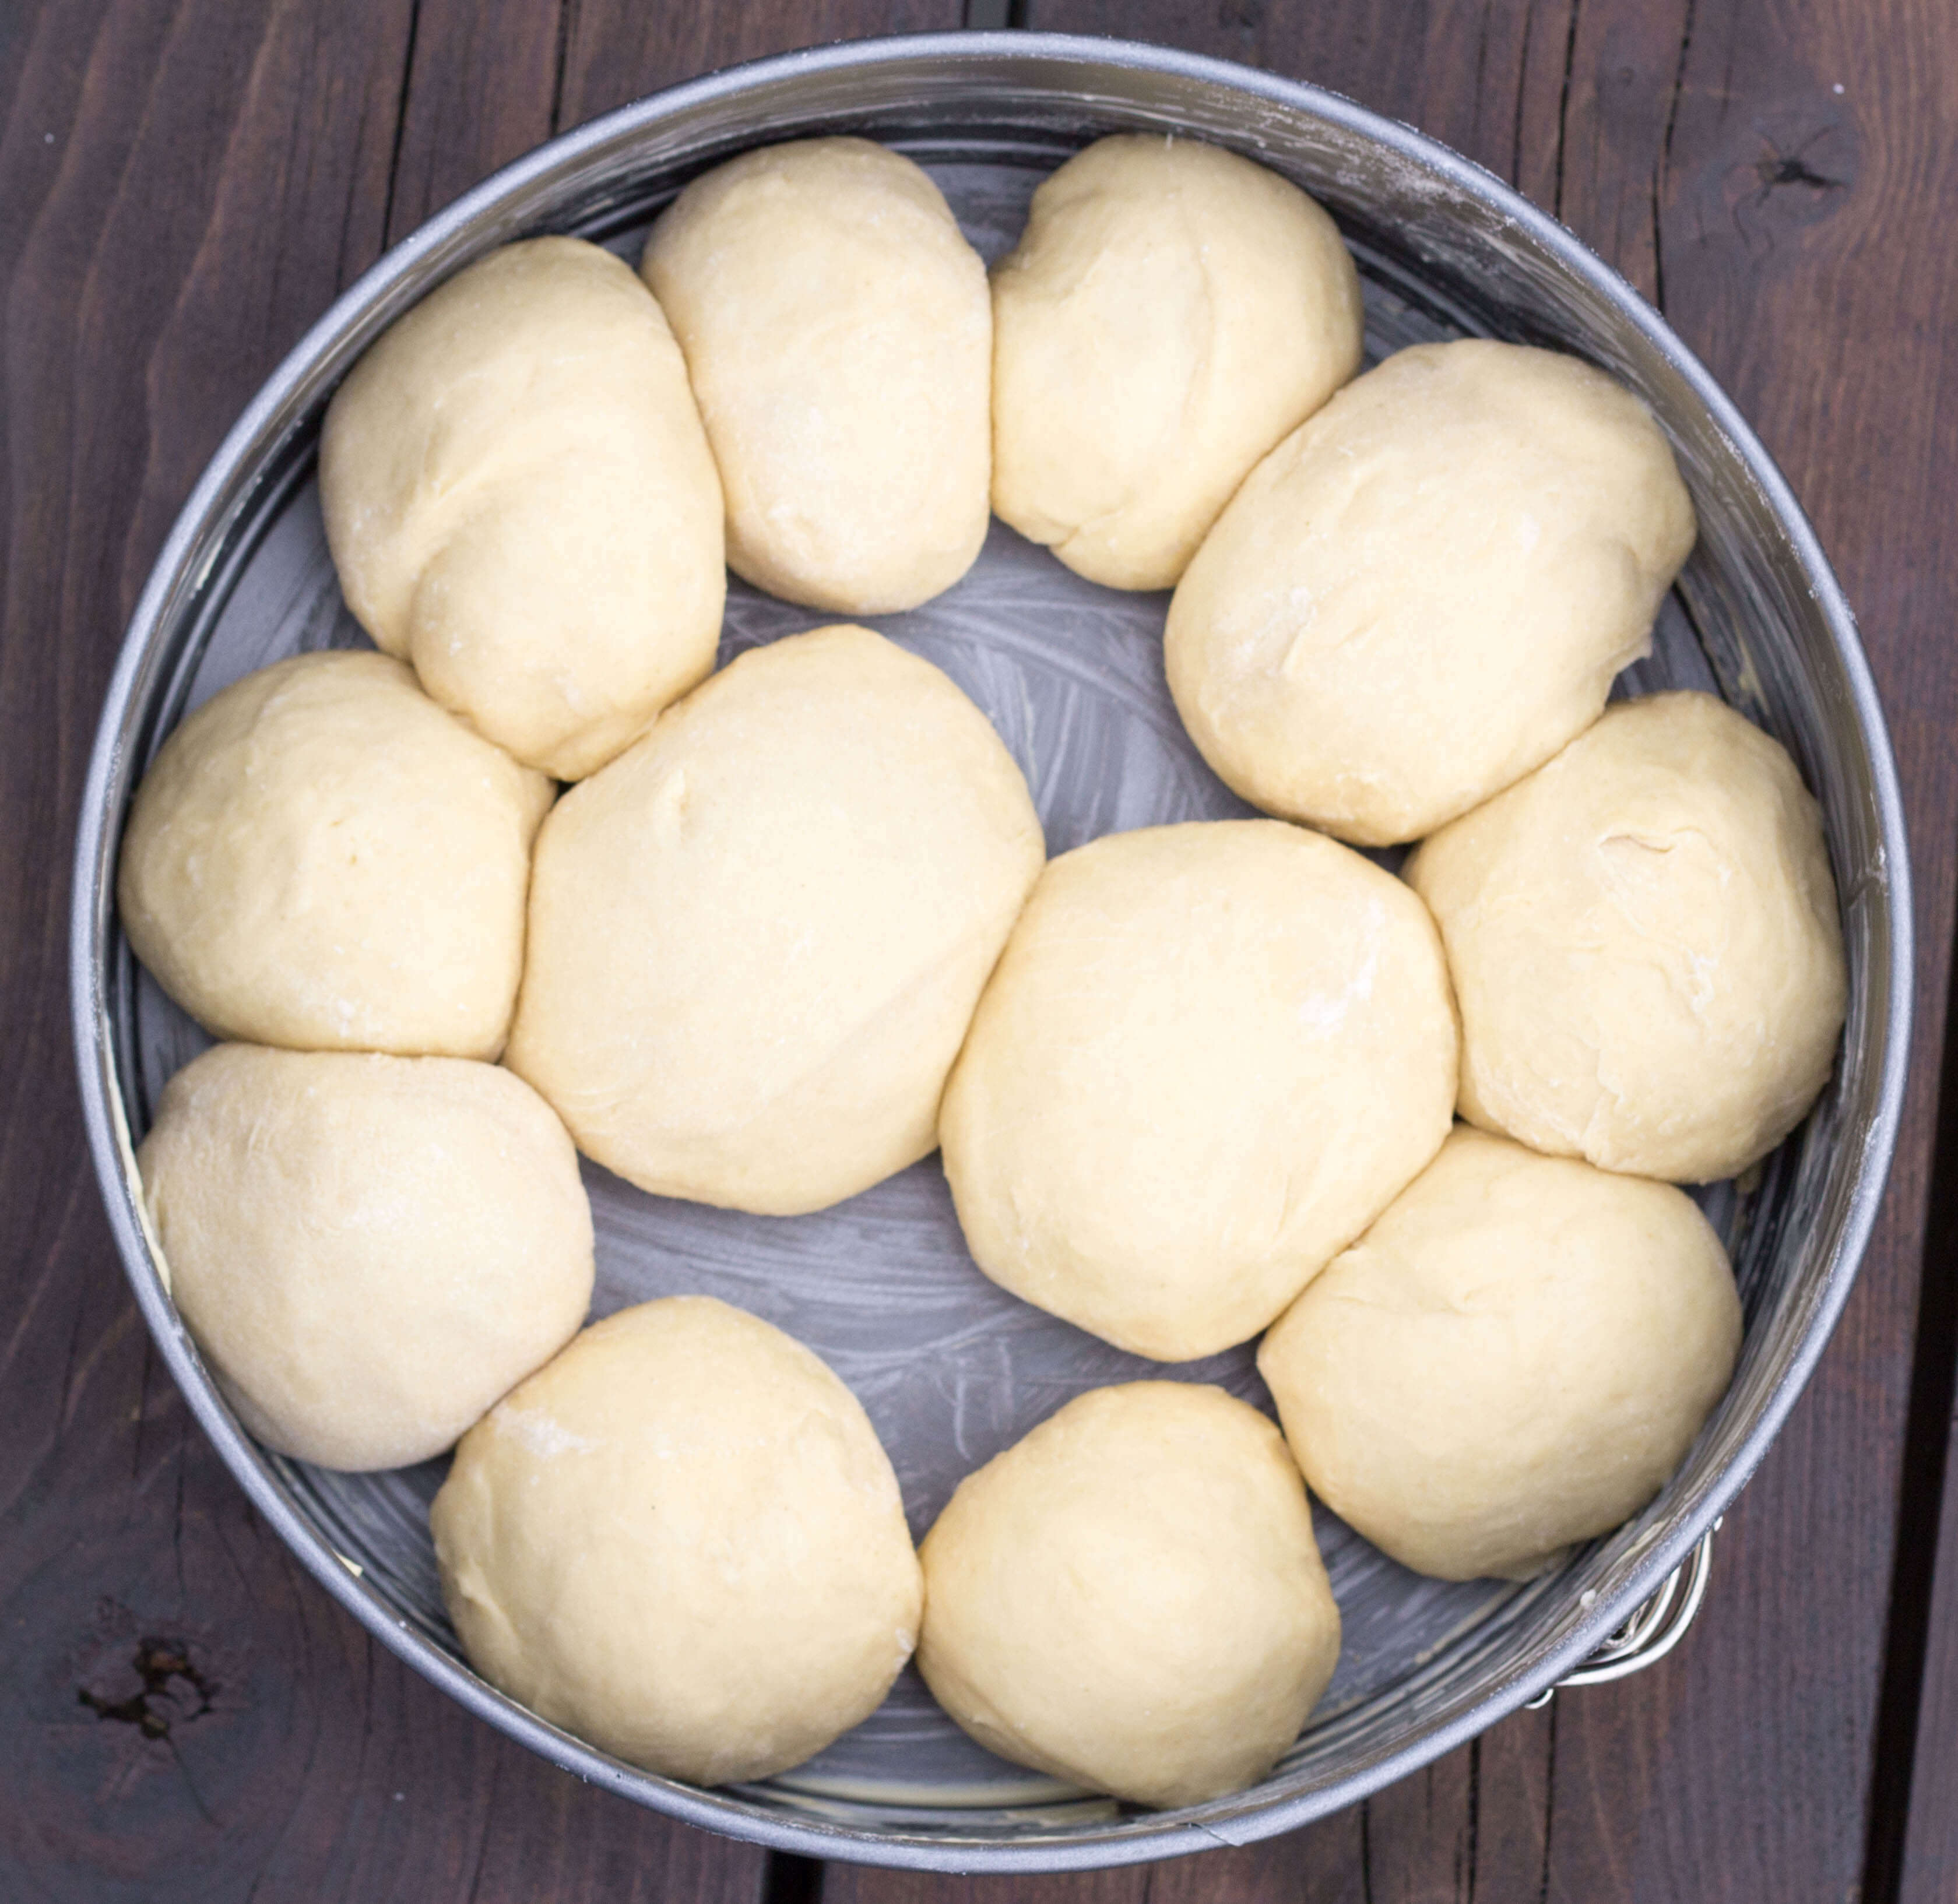
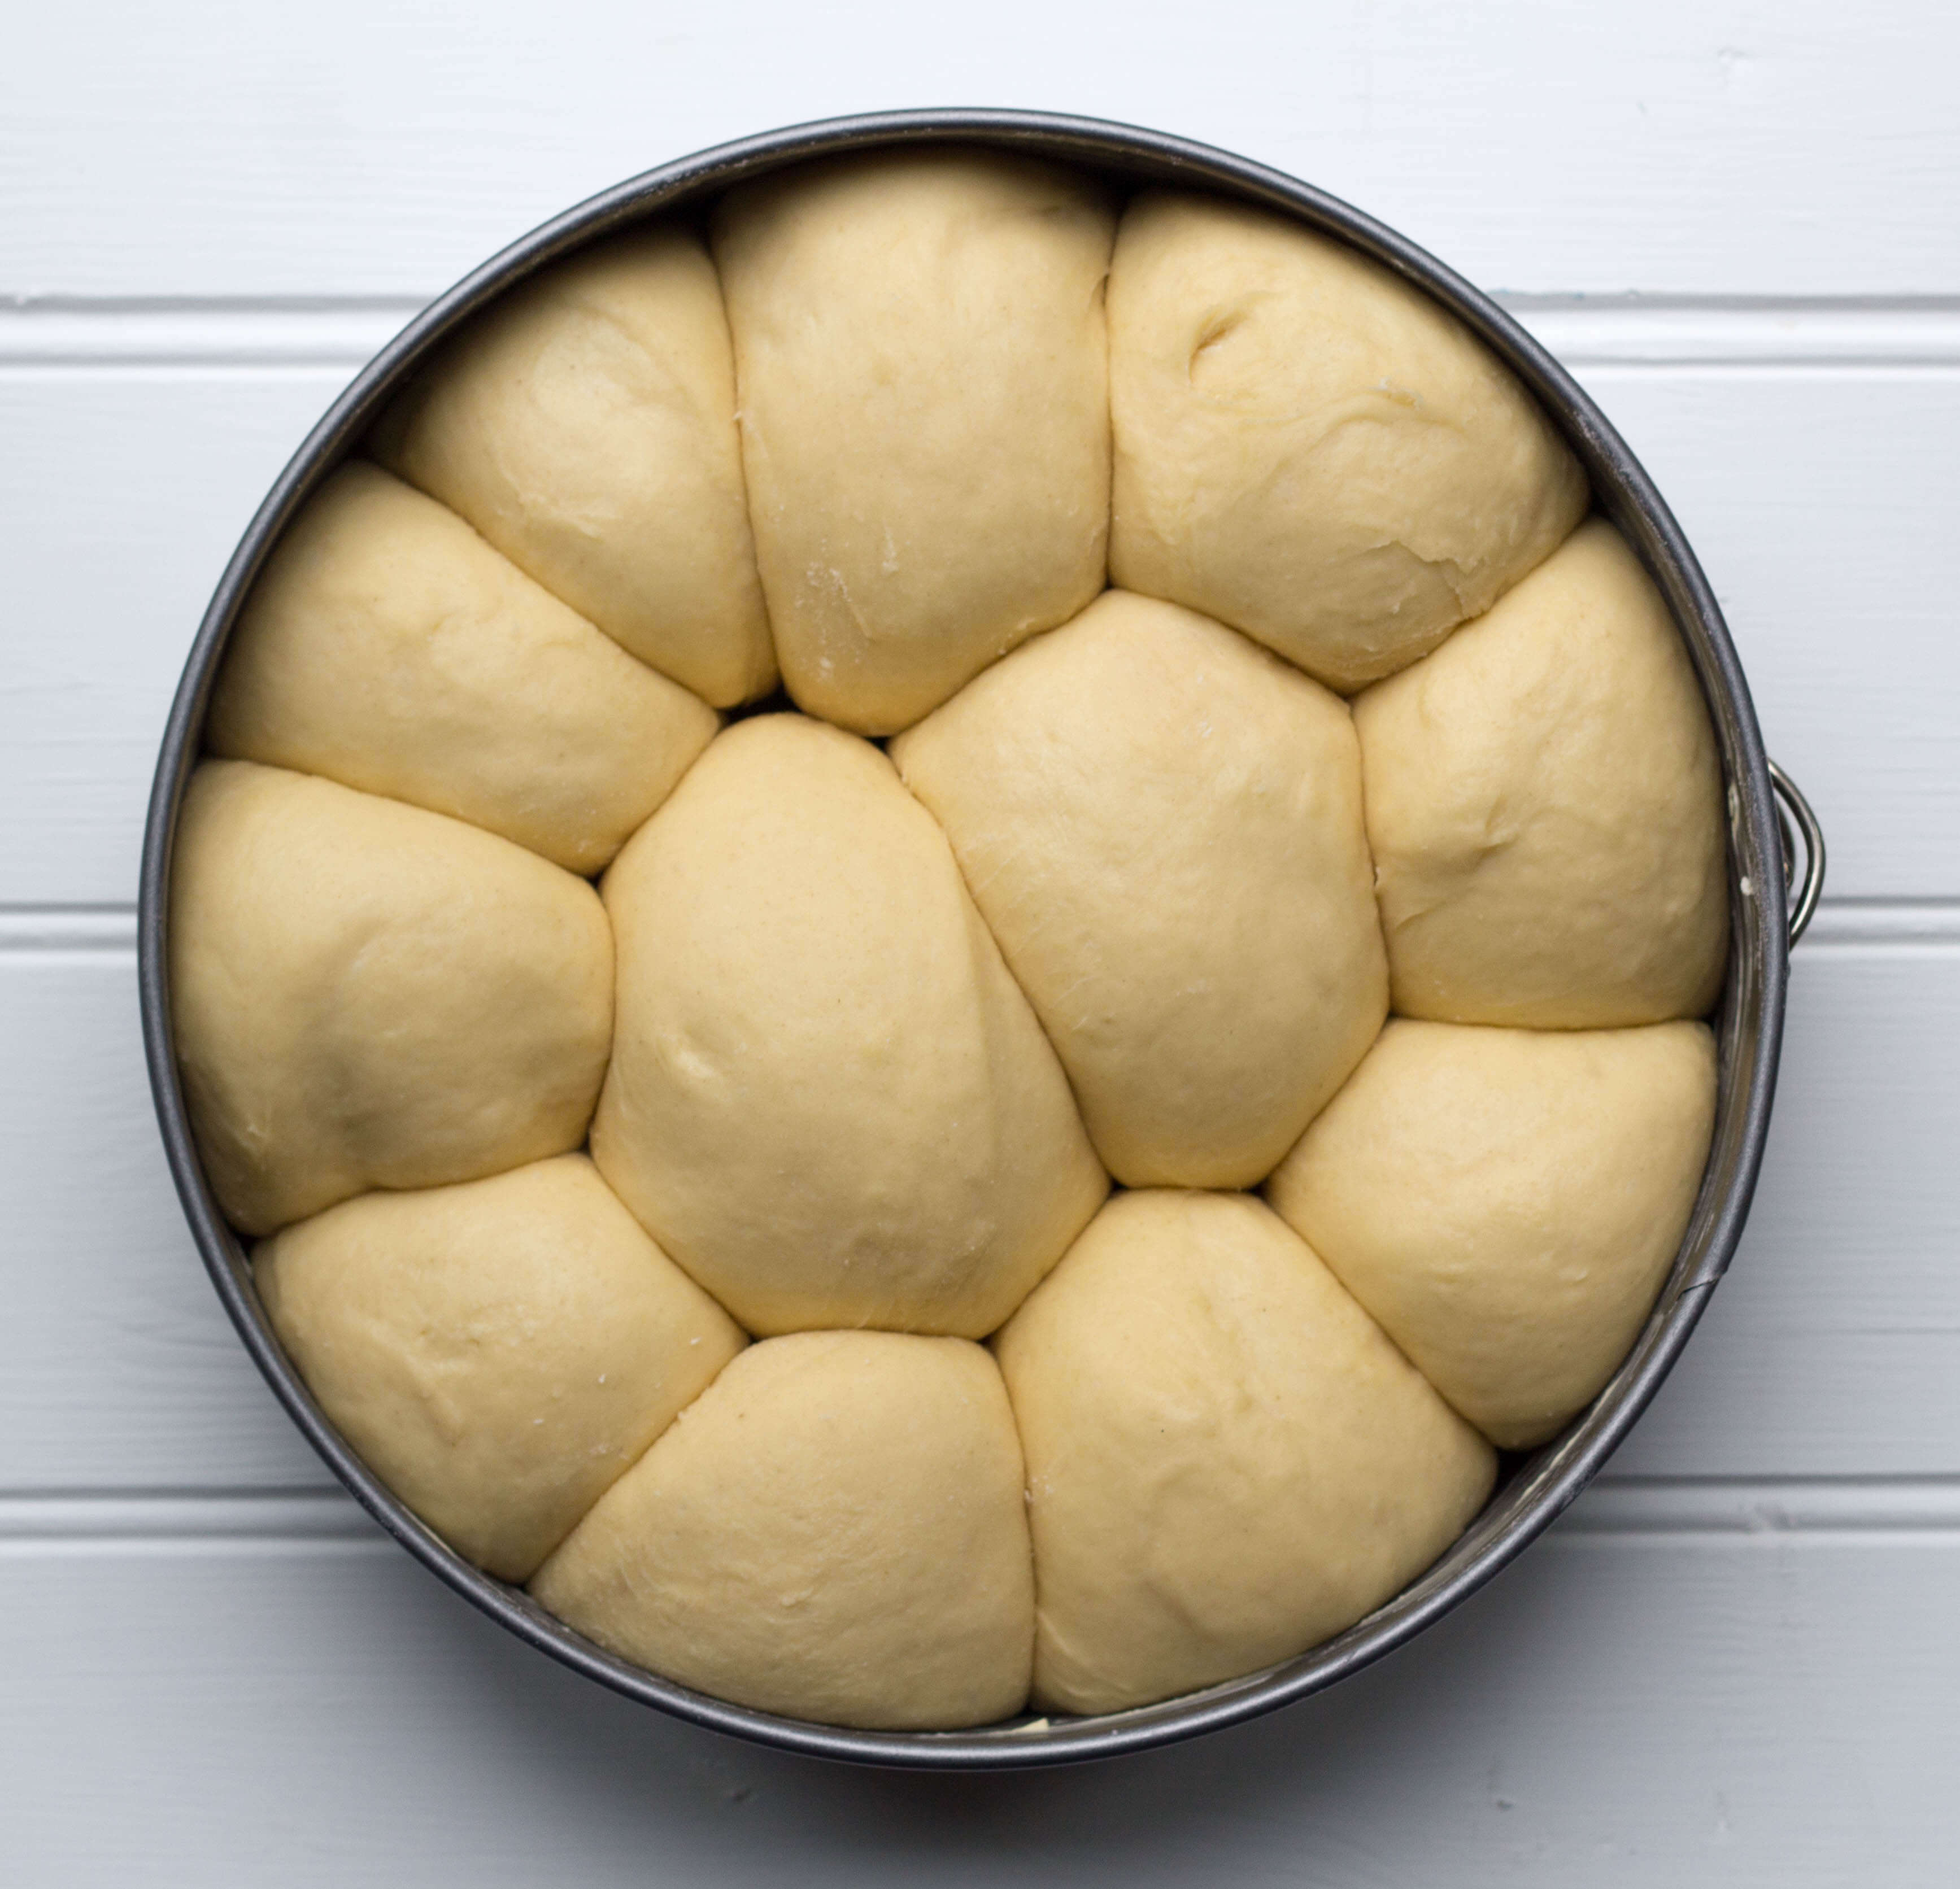
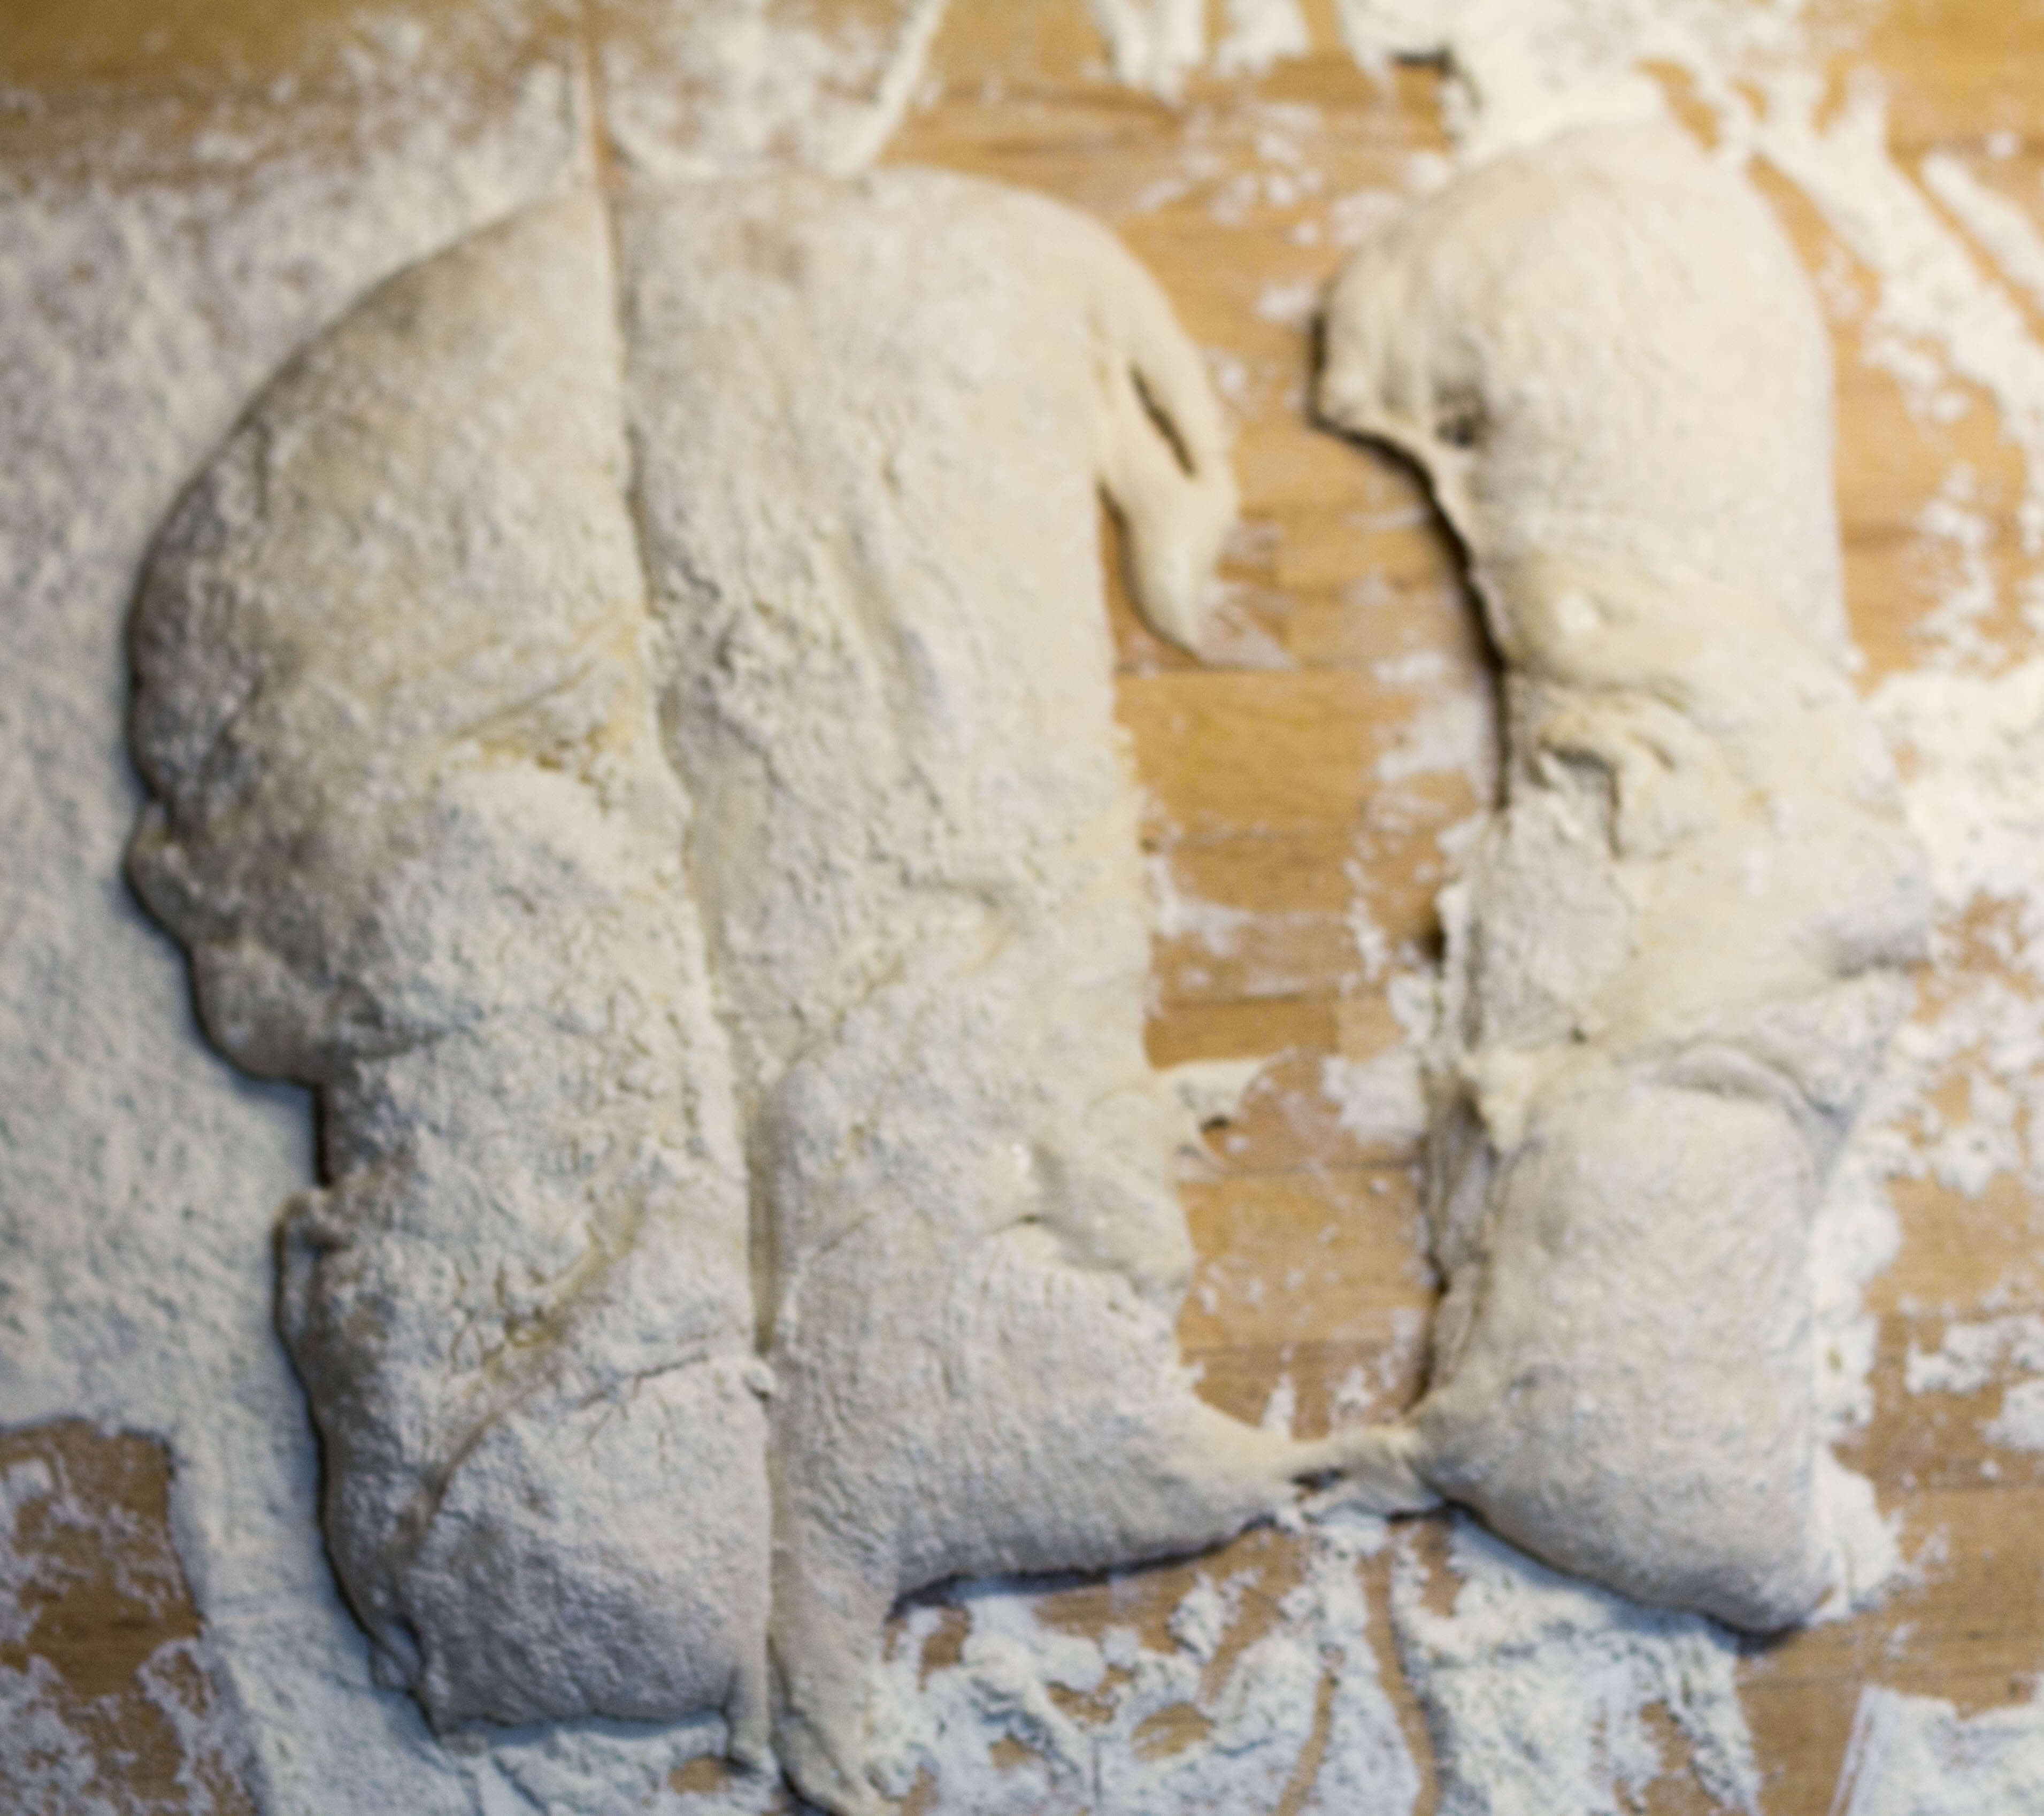
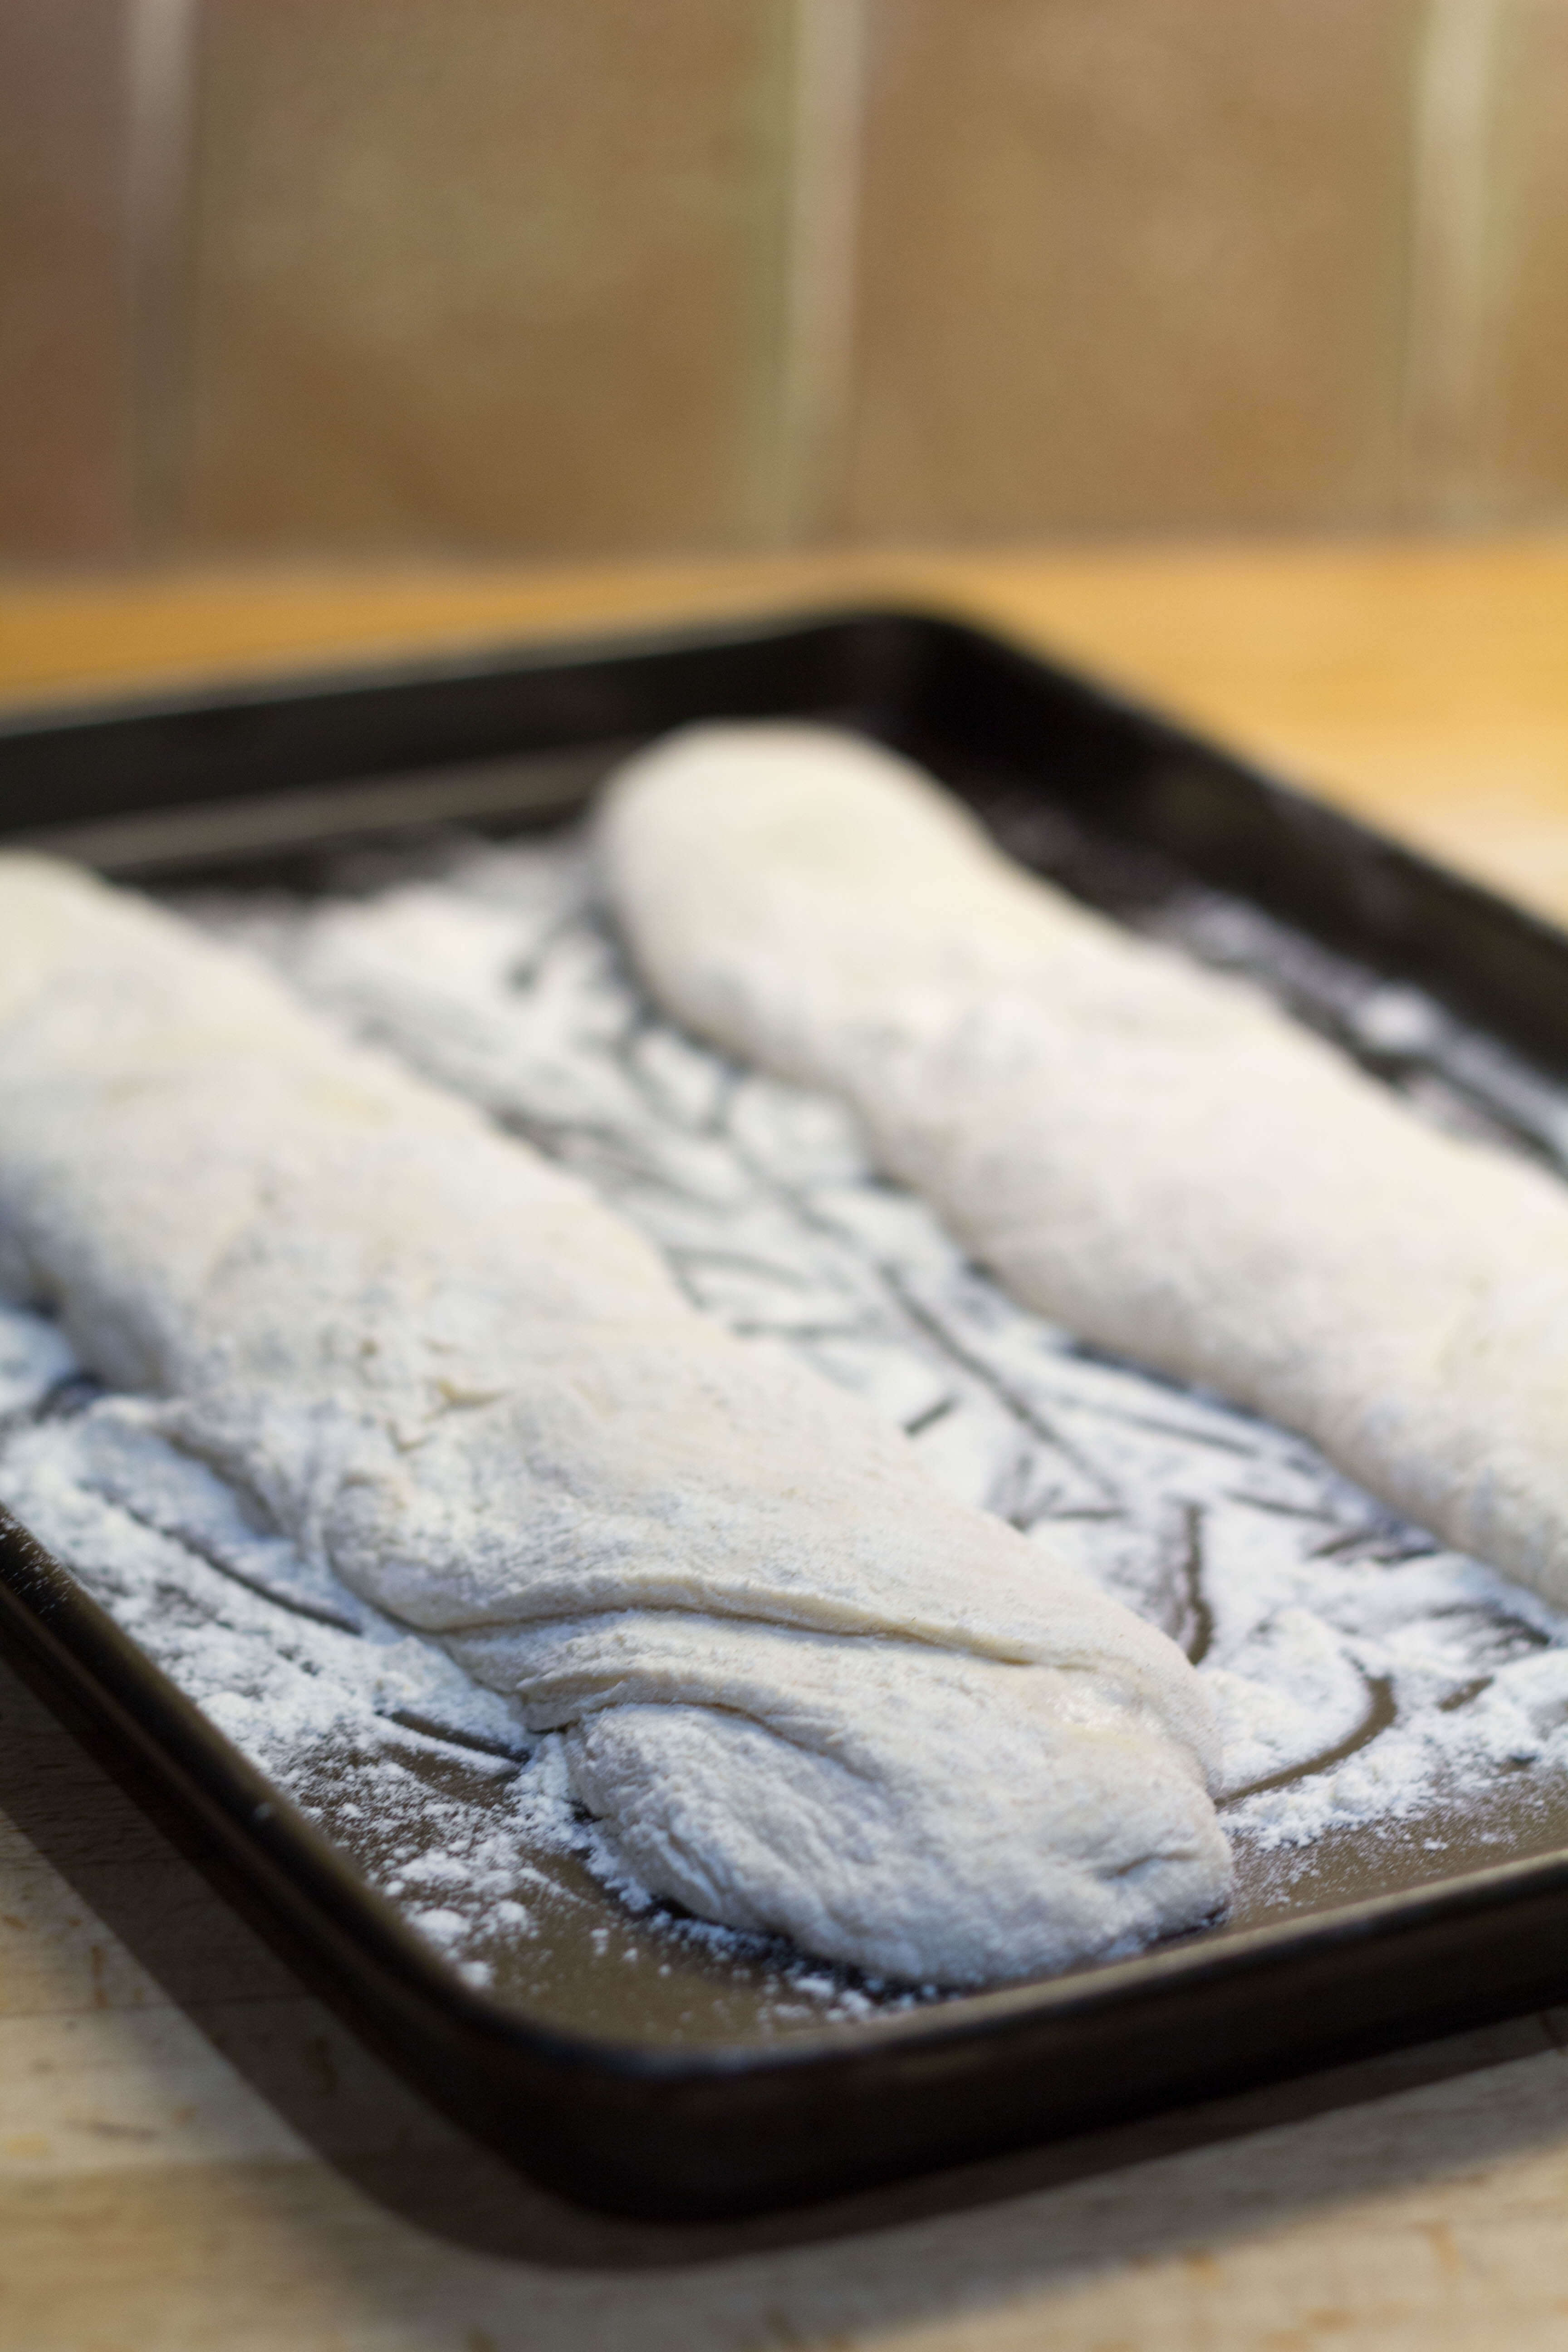
- Once risen, knead for a minute to knock the air out and divide the dough into 50g balls. You should get around 9-10.
- Line a baking tray with baking parchment.
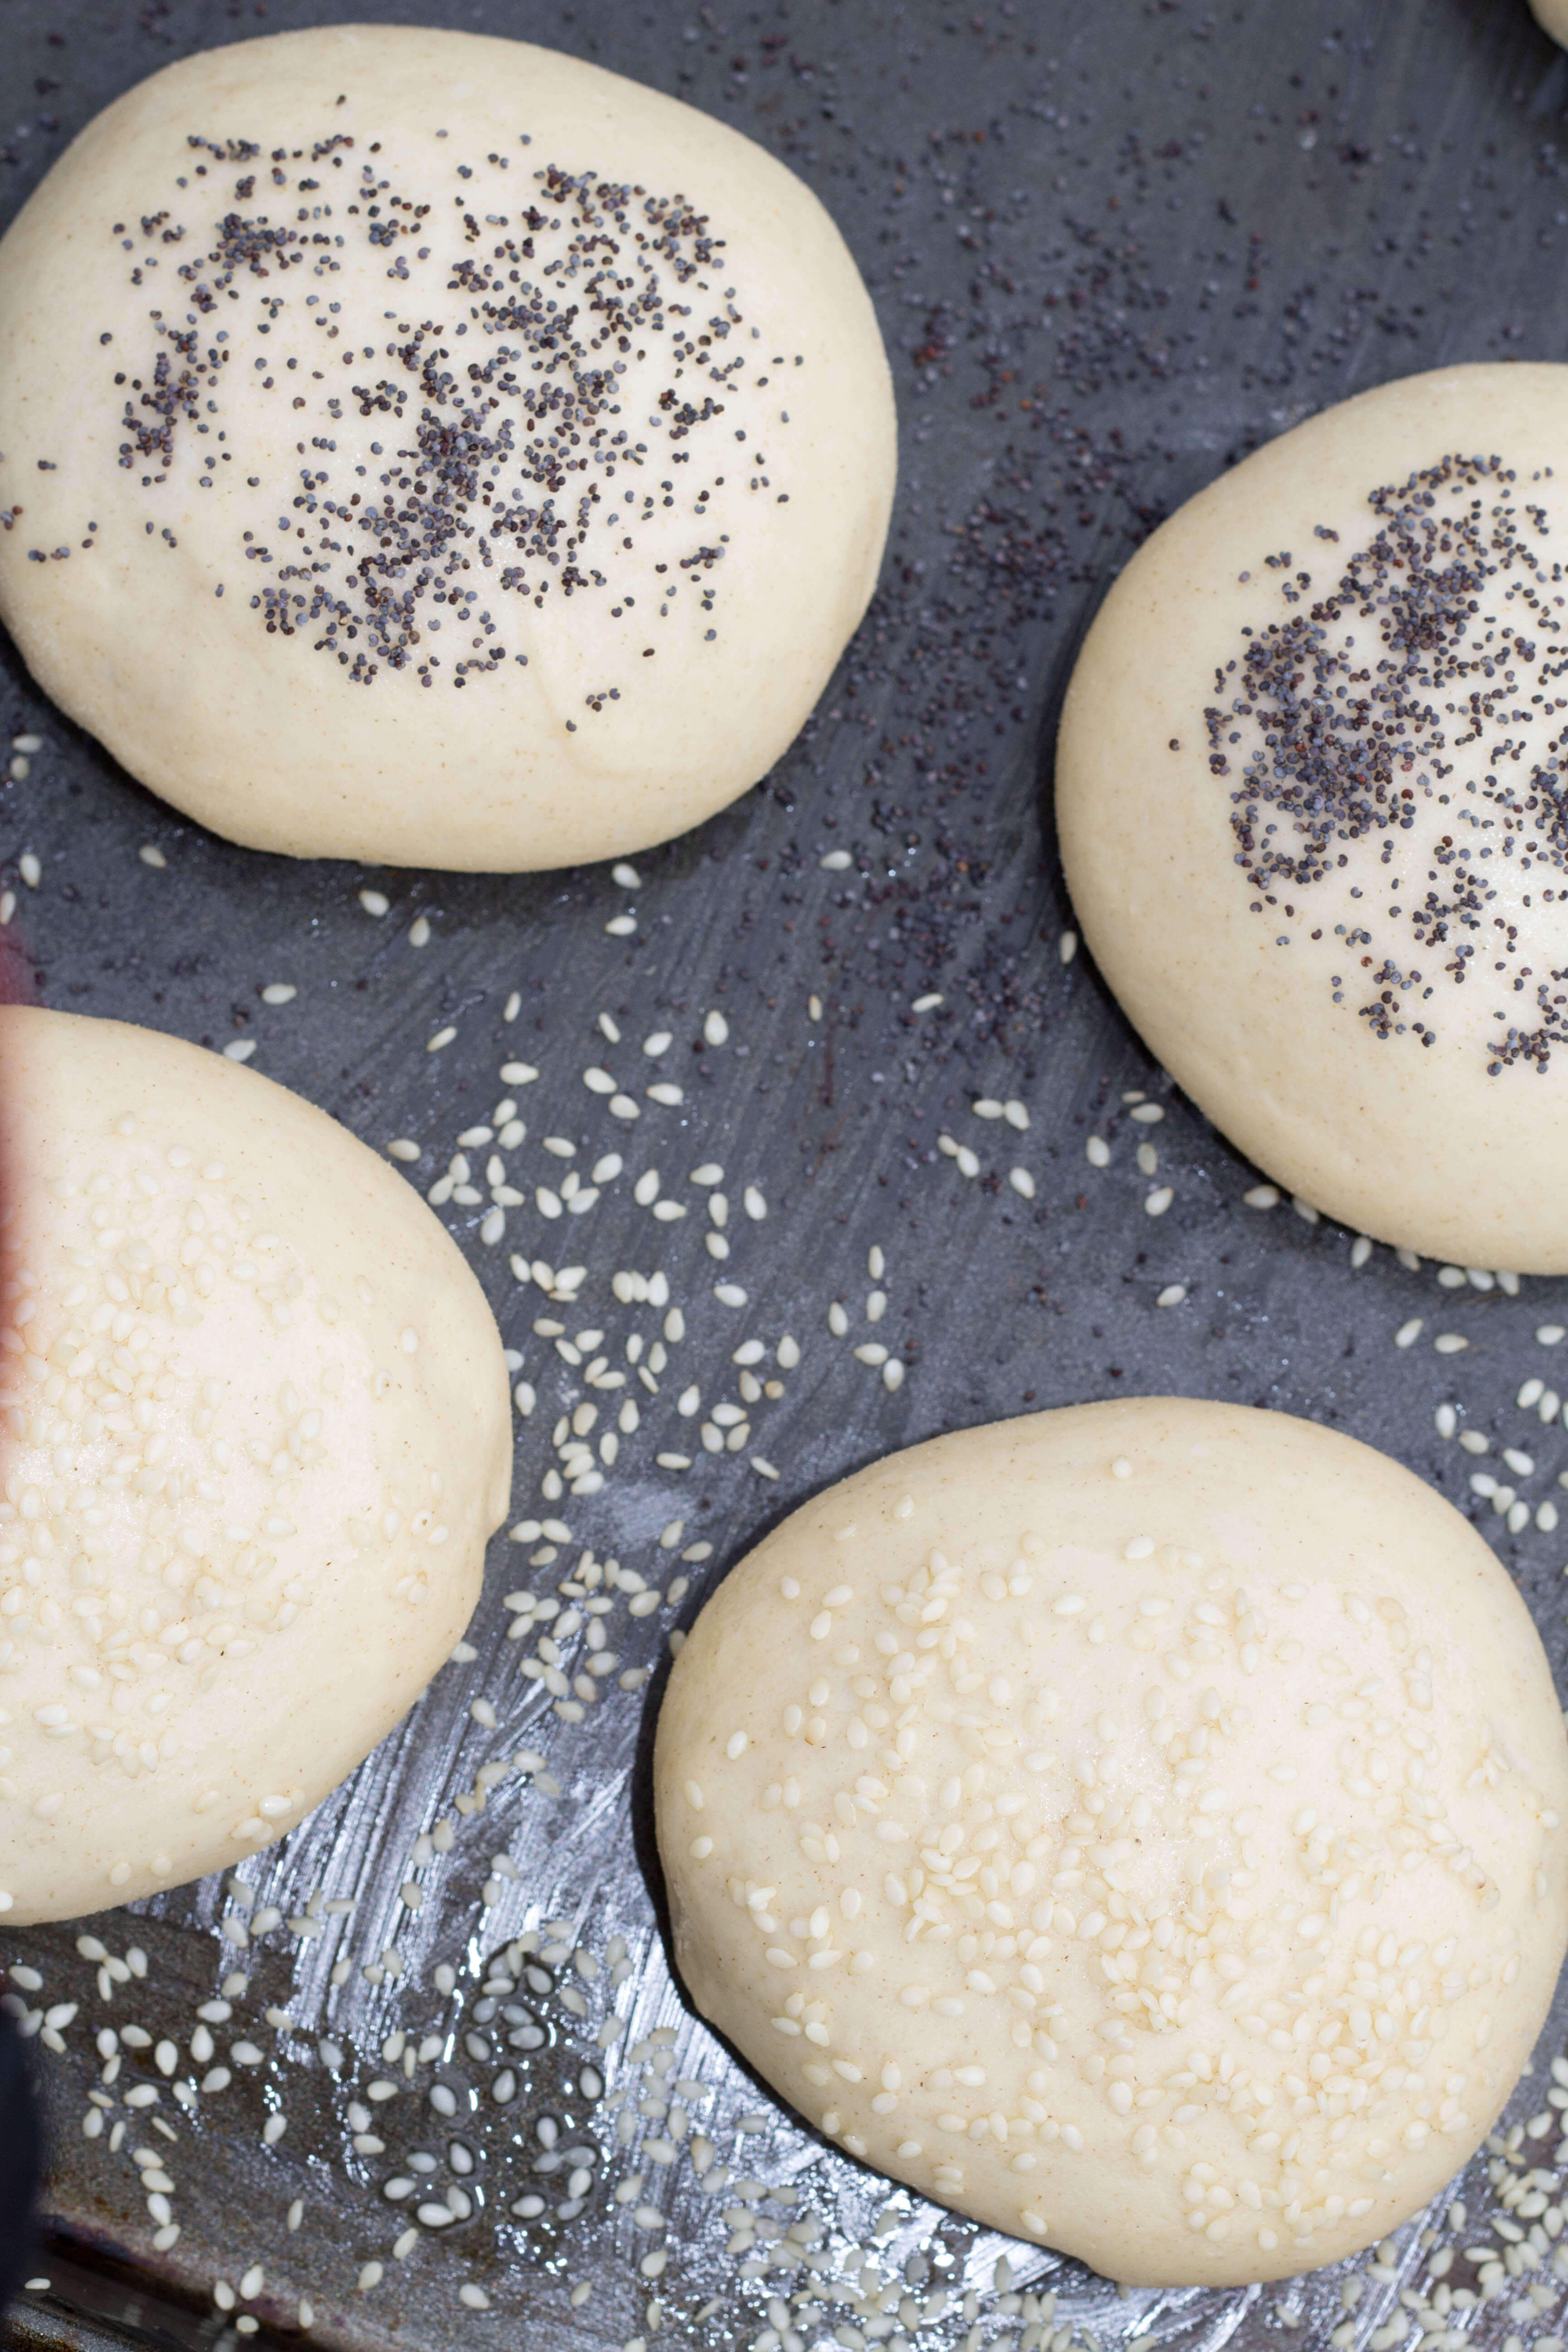
- Shape each piece of dough into a tight ball and place them onto the baking tray giving them room to rise.
- Oil a piece of cling film and gently lay over the top of the rolls to stop them drying out.
- Allow to rise again until they are double in size.
- Preheat the oven to 180 degrees C /160 degrees C Fan, and bake for about 15 minutes, until golden.
- Dust with some icing sugar on top.
- 130g warm water
- 250g white bread flour
- 1 teaspoon dry yeast
- 25g soft brown sugar
- 60g Biscoff spread
- 1 teaspoon vanilla bean extract
- ½ teaspoon salt
- ½ teaspoon cinnamon
- ⅛ teaspoon nutmeg
- ⅛ teaspoon ground ginger
- ⅛ teaspoon ground cloves
- 30g vegetable oil (I use rapeseed oil)
- Icing sugar to dust
- Whisk together the hand warm water with the Biscoff spread, brown sugar, vanilla extract and yeast.
- In the bowl of a stand mixer with a dough hook, mix together the flour, salt and spices.
- Pour in the liquid mixture and add the oil.
- Knead for 7 minutes in the mix until the dough is smooth and elastic. If doing this by hand, knead for about 10 minutes.
- Place the dough into a lightly oiled bowl, cover with clingfilm and allow to rise in a warm place until doubled in size (about 2 hours).
- Once risen, knead for a minute to knock the air out and divide the dough into 50g balls. You should get around 9-10.
- Line a baking tray with baking parchment.
- Shape each piece of dough into a tight ball and place them onto the baking tray giving them room to rise.
- Oil a piece of cling film and gently lay over the top of the rolls to stop them drying out.
- Allow to rise again until they are double in size.
- Preheat the oven to 180 degrees C /160 degrees C Fan, and bake for about 15 minutes, until golden.
- Dust with icing sugar