• Skip to primary navigation
  • Skip to main content
  • Home
  • About Me
  • Recipes
    • Cake
    • Biscuits
    • Bread
    • Pastry
    • Tray Bakes
    • Condiments
    • Bake with the kids
    • Anti Inflammatory Baking
  • Conversion Charts. Cups – Grams – Ounces
  • Blog

Cluck, Muck & Cook

Baking & Foodie Blog From Sunny Brentwood Essex

Traybakes

2 November 29, 2018 Bake with the kids

Chocolate beetroot brownies

This year I had the pleasure to perform some baking demos at the Lichfield food festival. I love these types of events as I get to share my passion for baking with a live audience and often get to meet up with other bakers and chefs.

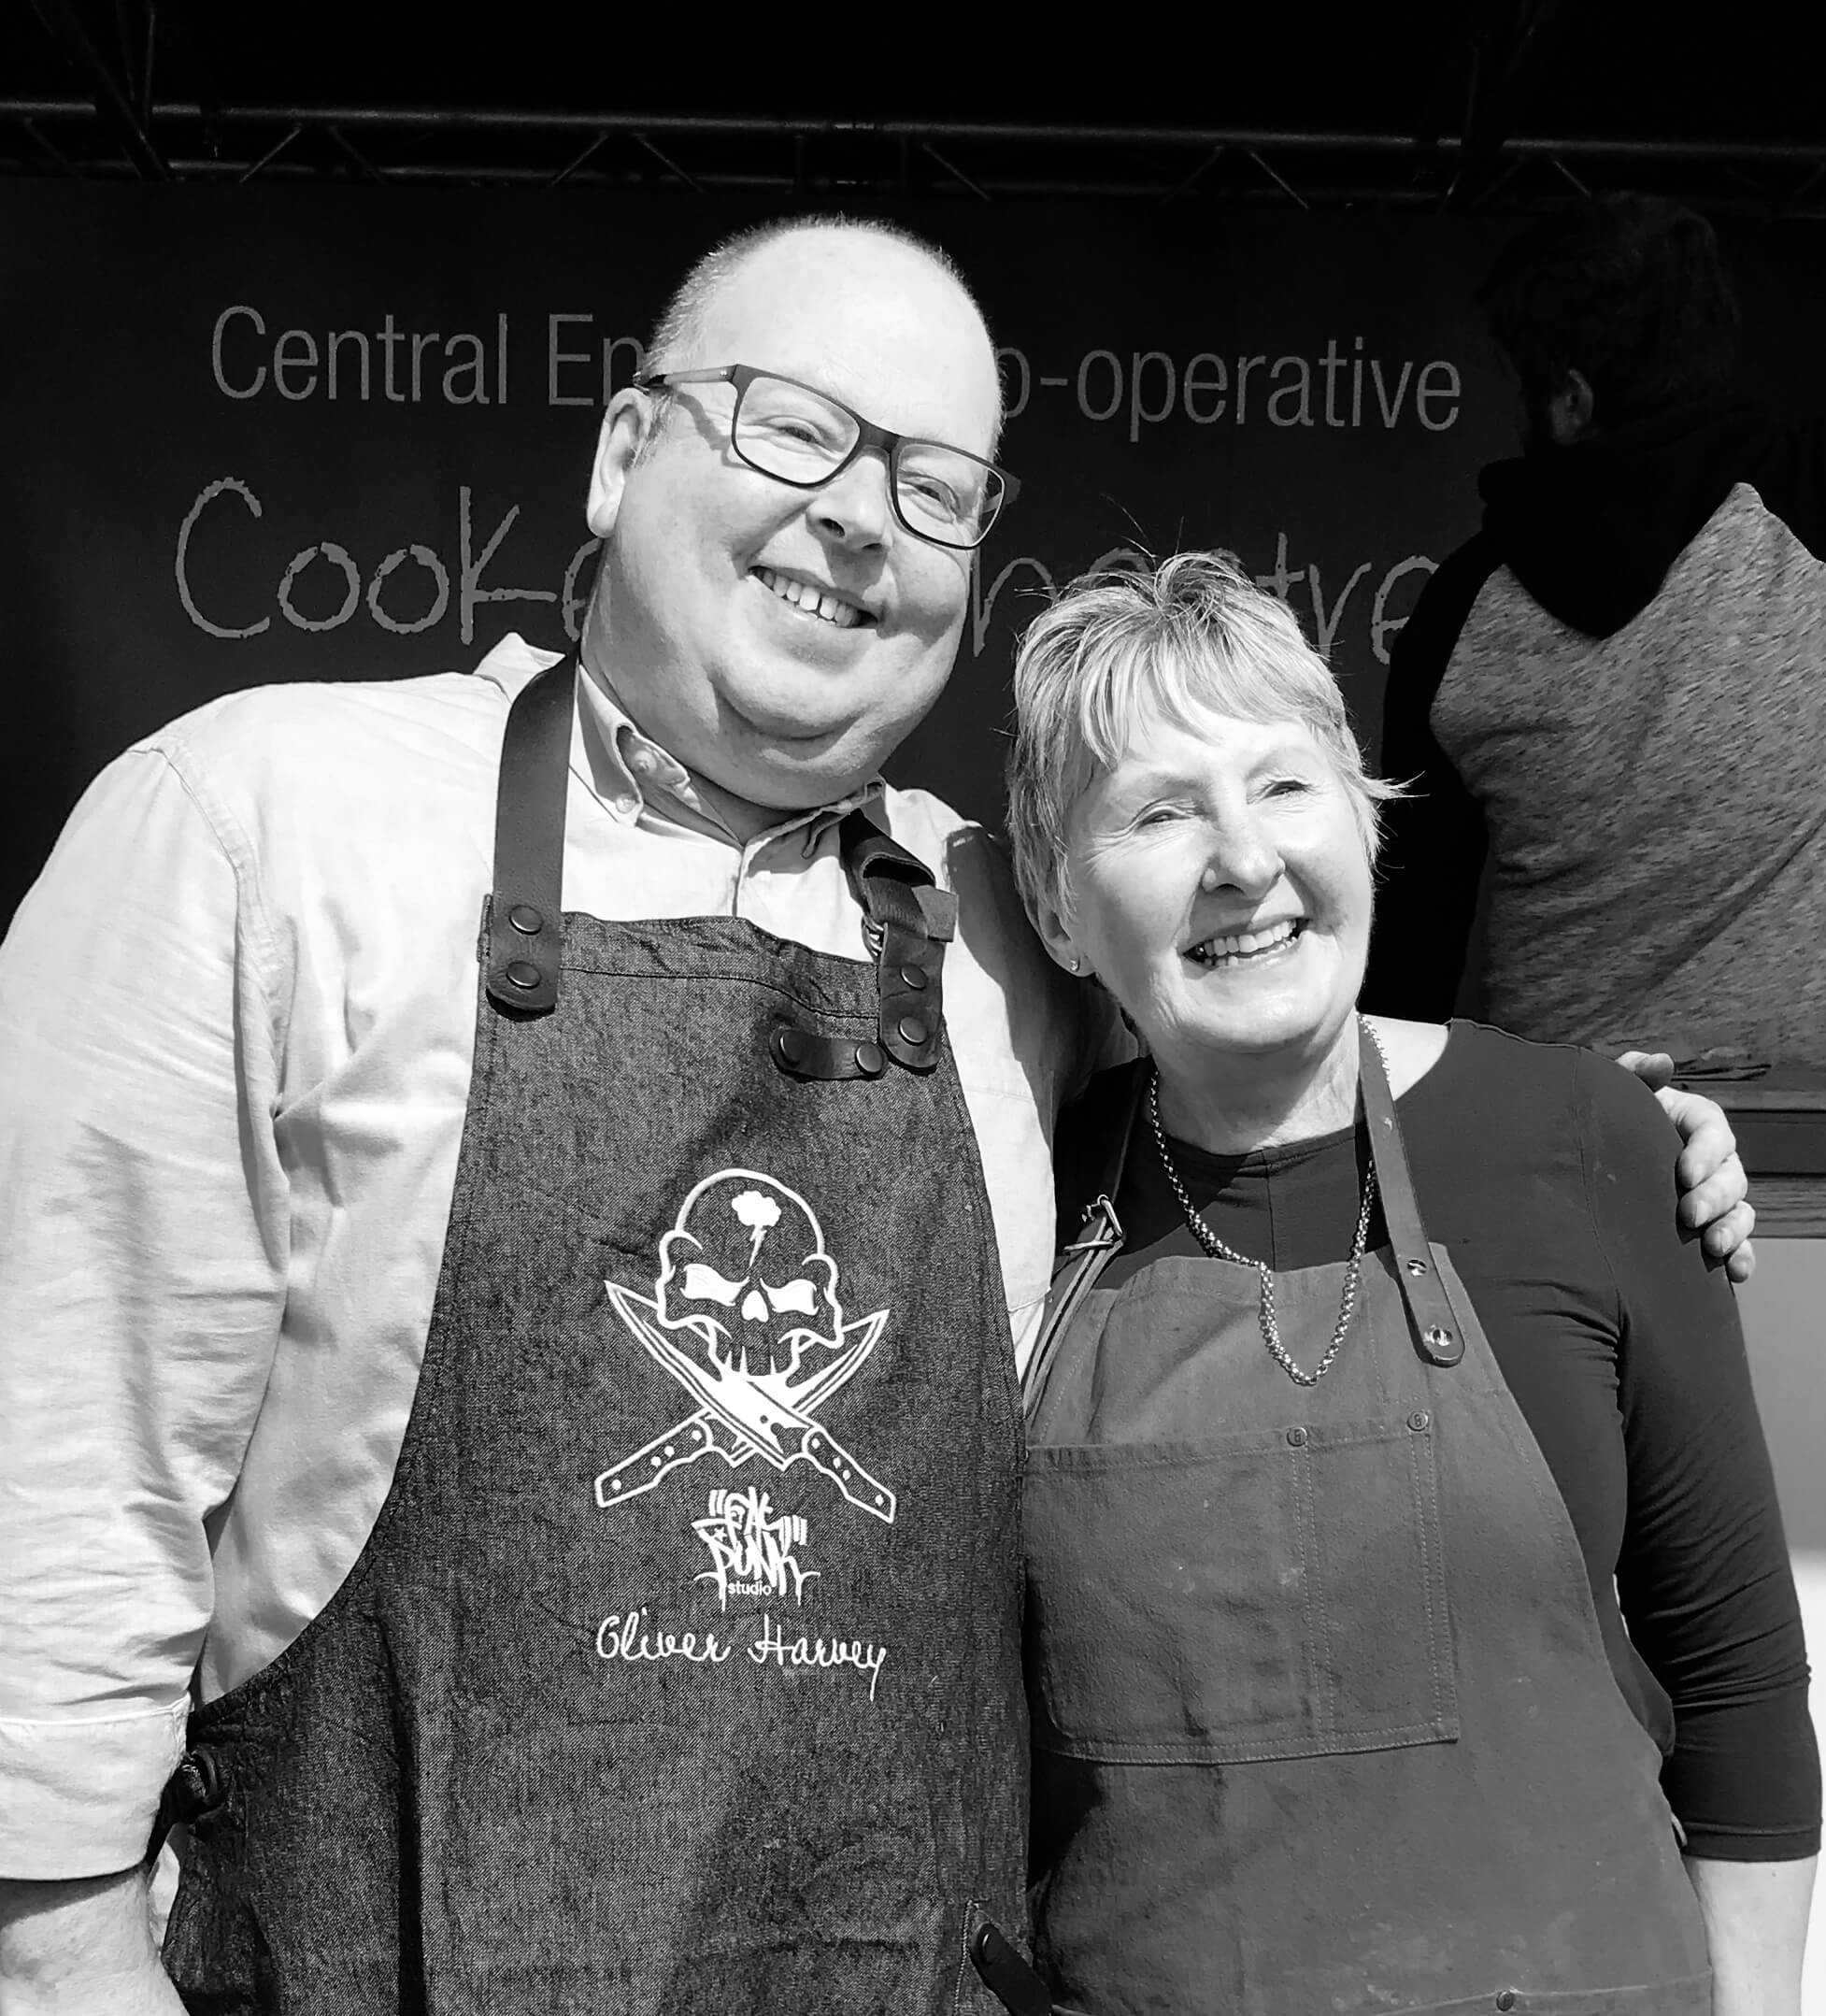
At the festival I was overjoyed to be on on the same day as Val Stones. She was a previous contestant on the Great British Bake Off and I am a big fan. When I met her it was like we had known each other for years. She is such a warm and lovely person and we had a great time chatting about our experiences and helping each other out when we were demoing and clearing up.

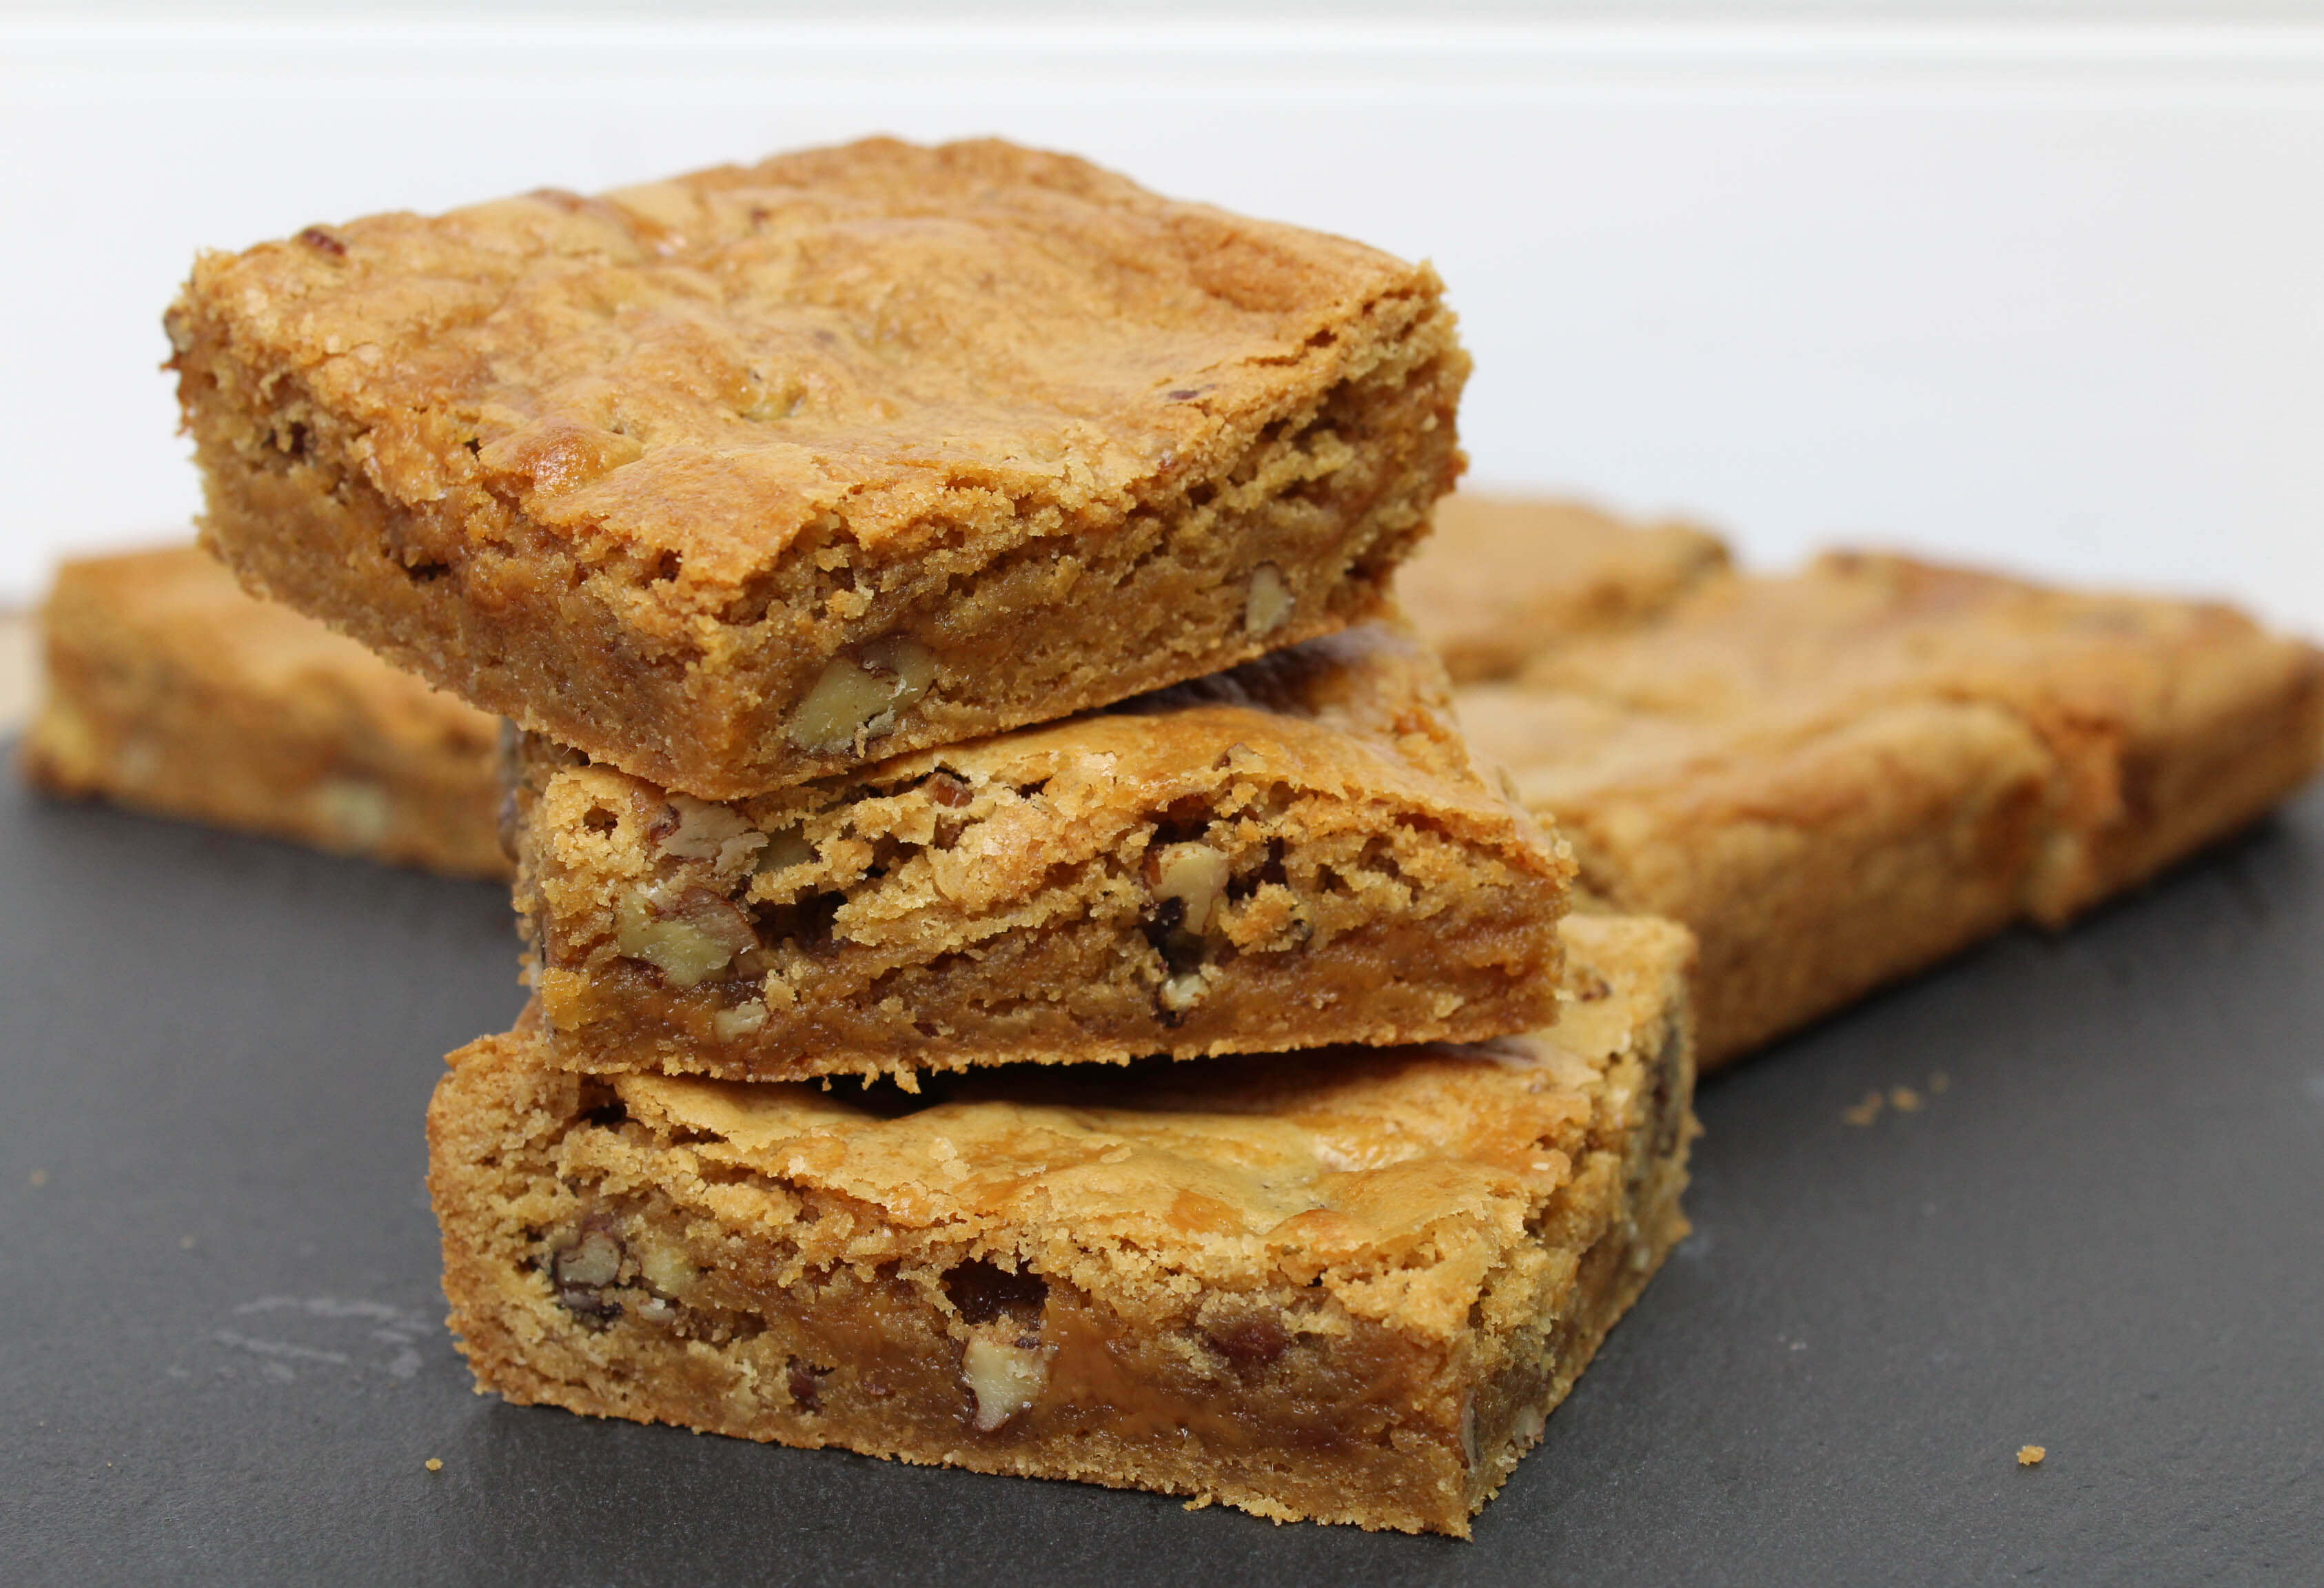
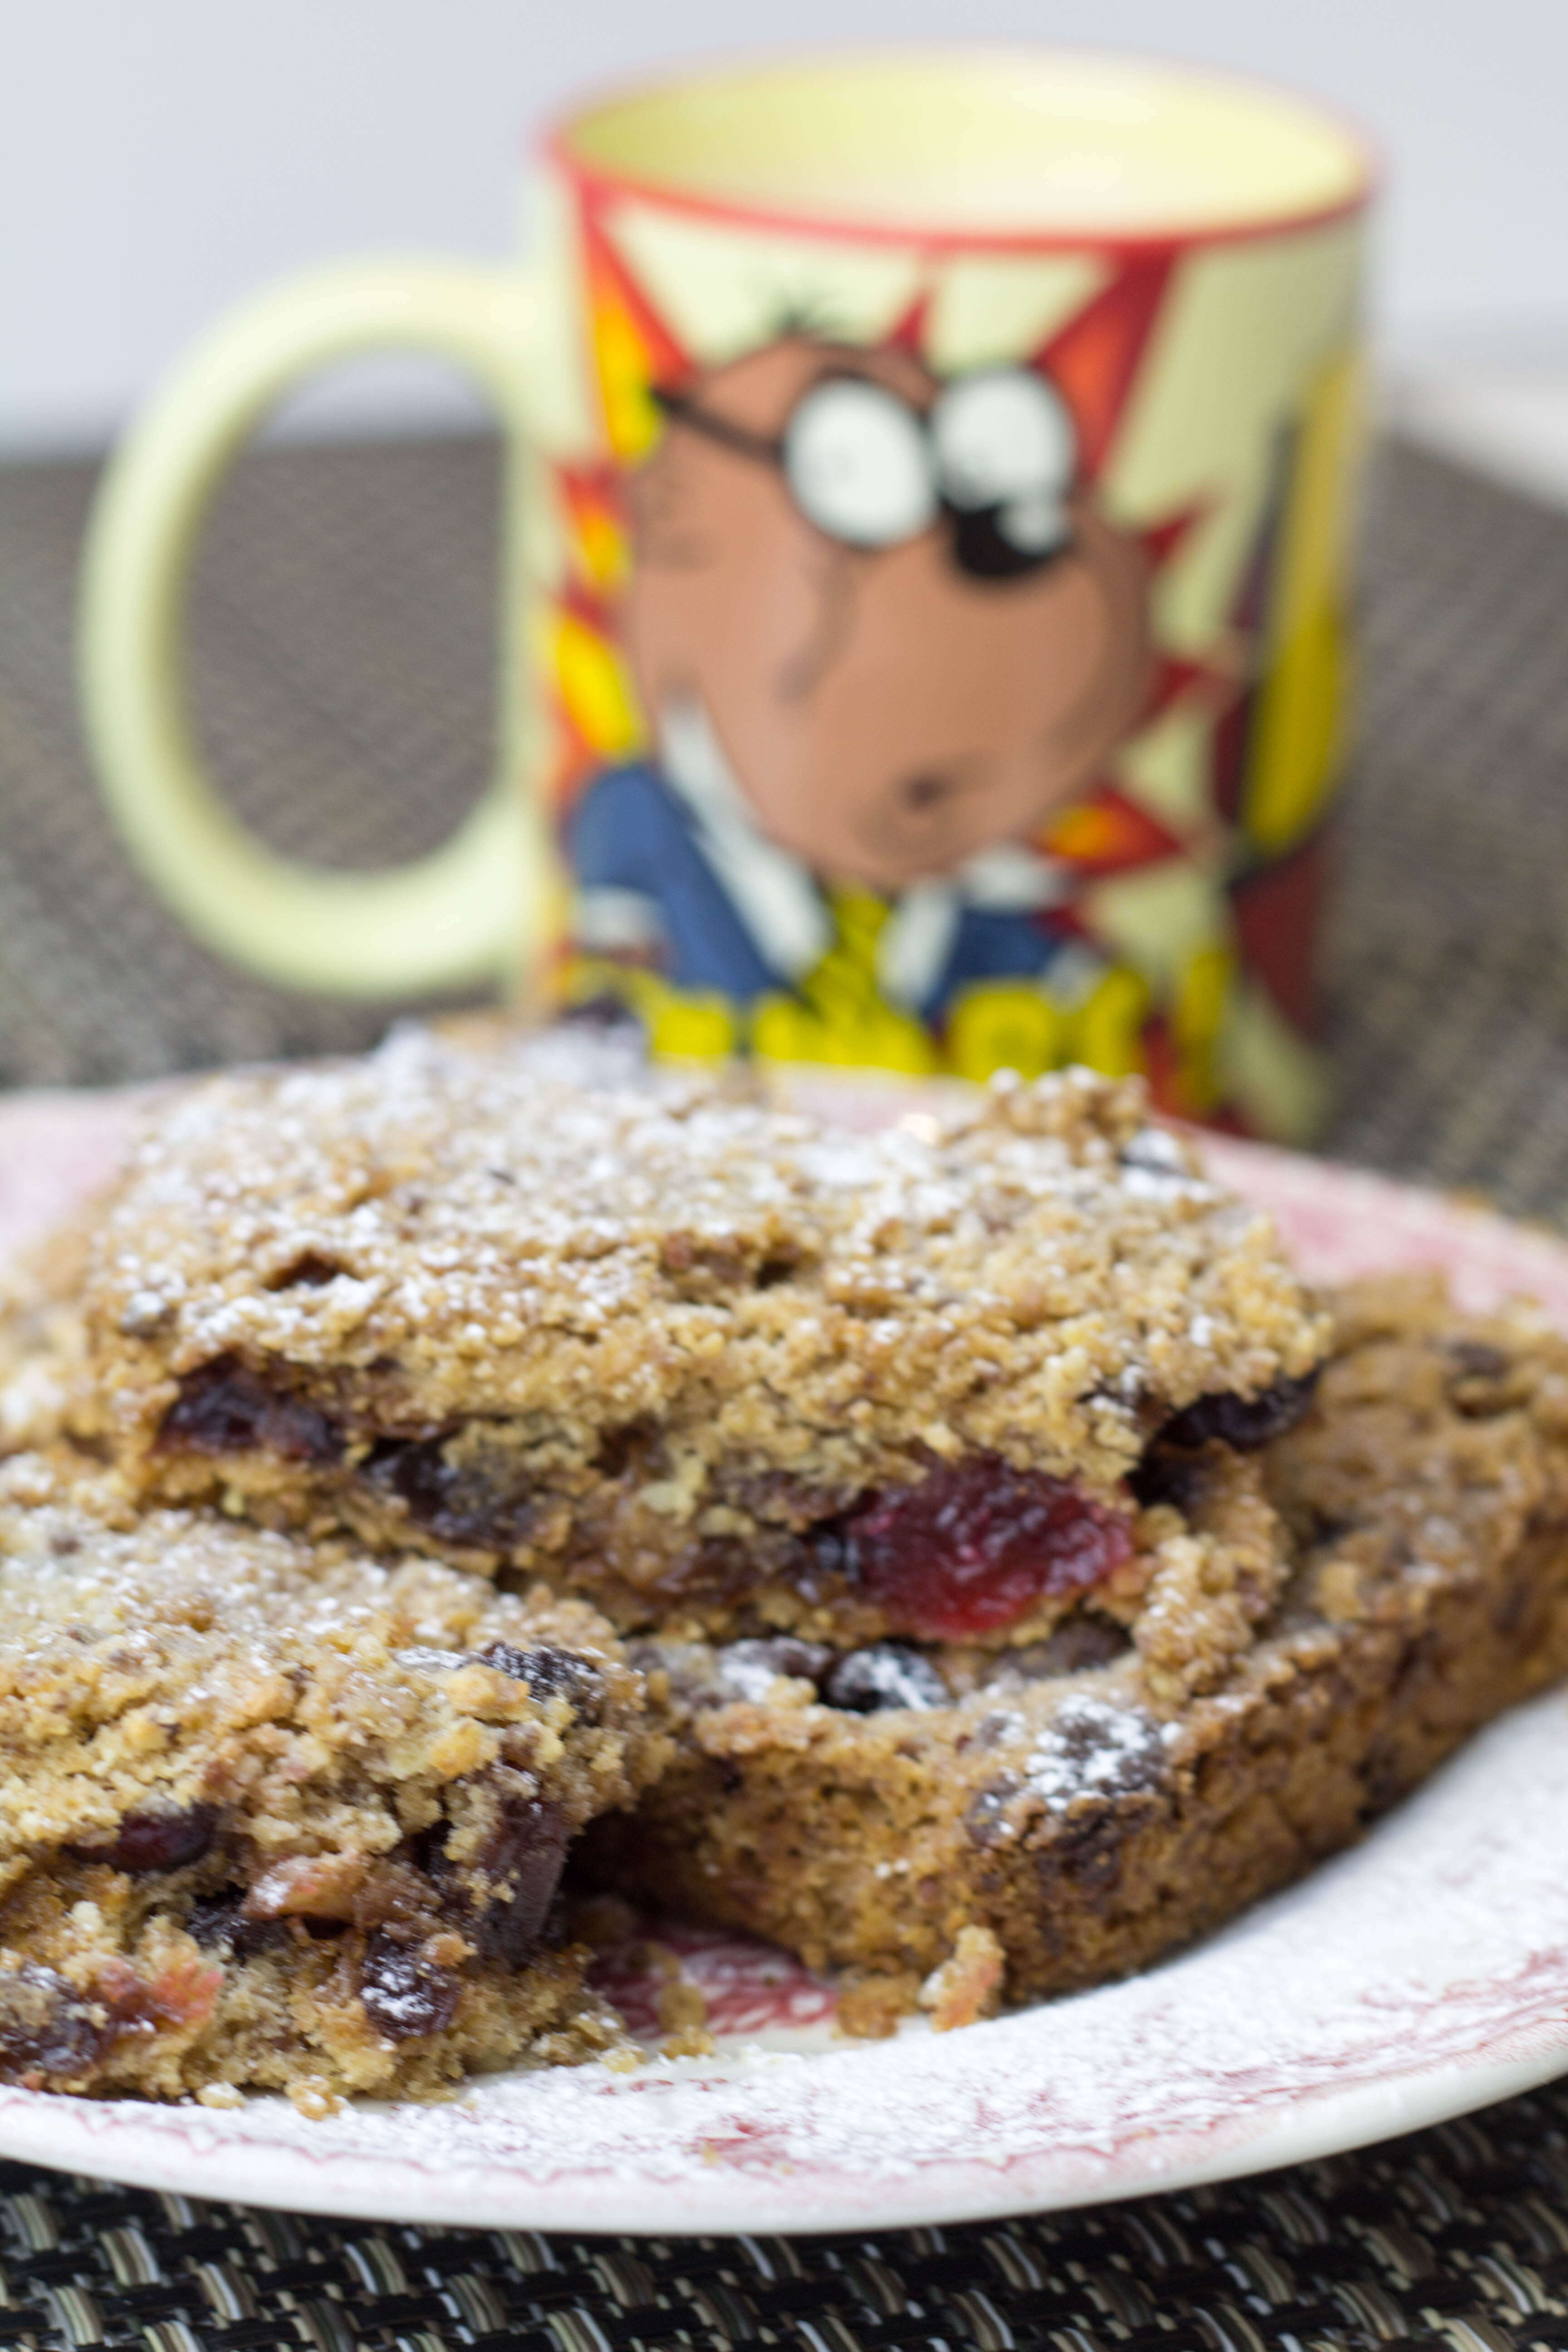
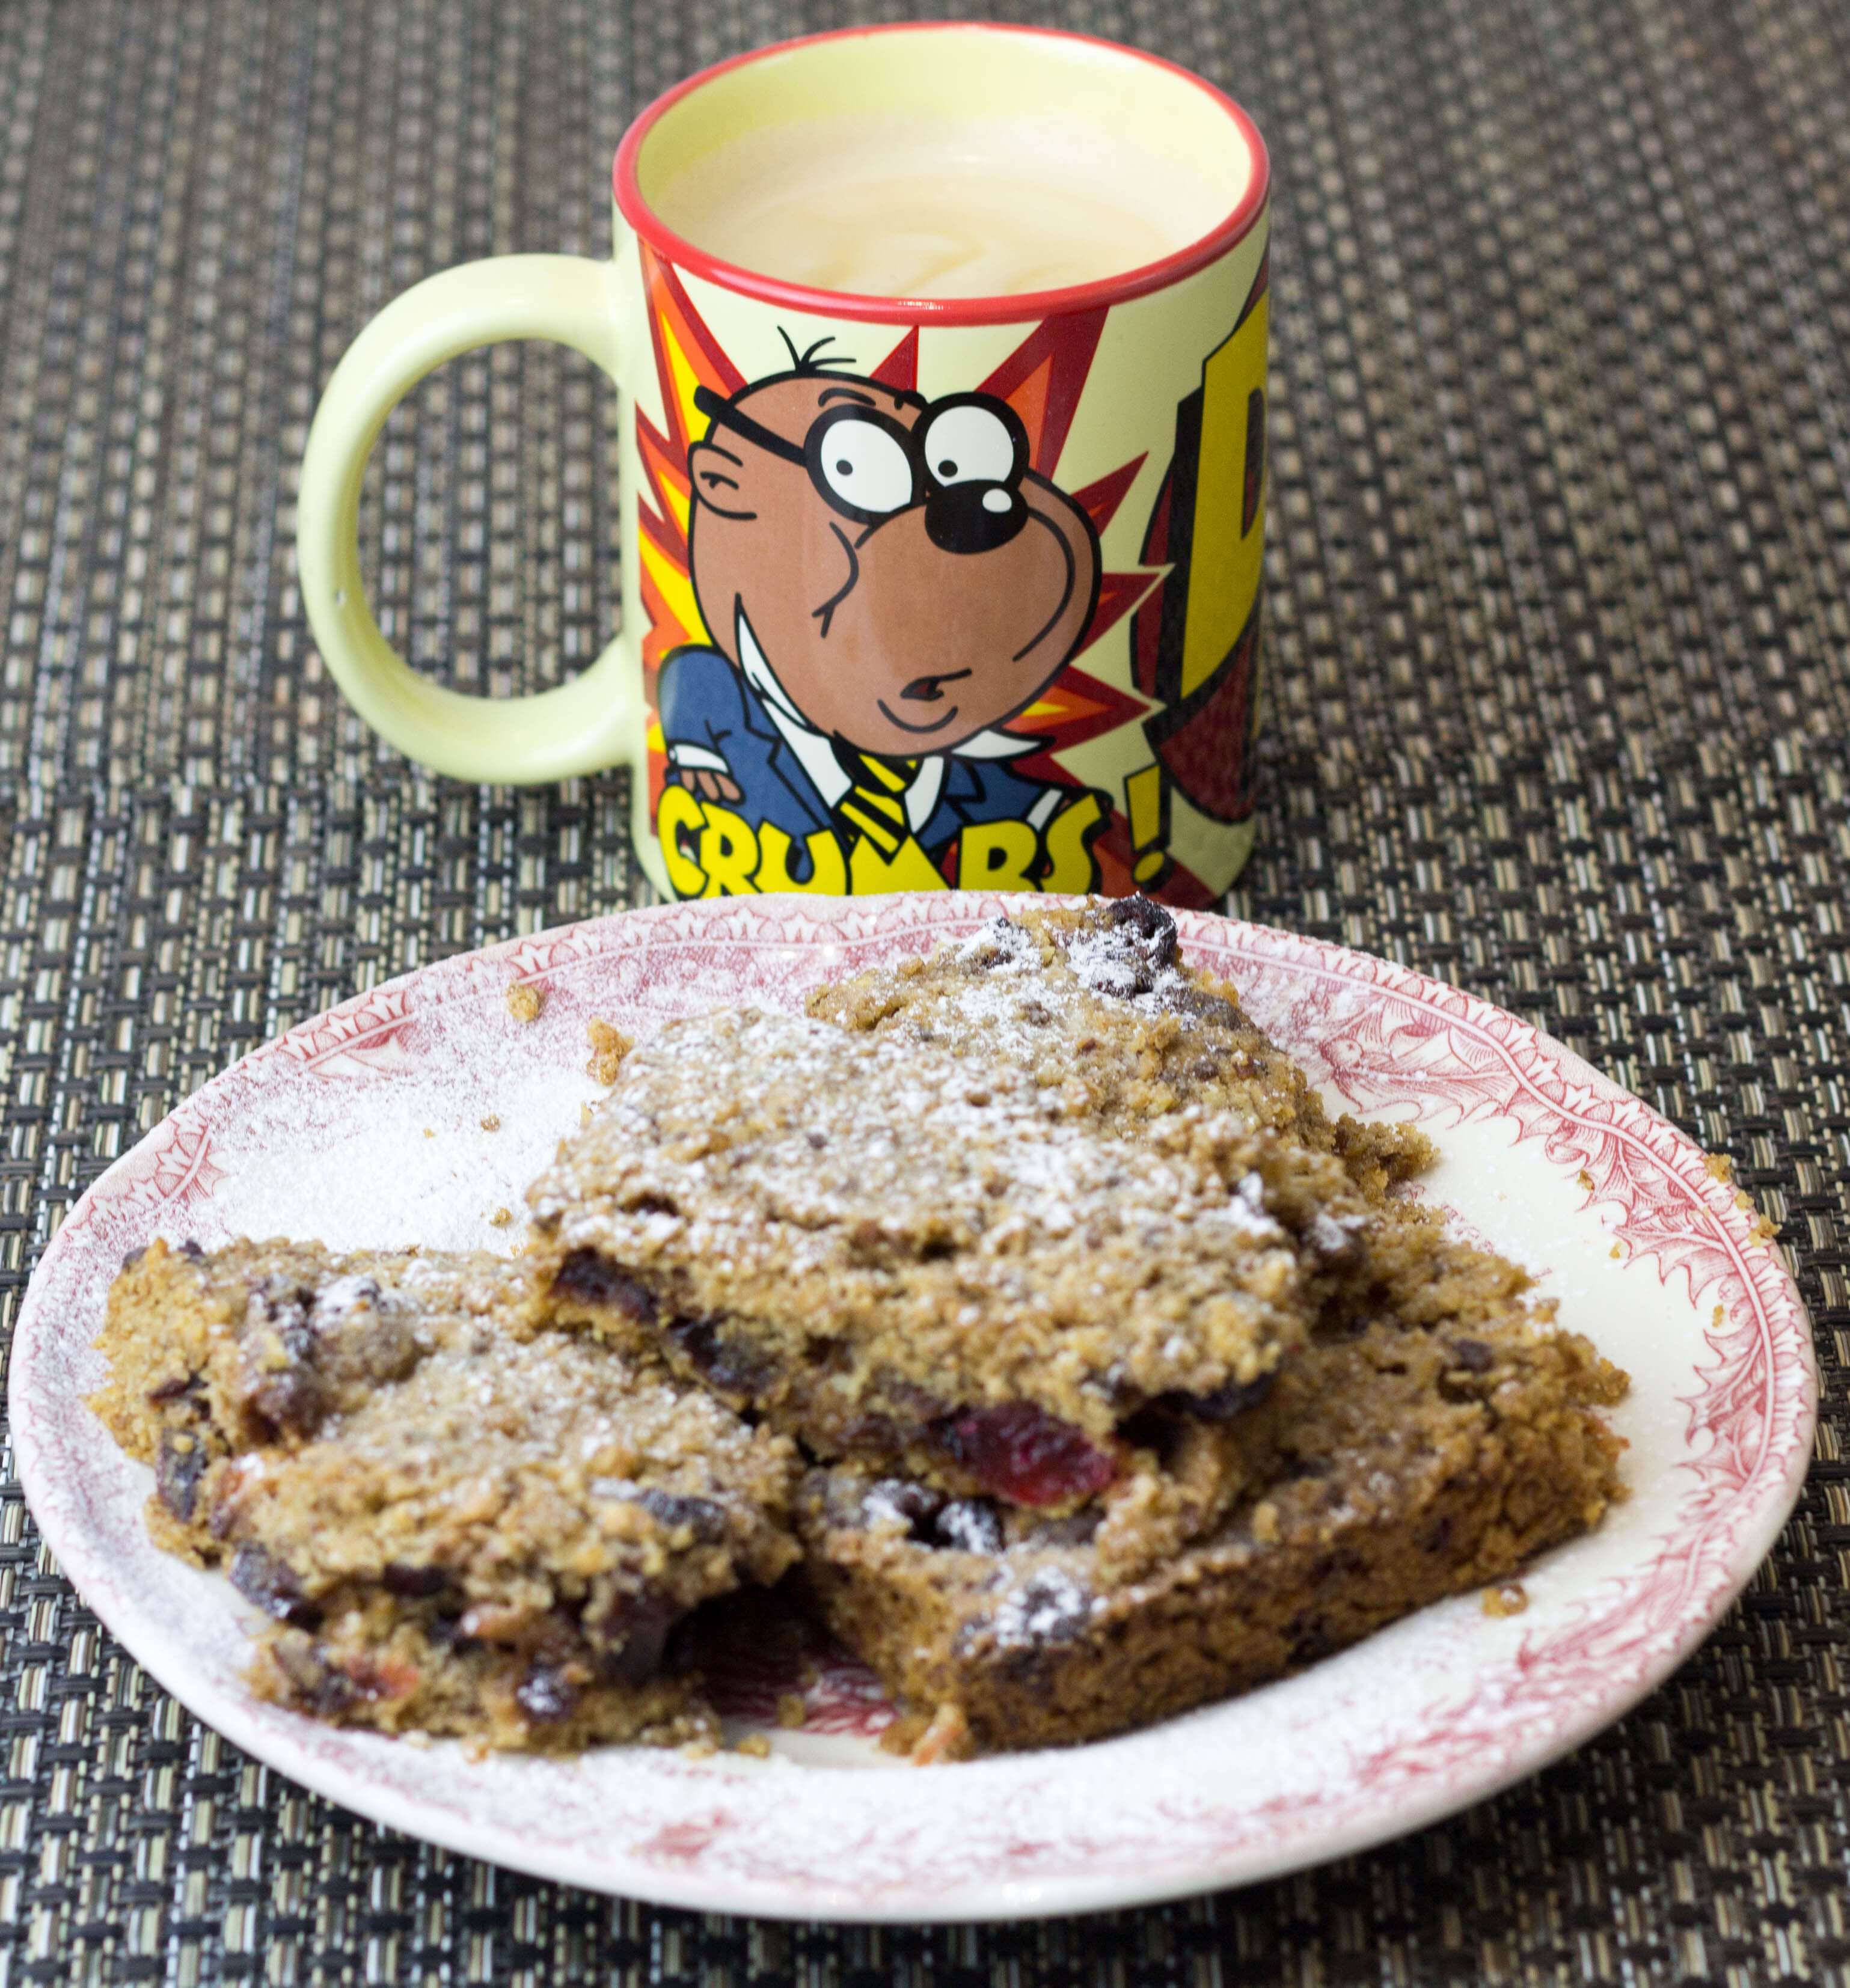
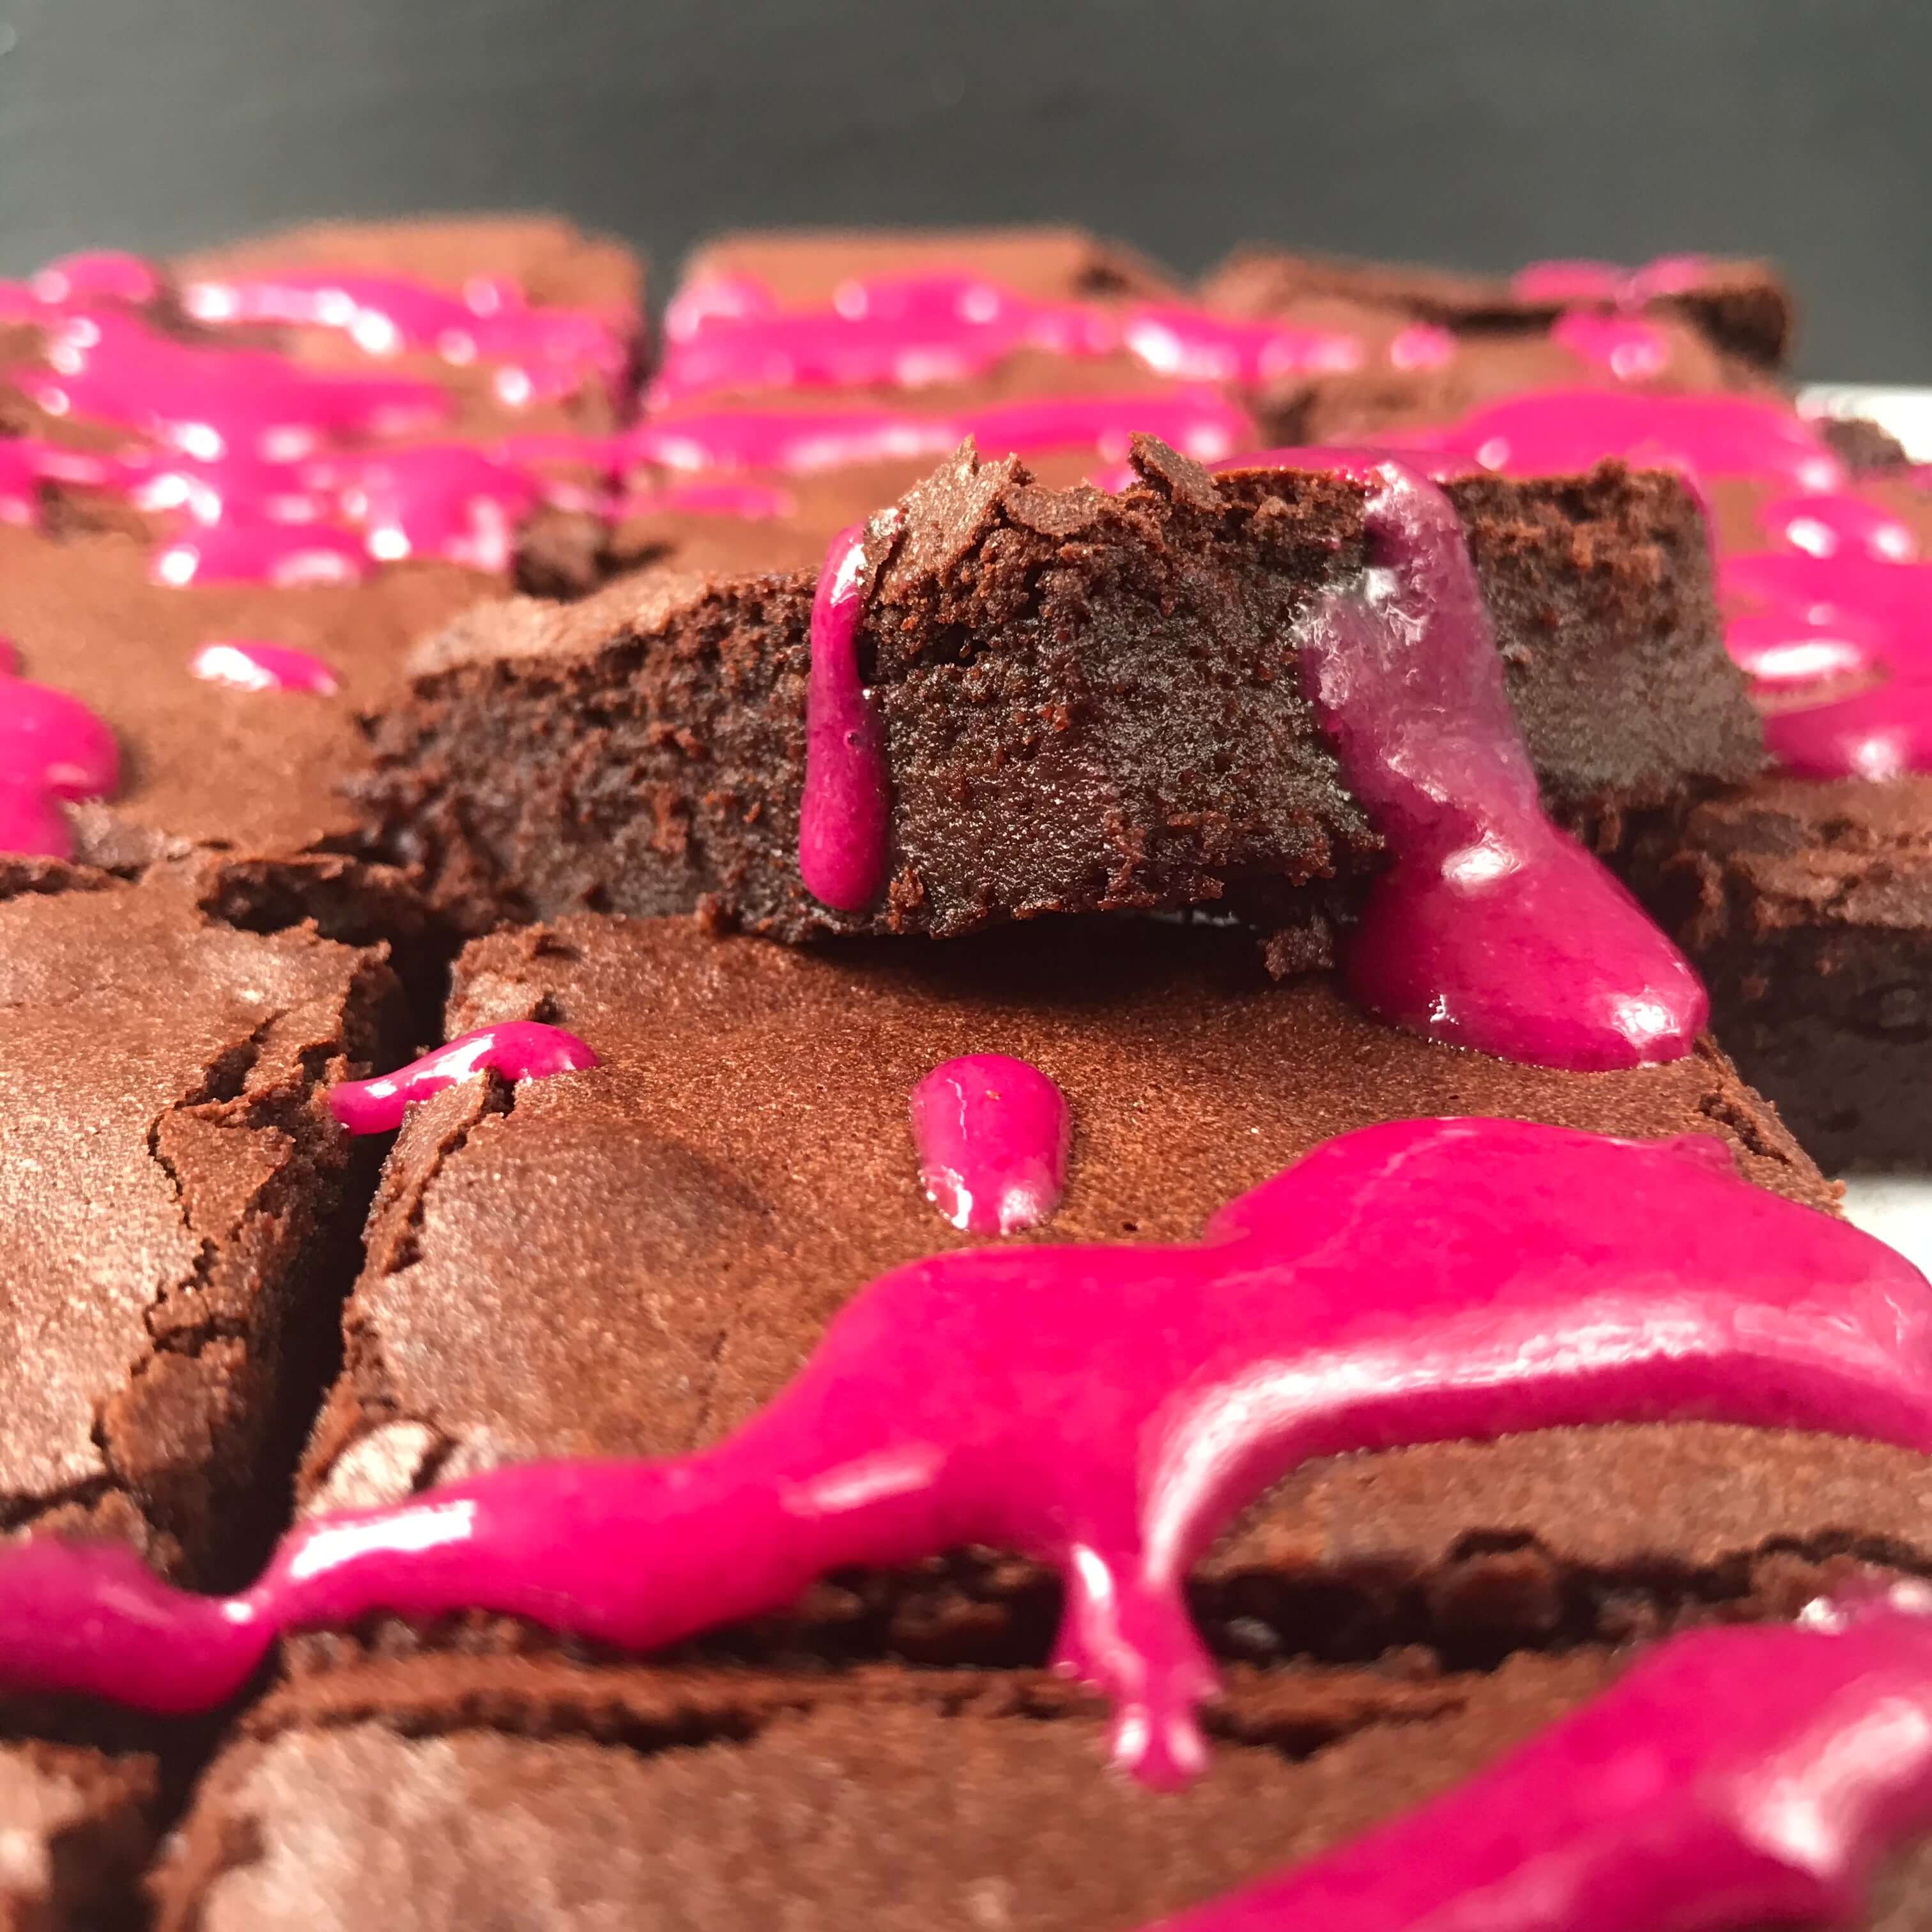
The organiser, knowing I loved a challenge, gave me a call about a week before the show and mentioned one of the sponsors would love it if I could incorporate beetroot into one of my bakes. I had wanted to play around with a beetroot brownie recipe I had seen on Waitrows website, the allotment was awash with them and so my chocolate beetroot brownie was born. Rich, gooey, earthy sweet goodness.

Ingredients:
75g unsalted butter, at room temperature, plus extra for greasing
350g raw beetroot, trimmed and cut into large wedges
300g dark chocolate, chopped
2 eggs
200g granulated sugar
2 tsp vanilla bean paste (or extract)
1 tsp salt
40g plain flour
40g cocoa powder
Shot of espresso
75g icing sugar, sifted

Method:

1. Pre heat the oven to 180 ̊C, 160 ̊C Fan.
2. Grease and line a 20cm x 30cm baking tin with baking parchment.
3. Peel the beetroot, chop into even chunks and add to a pan of water
4. Bring to the boil and cook until soft and tender – about 1 hour.
5. Drain in a sieve, pop into a food processor and blitz to a purée. Keep 1 tbsp purée for the icing.
6. Melt the chocolate with the butter in a large heatproof bowl over a pan of simmering water.
7. Leave to cool for about 10 minutes and whisk in the eggs, granulated sugar, vanilla, espresso, beetroot purée and salt into the chocolate.
8. Add the flour and cocoa, fold everything in until just combined.
9. Pour into the tin and bake for 35-40 minutes, until it looks cooked and shiny on top and cracks have just started to appear.
10. Cool completely in the tin then put in the fridge for a couple of hours or overnight before serving.
11. Whisk the reserved beetroot purée in with the icing sugar and drizzle over the top

Beetroot chocolate brownies
 
Save Print
Prep time
20 mins
Cook time
40 mins
Total time
1 hour
 
Delicious rich chocolate and beetroot brownies.
Author: CluckMuckCook
Serves: 18
Ingredients
  • Ingredients:
  • 75g unsalted butter, at room temperature, plus extra for greasing
  • 350g raw beetroot, trimmed and cut into large wedges
  • 300g dark chocolate, chopped
  • 2 eggs
  • 200g granulated sugar
  • 2 tsp vanilla bean paste (or extract)
  • 1 tsp salt
  • 40g plain flour
  • 40g cocoa powder
  • Shot of espresso
  • 75g icing sugar, sifted
Instructions
  1. Pre heat the oven to 180 ̊C, 160 ̊C Fan.
  2. Grease and line a 20cm x 30cm baking tin with baking parchment.
  3. Peel the beetroot, chop into even chunks and add to a pan of water
  4. Bring to the boil and cook until soft and tender – about 1 hour.
  5. Drain in a sieve, pop into a food processor and blitz to a purée. Keep 1 tbsp purée for the icing.
  6. Melt the chocolate with the butter in a large heatproof bowl over a pan of simmering water.
  7. Leave to cool for about 10 minutes and whisk in the eggs, granulated sugar, vanilla, espresso, beetroot purée and salt into the chocolate.
  8. Add the flour and cocoa, fold everything in until just combined.
  9. Pour into the tin and bake for 35-40 minutes, until it looks cooked and shiny on top and cracks have just started to appear.
  10. Cool completely in the tin then put in the fridge for a couple of hours or overnight before serving.
  11. Whisk the reserved beetroot purée in with the icing sugar and drizzle over the top
3.5.3251


Salted caramel fudge

2 September 9, 2018 Bake with the kids

Salted Caramel Maple Fudge

I caught a cooking program on tv this week where they were making homemade fudge.

This brought on a wave of nostalgia of when, as kids, my brother and I used to go to my Nan’s for a week during the summer holidays to catch up with our cousins.

When we arrived, Nan had always made us either fudge or honeycomb to welcome us for the summer. This would fuel us for all the trips she had planned or for spending the day playing at my cousin’s farm.

Salted caramel fudge

The summers always seem hot and lasted forever. Our cousin’s farm was one big adventure playground. We camped in the woods, told scary stories, explored the chalk caves and swam in the freezing, unheated pool. Or Nan packed us all up in her mark 1 Ford Cortina, with the plastic still on the seats to protect them, for a day on the Kent coast and hours on the dodgems.

Salted caramel fudge

Amazing what memories a bit of homemade fudge can bring rushing back!

Ingredients:

395g can condensed milk
120g soft brown sugar
125g diced butter
2 tablespoons glucose syrup
60g maple syrup
180g chopped white chocolate
1 teaspoon sea salt flakes

Method:

1. Line a 20cm square cake tin with baking parchment.

2. Put the condensed milk, sugar, butter, glucose syrup and maple syrup in a heavy bottomed saucepan and gentle warm over a low heat.

3. Keep stirring, without boiling, until everything has dissolved and the mixture looks nice and glossy. This will take about 10 minutes. If you don’t take your time at this stage the fudge will taste grainy.

4. Turn up the heat to medium and bring to a simmer, constantly stirring.

5. Keep simmering and stirring until the mixture thickens, bubbles like lava and pulls away from the edge of the pan. This will take 6-8 minutes. If you have a sugar thermometer you are looking for a temperature of around 115C/239F.

6. Now you have to work quickly, take off the heat and stir in the chocolate until melted and combined.

7. Carefully pour into the prepared cake tin and smooth out, it will start to set quickly. Sprinkle with sea salt and leave to cool for 30 minutes. Cover with cling film and pop it in the fridge until firm. A couple of hours should do.

Salted Caramel Maple Fudge
 
Save Print
Prep time
5 mins
Cook time
30 mins
Total time
35 mins
 
Traditional rich buttery salted caramel maple fudge. Brings back the nostalgia of my Nans fudge eaten on lazy summer holidays with the family in Kent.
Author: CluckMuckCook
Serves: 24 pieces
Ingredients
  • 395g can condensed milk
  • 120g soft brown sugar
  • 125g diced butter
  • 2 tablespoons glucose syrup
  • 60g maple syrup
  • 180g chopped white chocolate
  • 1 teaspoon sea salt flakes
Instructions
  1. I caught a cooking program on tv this week where they were making homemade fudge.
  2. This brought on a wave of nostalgia of when, as kids, my brother and I used to go to my Nan’s for a week during the summer holidays to catch up with our cousins.
  3. When we arrived,Nan had always made us either fudge or honeycomb to welcome us for the summer. This would fuel us for all the trips she had planned or for spending the day playing at my cousin’s farm.
  4. The summers always seem hot and lasted forever. Our cousin’s farm was one big adventure playground. We camped in the woods, told scary stories, explored the chalk caves and swam in the freezing, unheated pool. Or Nan packed us all up in her mark 1 Ford Cortina, with the plastic still on the seats to protect them, for a day on the Kent coast and hours on the dodgems.
  5. Amazing what memories a bit of homemade fudge can bring rushing back!
3.5.3251

Lotus Biscoff Biscuit Blondies

75 January 16, 2018 Bake with the kids

Lotus Biscoff Biscuit Blondies

My boys absolutely love Lotus Biscoff biscuits. If we were ever out for a meal and I had an espresso and these biscuits were served on the side , I would not get a look in.  Then Pizza Express started doing a Biscoff cheesecake and my biscuits were safe as my youngest would want his own cheese cake desert.

Lotus Biscoff Biscuit Blondies

That got me thinking as to what I could make that was based on these biscuits. It needed to be quick and easy to get the kids involved. I landed on the blondie as the vehicle to carry the delicious biscoff caramel flavour.

Blondies are even easier to make than brownies. Just melt the butter, sugar, spread and vanilla together. Let it cool a bit. Mix in an egg, flour and some crushed biscuits and you are pretty much done. 10 minutes to make, which even my kids can pay attention for and then 20 minutes baking. Job done.

Lotus Biscoff Biscuit Blondies

After the kids gave them the thumbs up, I took a batch into the office for some more discerning feedback and they were a resounding success. They have become one of the top 3 bakes I have taken into the office in their mental score sheet.

Makes: 10-12 blondies
Oven Temp: Gas 4, 350F, 180C (160C Fan)

Ingredients:
75g butter
220g dark brown sugar
1 teaspoon vanilla extract
Pinch of salt
1 large egg
140g plain flour
100g Lotus Biscoff Biscuit Spread
20 -22 Lotus Biscoff Biscuits

Instructions:
Pre-heat oven to 180c (160c) Fan and line a square 9 inch baking tin with baking parchment.
Melt the butter gently in a saucepan along with the dark brown sugar, salt, Biscoff biscuit spread and vanilla extract until all melted and combined together.
Allow to cool for 5 minutes and then whisk in the egg.
Add the flour to the wet ingredients and fold in gently until combined.
Crush 8 biscuits and gently fold into the mixture.
Spread the mixture evenly into the tin, then place the remaining biscuits on top.
Bake for 20-25 minutes until golden on top but still a little squidgy in the middle.
Leave to cool in the tin for 30 minutes. Then remove and cut into rectangles around the biscuits.

Lotus Biscoff Biscuit Blondies
 
Save Print
Prep time
10 mins
Cook time
20 mins
Total time
30 mins
 
My boys absolutely love Lotus Biscoff biscuits. These delicious, gooey, caramel, biscuity blondies were a resounding success with the kids and become one of the top 3 bakes I have taken into the office. So easy to make and get the kids involved.
Author: CluckMuckCook
Serves: 12
Ingredients
  • Ingredients:
  • 75g butter
  • 220g dark brown sugar
  • 1 teaspoon vanilla extract
  • Pinch of salt
  • 1 large egg
  • 140g plain flour
  • 100g Lotus Biscoff Biscuit Spread
  • 20 -22 Lotus Biscoff Biscuits
Instructions
  1. Makes: 10-12 blondies
  2. Oven Temp: Gas 4, 350F, 180C (160C Fan)
  3. Instructions:
  4. Pre-heat oven to 180c (160c) Fan and line a square 9 inch baking tin with baking parchment.
  5. Melt the butter gently in a saucepan along with the dark brown sugar, salt, Biscoff biscuit spread and vanilla extract until all melted and combined together.
  6. Allow to cool for 5 minutes and then whisk in the egg.
  7. Add the flour to the wet ingredients and fold in gently until combined.
  8. Crush 8 biscuits and gently fold into the mixture.
  9. Spread the mixture evenly into the tin, then place the remaining biscuits on top.
  10. Bake for 20-25 minutes until golden on top but still a little squidgy in the middle.
  11. Leave to cool in the tin for 30 minutes. Then remove and cut into rectangles around the biscuits.
3.5.3229


Blondies slated caramel and pecan

3 August 16, 2017 Bake with the kids

Salted Caramel and Pecan Blondies

I loved Blondie, the late 70’s Punk/New Wave singer but I never really got blondies though. The non chocolatey/white chocolate alternative to brownies. Why would you have a brownie that was not full of rich and unctuous dark chocolate. That is just plain crazy.

Once I had a love and it was a gas

Soon turned out had a heart of glass

Seemed like the real thing, only to find

Mucho mistrust, love’s gone behind

Blondie- Heart of Glass

Or at least I thought until a baking and Jenga playing buddy of mine converted me with some fabulous blondies. That set me on a journey to create my own delicious gooey but not too sweet version. I dropped the white chocolate in place of a salted caramel and paired that with my favourite nut, the pecan. Whilst the macadamia may be the king of nuts and the cashew the queen. the pecan is resolutely the prince of nuts in my opinion.

Blondies slated caramel and pecan

The sweetness of the caramel from the brown sugar, set against a lovely salted caramel with the crunch of pecans is tough to beat. I tested it on my guinea pigs, sorry my work colleagues and they were a resounding success. They can be a tough crowed to please.

These are amazingly simple to make and will be demolished in seconds.

Makes: 18 blondies
Oven Temp: Gas 4, 350F, 180C (160C Fan)

Ingredients:
100g melted butter
60ml rapeseed oil
250g light brown sugar
1.5 teaspoons vanilla extract
1 egg + 1 egg yolk
200g sifted plain flour
1/4 tsp baking powder
100g chopped pecan nuts
175g salted caramel sauce

Instructions:

  1. Pre-heat oven to 180c (160c) fan and line a square 9 inch baking tin with baking parchment.
  2. Melt the butter gently in a saucepan along with the oil.
  3. Once melted, whisk in the soft brown sugar and vanilla together until combined. Allow to cool for 5 minutes and pour into a mixing bowl.
  4. Whisk in the egg and additional egg yolk.
  5. Add the flour and baking powder to the wet ingredients and fold in gently until combined.
  6. Gently fold in the chopped pecan nuts.
  7. Press half of the batter into your tin.
  8. Drizzle the salted caramel all over the base and spread in an even layer.
  9. Blob the remaining batter over the caramel sauce and gently spread to cover the caramel evenly.
  10. Bake for 20-25 minutes until golden on top but still a little squidgy in the middle.
  11. Leave to cool in the tin for 30 minutes then remove and cut into 9 squares. Then divide the square in half to make 18 triangles.

Salted Caramel and Pecan Blondies
 
Save Print
Prep time
20 mins
Cook time
20 mins
Total time
40 mins
 
Delicious sweet , salty , nutty blondies
Author: CluckMuckCook
Serves: 18
Ingredients
  • 100g melted butter
  • 60ml rapeseed oil
  • 250g light brown sugar
  • 1.5 teaspoons vanilla extract
  • 1 egg + 1 egg yolk
  • 200g sifted plain flour
  • ¼ tsp baking powder
  • 100g chopped pecan nuts
  • 175g salted caramel sauce
Instructions
  1. Pre-heat oven to 180c (160c) fan and line a square 9 inch baking tin with baking parchment.
  2. Melt the butter gently in a saucepan along with the oil.
  3. Once melted, whisk in the soft brown sugar and vanilla together until combined. Allow to cool for 5 minutes and pour into a mixing bowl.
  4. Whisk in the egg and additional egg yolk.
  5. Add the flour and baking powder to the wet ingredients and fold in gently until combined.
  6. Gently fold in the chopped pecan nuts.
  7. Press half of the batter into your tin.
  8. Drizzle the salted caramel all over the base and spread in an even layer.
  9. Blob the remaining batter over the caramel sauce and gently spread to cover the caramel evenly.
  10. Bake for 20-25 minutes until golden on top but still a little squidgy in the middle.
  11. Leave to cool in the tin for 30 minutes then remove and cut into 9 squares. Then divide the square in half to make 18 triangles.
Notes
Makes: 18 blondies
Oven Temp: Gas 4, 350F, 180C (160C Fan)
3.5.3226


Christmas Mincemeat Crumble Bars

5 November 20, 2016 Traybakes

Christmas Mincemeat Crumble Traybake

It has come to my favourite time of year. I like to call it the pre Christmas taste test. All the my regular sandwich shops have brought out their Christmas sandwiches. The supermarkets are battling for the best mince pie and Christmas pudding. Of course all of which I have to test myself and give the CluckMuckCook seal of approval.

Christmas Mincemeat Crumble Bars

Which means I will need to up the dog walking to counteract the pre Christmas feasting. Chester the cockerpoo will be happy about that on two fronts. Firstly he snuffles his way in to some testing titbits and secondly he loves a nice long romp over the local forest chasing squirrels and deer.

Chester Cockerpoo

But more importantly Pret A Manger bring out the Christmas crimble crumble bar which ends up a regular afternoon treat with a nice cappuccino. This year I thought I would try and make a quick and easy version. Rather than a shortbread base and a crumble, I made a big crumble mix, half of which gets pressed firmly into the baking tin and the other half gets sprinkled lightly over the top. Which does make these extra crumbly.

Christmas Mincemeat Crumble Bars

This is super quick to make. If you do not have a food processor, just rub in the butter, flour and sugar to form fine breadcrumbs, then mix in the spice and nuts.

Makes 12 slices
Oven Temp: Gas 5, 350F, 180C (160C Fan)

Ingredients:
250g self-raising flour
225g butter
50g light brown sugar
50g pecan nuts
1 tsp mixed spice
400g mincemeat
Caster or demerara sugar to sprinkle

Instructions:
1.Preheat the oven to 180°C/160°C fan
2.Grease and line the base of a rectangular tin, 28 x 18 x 3cm, with baking parchment.
3.Place the flour, sugar, spice, nuts and butter in a food processor and blitz until the mixture resembles fine breadcrumbs.
4.Tip half of the mixture into the tin and press down with the back of a large metal spoon.
5.Spread mincemeat over the top then sprinkle the remaining crumble mix over the mincemeat, so it is covered.
6.Sprinkle a little extra sugar on top.
7.Bake for 35 minutes until golden brown.

Christmas Mincemeat Crumble Traybake
 
Save Print
Prep time
15 mins
Cook time
35 mins
Total time
50 mins
 
Delicious alternative to a mince pie , Super crumbly and perfect with a cup of tea or coffee
Author: CluckMuckCook
Serves: 12
Ingredients
  • 250g self-raising flour
  • 225g butter
  • 50g light brown sugar
  • 50g pecan nuts
  • 2 tsp mixed spice
  • 400g mincemeat
  • Caster or demerara sugar to sprinkle
Instructions
  1. Preheat the oven to 180°C/160°C fan
  2. Grease and line the base of a rectangular tin, 28 x 18 x 3cm, with baking parchment.
  3. Place the flour, sugar, spice, nuts and butter in a food processor and blitz until the mixture resembles fine breadcrumbs.
  4. Tip half of the mixture into the tin and press down with the back of a large metal spoon.
  5. Spread mincemeat over the top then sprinkle the remaining crumble mix over the mincemeat, so it is covered. 6.Sprinkle a little extra sugar on top.
  6. Bake for 35 minutes until golden brown.
3.5.3226


13 October 23, 2016 Traybakes

Spooky Millionaires Shortbread

Day 2 of the boys weekend and we decided to make one of our favourite quick and easy tray bakes, millionaires shortbread. As Halloween is knocking on the door, we decided to make a ghostly pattern in the chocolate rather than the traditional marbling.

The technique to get the ghost shapes is surprisingly easy. When you get to the chocolate layer in the recipe, reserve a tablespoon of dark chocolate in a piping bag to pipe on the ghost eyes and mouth. For the ghost bodies , pipe a circle of white chocolate on the still melted dark chocolate, then drag a skewer from the centre of the circle to create a tail. Wipe the skewer between ghosts for the best effect, then pipe on some eyes and a mouth.

Makes: 16
Ingredients
250g shortbread biscuits
55g melted butter
150g butter
150g dark brown soft sugar
400g can condensed milk
pinch of salt
200g dark chocolate
100g white chocolate
Square brownie tin approx 20cm

Instructions

  1. Put the biscuits in a bag and crush with a rolling pin until like large breadcrumbs. Line the tin with baking parchment. Mix the crushed biscuits with the melted butter, then press it firmly into your lined tin and chill in the fridge for 30 minutes.
  2.  Heat the sugar,salt and remaining butter in a non-stick pan, stirring until melted. Add the condensed milk and bring to a boil, stirring continuously. Cook for a couple of minutes or until the filling has thickened. Pour the caramel over the base. Cool on a work surface for 15 minutes and then chill in the fridge until set.
  3. Melt the chocolate in separate bowls over pans of simmering water. Pour the dark chocolate over the caramel and then reserve a tablespoon of dark chocolate in a piping bag. For the ghost bodies, pipe a circle of white chocolate on the melted dark chocolate, drag a skewer from the centre of the circle to create a tail. Wipe the skewer between ghosts for the best effect then pipe on some eyes and a mouth.
  4. Chill in the fridge until set. Remove from the tin and cut into squares, dip your knife in hot water between cuts to help cutting through the chocolate.

Stores well in an airtight container in the fridge for up to 2 weeks.

Spooky Millionaires Shortbread
 
Save Print
Prep time
30 mins
Cook time
1 hour
Total time
1 hour 30 mins
 
Author: CluckMuckCook
Serves: 16
Ingredients
  • 250g shortbread biscuits
  • 55g melted butter
  • 150g butter
  • 150g dark brown soft sugar
  • 400g can condensed milk
  • pinch of salt
  • 200g dark chocolate
  • 100g white chocolate
  • Square brownie tin approx 20cm
Instructions
  1. Put the biscuits in a bag and crush with a rolling pin until like large breadcrumbs. Line the tin with baking parchment. Mix the crushed biscuits with the melted butter, then press it firmly into your lined tin and chill in the fridge for 30 minutes.
  2. Heat the sugar,salt and remaining butter in a non-stick pan, stirring until melted. Add the condensed milk and bring to a boil, stirring continuously. Cook for a couple of minutes or until the filling has thickened. Pour the caramel over the base. Cool on a work surface for 15 minutes and then chill in the fridge until set.
  3. Melt the chocolate in separate bowls over pans of simmering water. Pour the dark chocolate over the caramel and then reserve a tablespoon of dark chocolate in a piping bag. For the ghost bodies, pipe a circle of white chocolate on the melted dark chocolate, drag a skewer from the centre of the circle to create a tail. Wipe the skewer between ghosts for the best effect then pipe on some eyes and a mouth.
  4. Chill in the fridge until set. Remove from the tin and cut into squares, dip your knife in hot water between cuts to help cutting through the chocolate.
Notes
Stores well in an airtight container in the fridge for up to 2 weeks.

The first two stages have to chill for 30 mins each once cooled.
3.5.3217

Adapted from a Carnation recipe.

Copyright© 2021 · Cookd Pro Theme by Shay Bocks