• Skip to primary navigation
  • Skip to main content
  • Home
  • About Me
  • Recipes
    • Cake
    • Biscuits
    • Bread
    • Pastry
    • Tray Bakes
    • Condiments
    • Bake with the kids
    • Anti Inflammatory Baking
  • Conversion Charts. Cups – Grams – Ounces
  • Blog

Cluck, Muck & Cook

Baking & Foodie Blog From Sunny Brentwood Essex

Cakes

Vegan hot cross scones

2 March 25, 2019 Bake with the kids

Vegan Hot Cross Scones

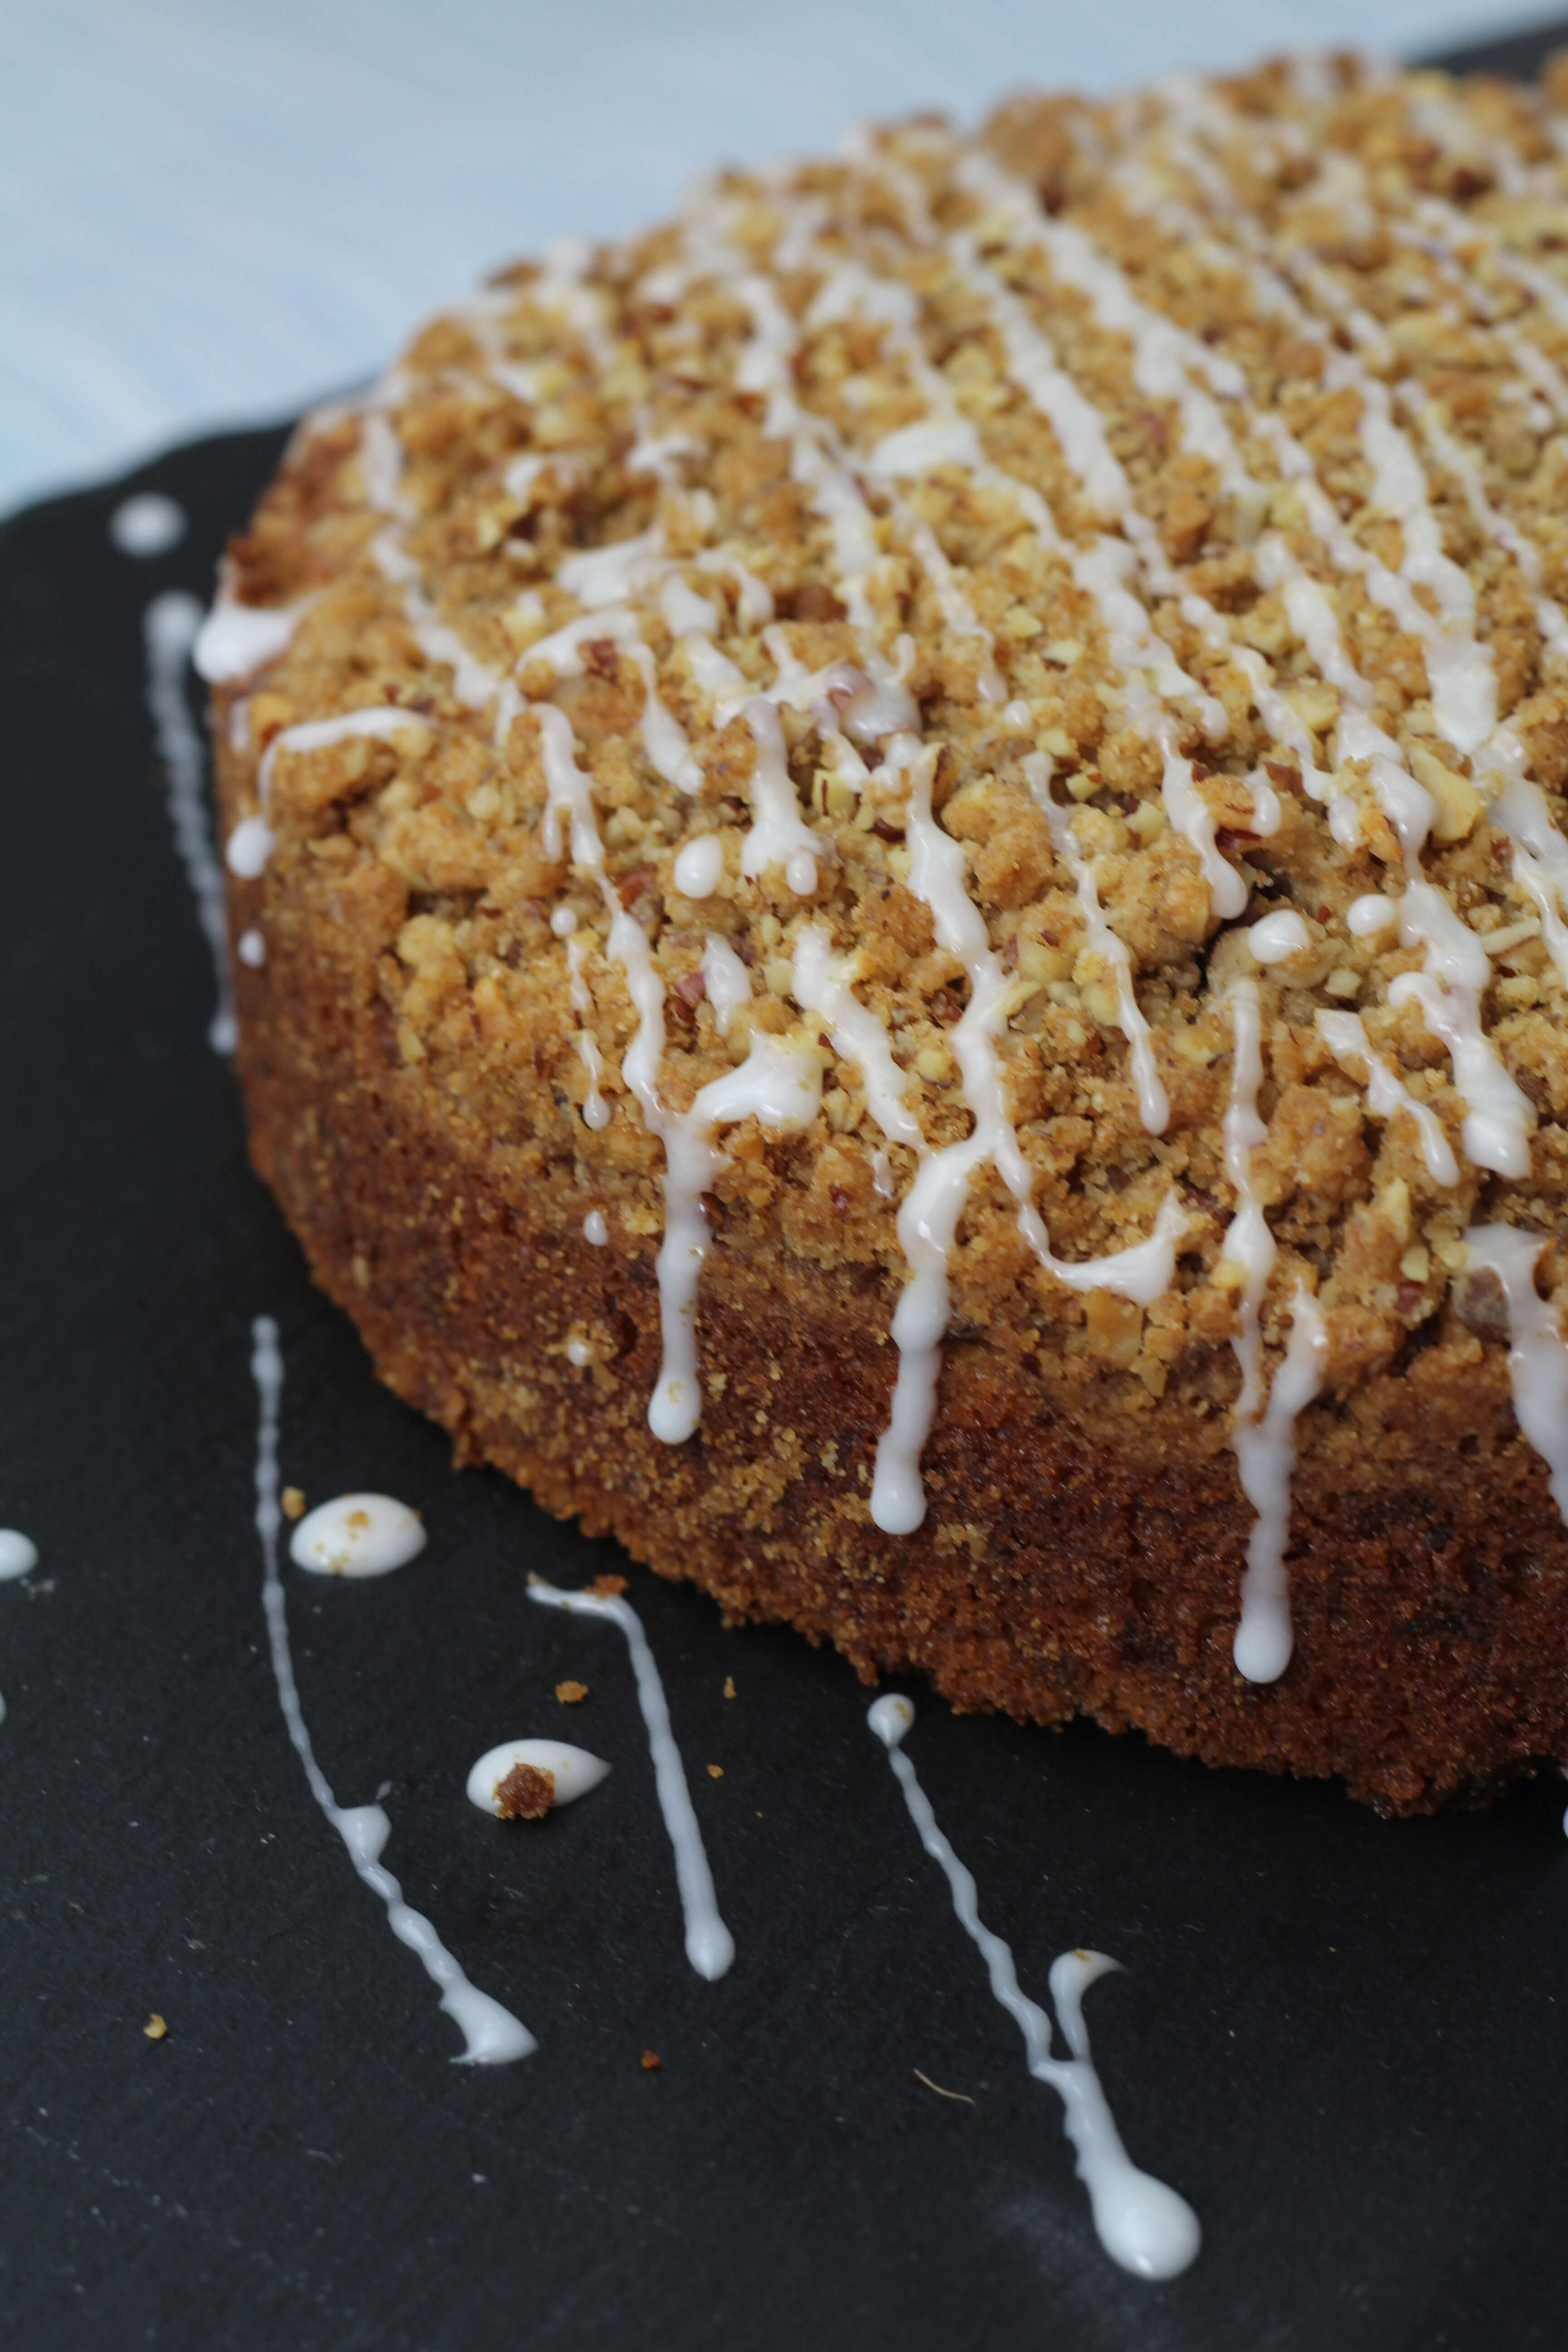
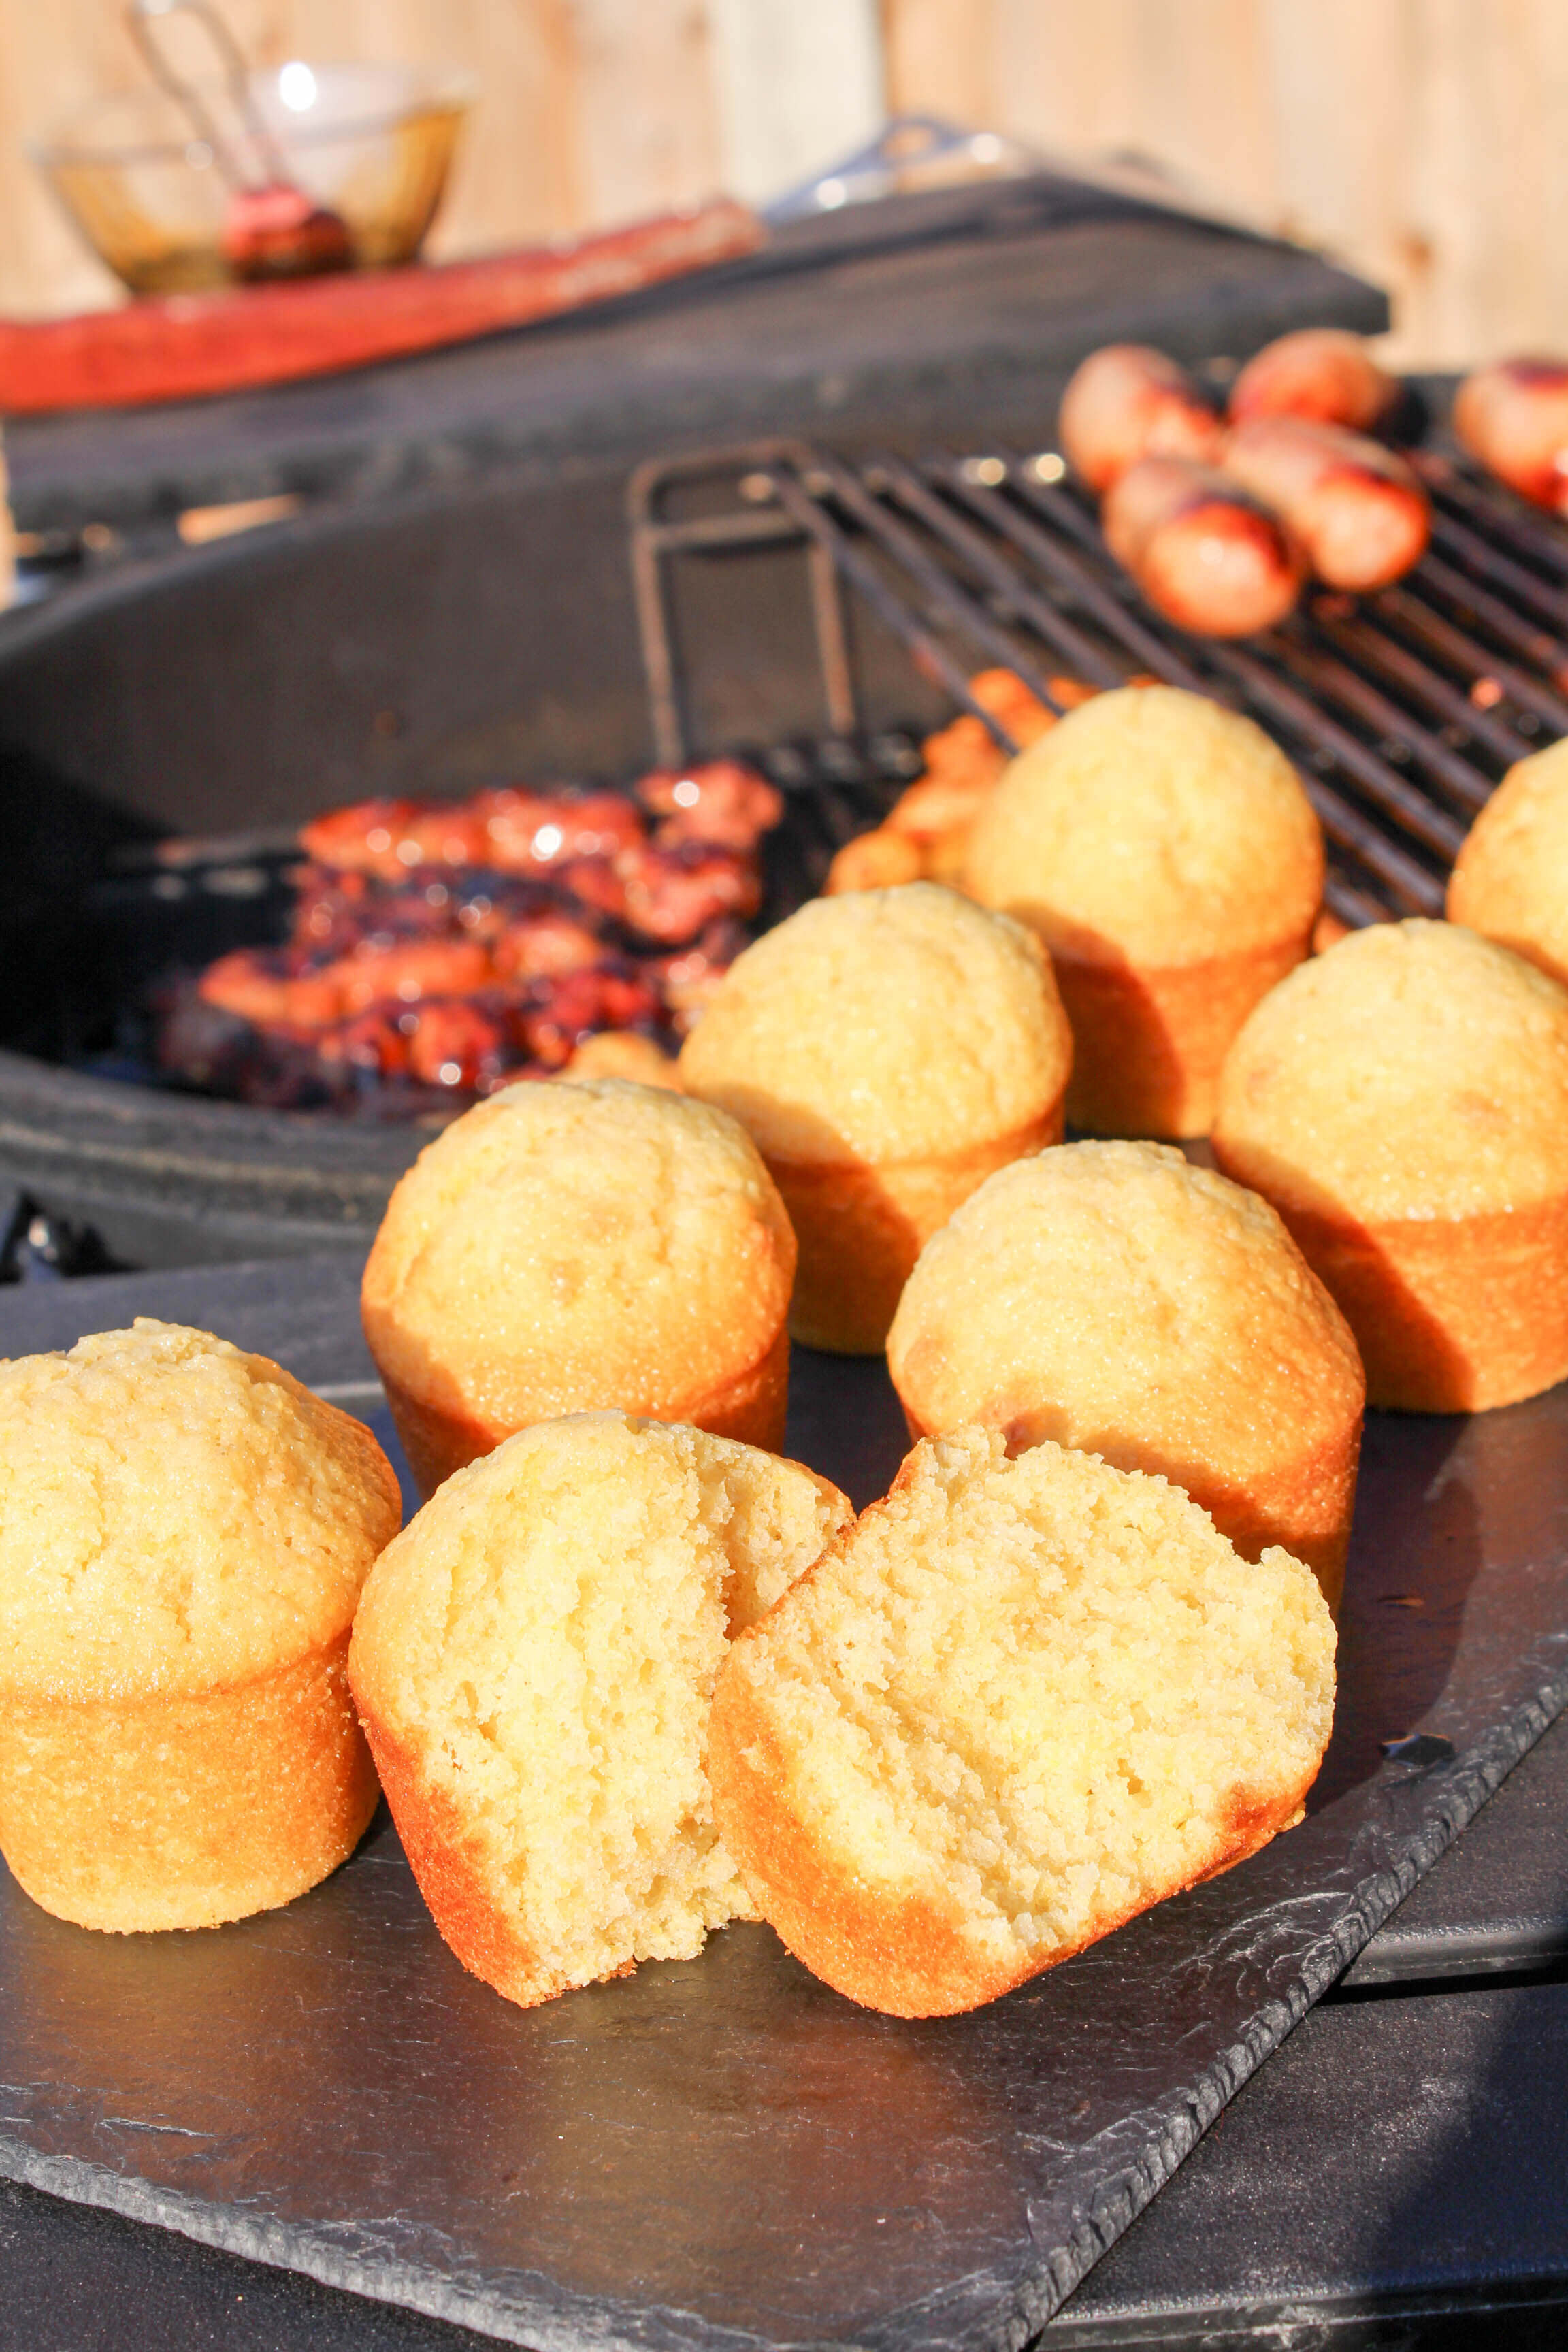
I have had some great fun playing around with some Vegan baking over the last few weeks. Something I was a little skeptical about to start with if I am honest, more from my lack of understanding around Vegan baking.

But I tried a few great recipes from the Little Blog of Vegan who I follow on Instagram, which have been delicious, especially the carrot cake and this got me intrigued.

I think the key is to make things that can stand in their own right and where the non vegan equivalent is not so dairy and egg laden that you struggle to get the same textures and flavours.

So it was perfect timing when I was prepping for an Easter baking class that I was presenting with Bake with a Legend that I was asked if I could make the hot cross scones vegan.

Vegan hot cross scones


It was such a simple switch. I swapped out the butter for dairy free spread and the buttermilk for almond milk with a squeeze of lemon to give it the acidity needed to help the rise.

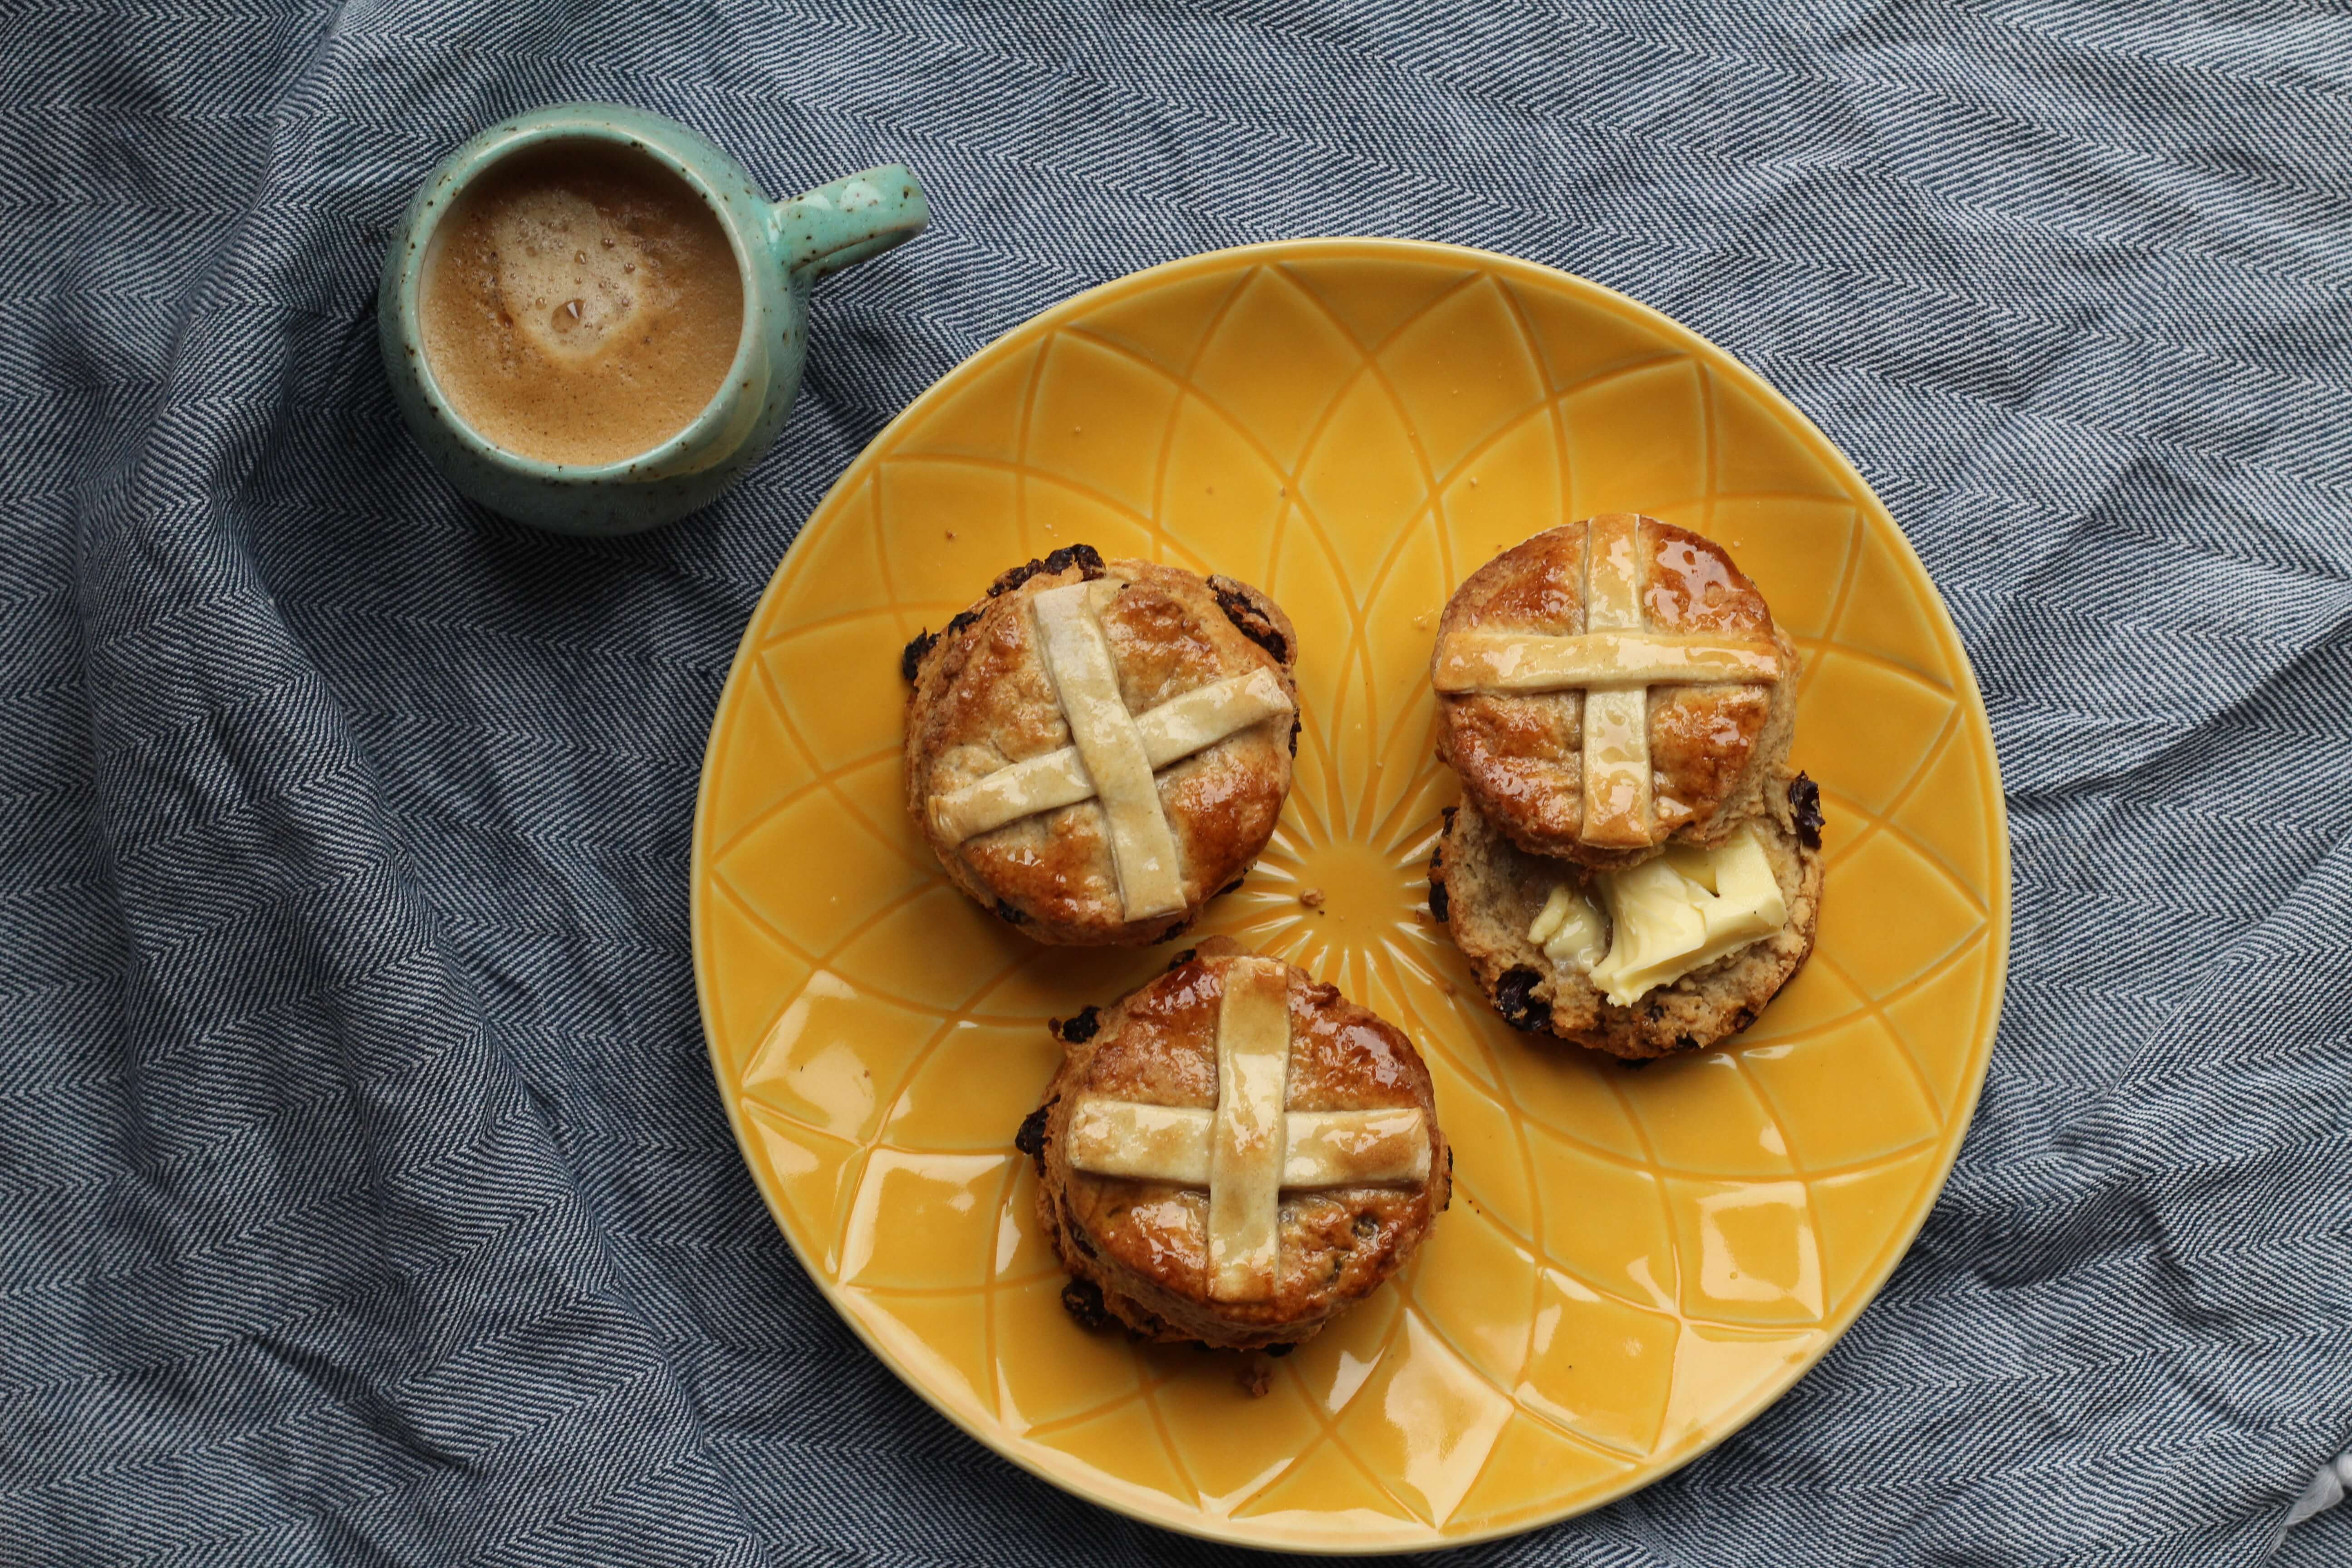
They came out tasting delicious, warmly spiced, full of fruit and with exactly that same texture. I have come to realize how inclusive Vegan baking can be. I am tempted to build out a class just around Vegan baking now.


Vegan hot cross scones

Makes 8-10 Scones

Ingredients:
225g self-raising flour, plus extra
for dusting
75g dairy free spread (I used Flora)
40g light muscovado sugar
125g mixed dried fruits
½ tsp ground mixed spice
4 1/2 tbsp of your favorite dairy free milk (I used Alpro)
1/2 tbsp of lemon juice
A little dairy free milk to glaze
50g plain flour
2 tbsp caster sugar

Instructions:

  1. Preheat the oven to 220°C/ Fan 200°C/ Gas 7.
  2. Sift the self-raising flour into a large bowl and rub in the dairy free spread with your fingertips.
  3. Stir in the sugar, fruits and spice.
  4. In a jug, mix together the dairy free milk and lemon juice. Pour into the flour mixture and bring together to make a soft dough with your hands. Don’t worry if it seems sticky and a little wet.
  5. Dust a work surface with extra flour, then roll out the dough to no thinner than 2cm.
  6. Using a 4cm cutter, cut out the scones– try not to twist the cutter, as this makes the scones rise unevenly.
  7. Re-roll the off cuts and cut out more. You should get between 8-10 scones.
  8. Place on a baking sheet lined with parchment.

For the crosses:

  1. Mix together the plain flour and 1-2 tablespoons of water and knead to make a smooth dough.
  2. Roll out, cut into thin strips and put a cross on top of each scone. Brush with non dairy milk, then bake for 15 minutes, until well risen and golden.

For the glaze:

  1. Dissolve the sugar in 2 tablespoons boiling water.
  2. Use to brush the tops of the scones as soon as they come out of the oven.


Cool slightly on a wire rack. Best eaten while warm but once cooled can be kept in an airtight tin for a few days.


5.0 from 1 reviews
Vegan Hot Cross Scones
 
Save Print
Prep time
15 mins
Cook time
15 mins
Total time
30 mins
 
The ultimate Vegan / Dairy free "Hot Cross Scone" . A lovely warmly spiced , light scone , packed full of fruit and delicious eaten warm out of the oven . A great inclusive Easter bake that everyone can enjoy.
Author: CluckMuckCook
Serves: 8-10
Ingredients
  • Makes 8-10 Scones
  • Ingredients:
  • 225g self-raising flour, plus extra
  • for dusting
  • 75g dairy free spread (I used Flora)
  • 40g light muscovado sugar
  • 125g mixed dried fruits
  • ½ tsp ground mixed spice
  • 4½ tbsp of your favorite dairy free milk (I used Alpro)
  • ½ tbsp of lemon juice
  • A little dairy free milk to glaze
  • 50g plain flour
  • 2 tbsp caster sugar
Instructions
  1. Preheat the oven to 220°C/ Fan 200°C/ Gas 7.
  2. Sift the self-raising flour into a large bowl and rub in the dairy free spread with your fingertips.
  3. Stir in the sugar, fruits and spice.
  4. In a jug, mix together the dairy free milk and lemon juice. Pour into the flour mixture and bring together to make a soft dough with your hands. Don't worry if it seems sticky and a little wet.
  5. Dust a work surface with extra flour, then roll out the dough to no thinner than 2cm.
  6. Using a 4cm cutter, cut out the scones– try not to twist the cutter, as this makes the scones rise unevenly.
  7. Re-roll the off cuts and cut out more. You should get between 8-10 scones.
  8. Place on a baking sheet lined with parchment.
  9. For the crosses:
  10. Mix together the plain flour and 1-2 tablespoons of water and knead to make a smooth dough.
  11. Roll out, cut into thin strips and put a cross on top of each scone. Brush with non dairy milk, then bake for 15 minutes, until well risen and golden.
  12. For the glaze:
  13. Dissolve the sugar in 2 tablespoons boiling water.
  14. Use to brush the tops of the scones as soon as they come out of the oven.
3.5.3251


2 August 26, 2018 Cakes

Tropical Courgette Cake

I was once told that I should sow as many courgette seeds as I think I need. Then give half the plants away and you would still have too many. Courgettes are such a prolific crop and as much as I love them as a vegetable with my dinner, they are also brilliant for sneaking into cakes without the kids spotting and for adding moisture. A top tip if planning to use them in cakes is to grow the yellow variety. Then they are even harder for the kids to spot.

This tropical moist crumble cake makes great use of the courgette to keep the cake deliciously moist with a lovely buttery contrasting crumble topping. The inclusion of banana and pineapple and the lime icing gives the cake a fruity and tropical feel. Perfect for a hot summers day.

This recipe featured in Kitchen Garden Magazine, Aug 2018.

Tropical Courgette Crumble Cake

Crumble Topping:
50g slightly salted diced butter
50g plain flour
50g light brown sugar
60g chopped pecan nuts
½ tsp cinnamon

Cake:
120g slightly salted butter
2 large eggs
1 large ripe banana
100g drained crushed pineapple
2 coarsely grated medium courgettes
1 tsp vanilla extract
200g plain flour
150g caster sugar
55g light soft brown sugar
1 tsp cinnamon
¾ tsp baking powder

Icing topping:
50g icing sugar
juice of 1 lemon or lime


Method

Cake:
Preheat oven to 180c/160c Fan.
Butter and line a deep 8 inch cake pan with baking parchment.
In a small saucepan, melt the butter on a medium heat and cook for 10 minutes until it turns a nut brown. This will add extra flavour to the cake. Leave to the side to cool.
Coarsely grate the courgettes and dry off some of the moisture between some layers of kitchen roll.
Drain the crushed pineapple in a sieve.
In the bowl of a stand mixer with the paddle attachment or in a large bowl with a hand mixer, beat together the banana, eggs, pineapple, courgette and vanilla until smooth. Then add the cooled butter and mix until combined.
In a separate bowl add the flour, sugars, cinnamon and baking powder and mix to combine.
Add the dry ingredients to the wet banana mixture and mix until just combined, do not over mix.
Pour the batter into the tin and smooth the surface.

Topping:
Mix together the flour, sugar and cinnamon and rub in the diced butter until the mixture forms a fine crumble mix. Add the chopped pecans and mix in.
Sprinkle the crumble mix evenly over the top of the cake and bake for 45-50 minutes, until a skewer comes out clean after being inserted into the middle of the cake. If it needs a little longer, cover with foil so it does not burn on top.
When baked, remove from the oven and allow to cool in the tin on a rack for about 15 minutes. Then gently turn out onto the wire rack, removing any baking parchment.
Allow to cool fully.

Icing:
In a small bowl, gradually add the juice a little at a time into the icing sugar and mix until it becomes a nice drizzling consistency.
Using a teaspoon, drizzle the icing over the top of the cake.

2.0 from 1 reviews
Tropical courgette cake
 
Save Print
Prep time
20 mins
Cook time
45 mins
Total time
1 hour 5 mins
 
This tropical moist crumble cake makes great use of the courgette to keep the cake deliciously moist with a lovely buttery contrasting crumble topping. The inclusion of banana and pineapple and the lime icing gives the cake a fruity and tropical feel. Perfect for a hot summers day.
Author: CluckMuckCook
Recipe type: Cake
Serves: 12
Ingredients
  • Tropical Courgette Crumble Cake
  • Crumble Topping
  • 50g slightly salted diced butter
  • 50g plain flour
  • 50g light brown sugar
  • 60g chopped pecan nuts
  • ½tsp cinnamon
  • Cake
  • 120g slightly salted butter
  • 2 large eggs
  • 1 large ripe banana
  • 100g drained crushed pineapple
  • 2 coarsely grated medium courgettes
  • 1tsp vanilla extract
  • 200g plain flour
  • 150g caster sugar
  • 55g light soft brown sugar
  • 1 tsp cinnamon
  • ¾ tsp baking powder
  • Icing topping
  • 50g icing sugar
  • juice of 1 lemon or lime
Instructions
  1. Cake
  2. Preheat oven to 180c/160c Fan
  3. Butter and line a deep 8 inch cake pan with baking parchment.
  4. In a small saucepan, melt the butter on a medium heat and cook for 10 minutes until it turns a nut brown. This will add extra flavour to the cake. Leave to the side to cool.
  5. Coarsely grate the courgettes and dry off some of the moisture between some layers of kitchen roll
  6. Drain the crushed pineapple in a sieve.
  7. In the bowl of a stand mixer with the paddle attachment or in a large bowl with a hand mixer, beat together the banana, eggs, pineapple, courgette and vanilla until smooth. Then add the cooled butter and mix until combined.
  8. In a separate bowl add the flour, sugars, cinnamon and baking powder and mix to combine.
  9. Add the dry ingredients to the wet banana mixture and mix until just combined, do not over mix.
  10. Pour the batter into the tin and smooth the surface.
  11. Topping
  12. Mix together the flour, sugar and cinnamon and rub in the diced butter until the mixture forms a fine crumble mix. Add the chopped pecans and mix in.
  13. Sprinkle the crumble mix evenly over the top of the cake and bake for 45-50 minutes, until a skewer comes out clean after being inserted into the middle of the cake. If it needs a little longer, cover with foil so it does not burn on top.
  14. When baked, remove from the oven and allow to cool in the tin on a rack for about 15 minutes. Then gently turn out onto the wire rack, removing any baking parchment.
  15. Allow to cool fully.
  16. Icing
  17. In a small bowl, gradually add the juice a little at a time into the icing sugar and mix until it becomes a nice drizzling consistency.
  18. Using a teaspoon, drizzle the icing over the top of the cake.
3.5.3251

Blood Orange Drizzle Cake

0 February 26, 2018 Bake with the kids

Blood Orange Drizzle Cake

This time of year I go crazy for sweet vibrant blood oranges. They bring a ray of sunshine into a season of dreary fruit. So what better way to use the oranges than in a drizzle cake. Perfect for a lazy Sunday afternoon with a cuppa after a bracing dog walk with Chester our Cockerpoo.

Blood Orange Drizzle Cake

It is super simple to make and the kids can join in too. The sponge is basically a Victoria sandwich recipe, but when filled with the zest and a little juice of the oranges, it is transformed into a citrus delight. Then it is crowned with a sweet zesty orange syrup that oozes into the cake to make it super moist.

OK I am dribbling, I need to go and grab a slice.

Ingredients:

175g unsalted butter, softened, plus extra for greasing
175g light brown soft sugar
175g plain flour
3 medium eggs
1 tsp baking powder
3 blood oranges (normal oranges will also work)
1/2 tsp orange extract (optional)
50g caster sugar

Method:

  1. Grease and line a 2lb loaf tin with baking parchment.
  2. Preheat the oven to 180˚C (160c Fan), Gas 4.
  3. In a stand mixer or with an electric hand whisk, cream the butter, brown sugar and zest of 2 oranges until light and fluffy.
  4. Scrape down the sides of the bowl and add the eggs one at a time. If it starts to curdle, add a couple of tablespoons of flour.
  5. Add the remaining flour and baking powder, a tablespoon of the juice of one of the oranges (and orange extract if using) and mix until combined.
  6. Pour into the lined loaf tin and bake for 45-55 minutes. Poke a skewer into the middle of the cake and if it comes out clean it is done.
  7. Whilst the cake is in the oven, put the caster sugar in a small pan with about 6 tablespoons of orange juice and the zest of the remaining orange and simmer until the sugar has dissolved.
  8. When the cake comes out of the oven, pierce the top all over with a skewer. Then pour on the orange syrup you have made.
  9. Leave to cool completely in the tin before removing.

Blood Orange Drizzle Cake
 
Save Print
Prep time
20 mins
Cook time
45 mins
Total time
1 hour 5 mins
 
This time of year I go crazy for sweet vibrant blood oranges. They bring a ray of sunshine into a season of dreary fruit. So what better way to use the oranges than in a drizzle cake. Perfect for a lazy Sunday afternoon with a cuppa after a bracing dog walk with Chester our Cockerpoo.
Author: CluckMuckCook
Serves: 1
Ingredients
  • 175g unsalted butter, softened, plus extra for greasing
  • 175g light brown soft sugar
  • 175g plain flour
  • 3 medium eggs
  • 1 tsp baking powder
  • 3 blood oranges (normal oranges will also work)
  • ½ tsp orange extract (optional)
  • 50g caster sugar
Instructions
  1. Grease and line a 2lb loaf tin with baking parchment.
  2. Preheat the oven to 180˚C (160c Fan), Gas 4.
  3. In a stand mixer or with an electric hand whisk, cream the butter, brown sugar and zest of 2 oranges until light and fluffy.
  4. Scrape down the sides of the bowl and add the eggs one at a time. If it starts to curdle, add a couple of tablespoons of flour.
  5. Add the remaining flour and baking powder, a tablespoon of the juice of one of the oranges (and orange extract if using) and mix until combined.
  6. Pour into the lined loaf tin and bake for 45-55 minutes. Poke a skewer into the middle of the cake and if it comes out clean it is done.
  7. Whilst the cake is in the oven, put the caster sugar in a small pan with about 6 tablespoons of orange juice and the zest of the remaining orange and simmer until the sugar has dissolved.
  8. When the cake comes out of the oven, pierce the top all over with a skewer. Then pour on the orange syrup you have made.
  9. Leave to cool completely in the tin before removing.
3.5.3229


Banana bread

5 December 5, 2017 Bake with the kids

Pecan & Chocolate Chip Banana Bread

I fell back in love with banana bread over a lazy Sunday morning brunch with my two boys.  We decided to give Mum some peace and headed into one of our favourite local cafes ‘The Brentwood Kitchen’. The boys love the pancakes there . I fancied something different for a change and decided on a warm banana bread with Nutella . It was delicious. That spurred me on to develop my own recipe.

Banana bread


The one thing that slowed me down with receipe development is that my family love bananas and they never last long enough in the house to get nice, ripe, brown and spotty which is what you want for this recipe. I ended up having to hide them!

A warm slice of banana bread slathered in Nutella is delicious but I also like to drizzle over some caramel sauce as a lovely alternative. It goes brilliantly with the pecans in this recipe.

Ingredients:
285g plain flour
1 tsp bicarbonate of soda
½ tsp salt
110g butter, plus extra for greasing
225g caster sugar
2 large eggs
4 very ripe and mashed bananas
85ml buttermilk
1 tsp vanilla extract
50g chopped pecan nuts
50g choc Chips

Method:
1 Preheat the oven to 180c/160c Fan.
2 Mash up the bananas to a paste consistency.
3 Combine the flour, bicarbonate of soda, pecans, choc chips and salt into a large mixing bowl.
4 In a stand mixer or another bowl, cream the butter and sugar together until light and pale.
5 Add the eggs, bananas, buttermilk and vanilla extract to the butter and sugar mixture and mix until well combined.
6 Fold in the flour mixture gently until just combined.
7 Grease a 2lb loaf tin and pour the cake mixture into it.
8 Bake for about an hour until golden-brown and if you insert a skewer it comes out clean.
9 Remove from the oven and allow to cool in the tin for a few minutes.
10 Turn out onto a wire rack and allow to cool. Serve warm or cold with a drizzle of caramel sauce or spread with Nutella .


Pecan & Chocolate Chip Banana Bread
 
Save Print
Prep time
15 mins
Cook time
60 mins
Total time
1 hour 15 mins
 
Author: CluckMuckCook
Recipe type: Cake
Serves: 1
Ingredients
  • 285g plain flour
  • 1 tsp bicarbonate of soda
  • ½ tsp salt
  • 110g butter, plus extra for greasing
  • 225g caster sugar
  • 2 large eggs
  • 4 very ripe and mashed bananas
  • 85ml buttermilk
  • 1 tsp vanilla extract
  • 50g chopped pecan nuts
  • 50g choc Chips
Instructions
  1. Preheat the oven to 180c/160c Fan.
  2. Mash up the bananas to a paste consistency.
  3. Combine the flour, bicarbonate of soda, pecans, choc chips and salt into a large mixing bowl.
  4. In a stand mixer or another bowl, cream the butter and sugar together until light and pale.
  5. Add the eggs, bananas, buttermilk and vanilla extract to the butter and sugar mixture and mix until well combined.
  6. Fold in the flour mixture gently until just combined.
  7. Grease a 2lb loaf tin and pour the cake mixture into it.
  8. Bake for about an hour until golden-brown and if you insert a skewer it comes out clean.
  9. Remove from the oven and allow to cool in the tin for a few minutes.
  10. Turn out onto a wire rack and allow to cool. Serve warm or cold with a drizzle of caramel sauce or spread with Nutella .
3.5.3228

Blondies slated caramel and pecan

3 August 16, 2017 Bake with the kids

Salted Caramel and Pecan Blondies

I loved Blondie, the late 70’s Punk/New Wave singer but I never really got blondies though. The non chocolatey/white chocolate alternative to brownies. Why would you have a brownie that was not full of rich and unctuous dark chocolate. That is just plain crazy.

Once I had a love and it was a gas

Soon turned out had a heart of glass

Seemed like the real thing, only to find

Mucho mistrust, love’s gone behind

Blondie- Heart of Glass

Or at least I thought until a baking and Jenga playing buddy of mine converted me with some fabulous blondies. That set me on a journey to create my own delicious gooey but not too sweet version. I dropped the white chocolate in place of a salted caramel and paired that with my favourite nut, the pecan. Whilst the macadamia may be the king of nuts and the cashew the queen. the pecan is resolutely the prince of nuts in my opinion.

Blondies slated caramel and pecan

The sweetness of the caramel from the brown sugar, set against a lovely salted caramel with the crunch of pecans is tough to beat. I tested it on my guinea pigs, sorry my work colleagues and they were a resounding success. They can be a tough crowed to please.

These are amazingly simple to make and will be demolished in seconds.

Makes: 18 blondies
Oven Temp: Gas 4, 350F, 180C (160C Fan)

Ingredients:
100g melted butter
60ml rapeseed oil
250g light brown sugar
1.5 teaspoons vanilla extract
1 egg + 1 egg yolk
200g sifted plain flour
1/4 tsp baking powder
100g chopped pecan nuts
175g salted caramel sauce

Instructions:

  1. Pre-heat oven to 180c (160c) fan and line a square 9 inch baking tin with baking parchment.
  2. Melt the butter gently in a saucepan along with the oil.
  3. Once melted, whisk in the soft brown sugar and vanilla together until combined. Allow to cool for 5 minutes and pour into a mixing bowl.
  4. Whisk in the egg and additional egg yolk.
  5. Add the flour and baking powder to the wet ingredients and fold in gently until combined.
  6. Gently fold in the chopped pecan nuts.
  7. Press half of the batter into your tin.
  8. Drizzle the salted caramel all over the base and spread in an even layer.
  9. Blob the remaining batter over the caramel sauce and gently spread to cover the caramel evenly.
  10. Bake for 20-25 minutes until golden on top but still a little squidgy in the middle.
  11. Leave to cool in the tin for 30 minutes then remove and cut into 9 squares. Then divide the square in half to make 18 triangles.

Salted Caramel and Pecan Blondies
 
Save Print
Prep time
20 mins
Cook time
20 mins
Total time
40 mins
 
Delicious sweet , salty , nutty blondies
Author: CluckMuckCook
Serves: 18
Ingredients
  • 100g melted butter
  • 60ml rapeseed oil
  • 250g light brown sugar
  • 1.5 teaspoons vanilla extract
  • 1 egg + 1 egg yolk
  • 200g sifted plain flour
  • ¼ tsp baking powder
  • 100g chopped pecan nuts
  • 175g salted caramel sauce
Instructions
  1. Pre-heat oven to 180c (160c) fan and line a square 9 inch baking tin with baking parchment.
  2. Melt the butter gently in a saucepan along with the oil.
  3. Once melted, whisk in the soft brown sugar and vanilla together until combined. Allow to cool for 5 minutes and pour into a mixing bowl.
  4. Whisk in the egg and additional egg yolk.
  5. Add the flour and baking powder to the wet ingredients and fold in gently until combined.
  6. Gently fold in the chopped pecan nuts.
  7. Press half of the batter into your tin.
  8. Drizzle the salted caramel all over the base and spread in an even layer.
  9. Blob the remaining batter over the caramel sauce and gently spread to cover the caramel evenly.
  10. Bake for 20-25 minutes until golden on top but still a little squidgy in the middle.
  11. Leave to cool in the tin for 30 minutes then remove and cut into 9 squares. Then divide the square in half to make 18 triangles.
Notes
Makes: 18 blondies
Oven Temp: Gas 4, 350F, 180C (160C Fan)
3.5.3226


CHELSEA BUNS

11 July 12, 2017 Breads

Chelsea Buns

My inspiration to bake as a child was my dad. As my dad worked nights, we often baked together at weekends. I remember successes, failures, a lot of laughter and love. A passion that I am also passing on to my children who also love to join me in the kitchen is to make biscuits or cakes. My dad is also to blame for the families carb addiction. He could never walk past a bakery without popping in for a piece of bread pudding, Belgium bun or his favourite Chelsea bun.

CHELSEA BUNS

I have been wanting to make Chelsea buns for a long time. However I never seemed to have the time and if honest I have never been that confident in bread making or yeasted doughs, so have often put off making them.  I think this stems back to the first loaf I remember my dad and I making. It was so hard that archaeologists will find it in the back garden of our old house in a 100 years time and wonder why anyone would make a house brick out of flour and yeast, it was that solid and dense.

My bread over the last 6 months has improved greatly, due to some good tips from some bread guru friends. The main eureka moment in my bread making was when I was told the phrase “wetter is better for bread dough”. Historically my doughs were always firm and dry, which really limits the rise and gives a dense loaf. I now no longer fear wet dough and with some decent kneading it becomes beautifully smooth and elastic.

CHELSEA BUNS

So it was time to jump into the Chelsea buns. Those who know me know that I see candied peel as the devils food, so my fruit of choice was an even mix of sultanas, dried cranberries and sour cherries.

CHELSEA BUNS

These were a lot easier than I thought they would be to make and were absolutely delicious, I baked them on a Sunday so, when my parents popped in for a cup of tea, they could sample a lovely warm, sweet, fluffy, cinnamon and fruit filled bun. They went down a treat. They will now be a regular in my repertoire and a great base to tweak flavours with different fruits and spices.

Makes: 9
Oven Temp: Gas 5, 375F, 190C (170C Fan)

Ingredients:
500g strong white bread flour (plus some for dusting)
300ml full fat milk
40g softened butter (unsalted)
10g instant yeast
10g salt
1 egg (medium)

Filing:
25g melted butter (unsalted)
75g soft brown sugar
2 teaspoons ground cinnamon
210g dried fruit ( I used 70g sultanas, 70g dried cranberries, 70g dried cherries)

To Glaze:
2 tablespoons maple syrup

Icing:
100g Icing sugar
1-2 tablespoons maple syrup

Instructions:
1. Warm milk and butter in a small saucepan until the butter melts. Allow to cool to room temperature and beat in the egg.
2. Sift flour into a large bowl or the bowl of a stand mixer with the dough hook attached.
3. Add the yeast to one side of the bowl. Add the salt to the other side of the bowl. This helps stop the yeast being retarded by the salt.
4. Make a well in the centre and add the milk, butter and egg mixture.
5. Knead for 10 minutes by hand or 7 minutes in a stand mixer with a dough hook until the dough is smooth and elastic.
6. Transfer the dough to a large oiled bowl and cover with Clingfilm. Allow to proof until double in size (1-2 hours).
7. Line a deep sided roasting tin with baking parchment.
8. Gently tip the dough on to a lightly dusted work surface. Gently roll into a large rectangle about 5mm thick.
9. On the edge closest to you, squash the very edge of the dough all the way along so it sticks to the work-surface. This will help with rolling later.
10. Melt the butter and brush evenly over the dough.
11. Mix the brown sugar and cinnamon together and sprinkle all over the dough.
12. Spread the fruit evenly over the dough.
13. From the edge that is furthest away from you, tightly roll the dough , slightly pulling it away from you to keep tension against the edge that is stuck to the work surface.
14. Trim the ends so that you have a neat cylinder. Then cut into 9 equal slices.
15. Place the slices into the tin, leaving a little room for them to prove for a second time. Cover the tin with lightly oiled cling film and leave to prove for 30-60 minutes until double in size. Preheat the oven to 190c/170c Fan.
16. Bake for 20-25 minutes until risen and golden brown. Remove from the oven and brush over the maple syrup whilst the buns are still warm.
17. Move the buns to a wire rack to cool. Once cool, mix the icing sugar and maple syrup to a thick pouring consistency and drizzle over the cooled buns.

5.0 from 1 reviews
Chelsea Buns
 
Save Print
Prep time
3 hours
Cook time
20 mins
Total time
3 hours 20 mins
 
Delicious and lovely warm, sweet, fluffy, cinnamon and fruit filled Chelsea buns
Author: CluckMuckCook
Serves: 9
Ingredients
  • 500g strong white bread flour (plus some for dusting)
  • 300ml full fat milk
  • 40g softened butter (unsalted)
  • 10g instant yeast
  • 10g salt
  • 1 egg (medium)
  • Filing:
  • 25g melted butter (unsalted)
  • 75g soft brown sugar
  • 2 teaspoons ground cinnamon
  • 210g dried fruit ( I used 70g sultanas, 70g dried cranberries, 70g dried cherries)
  • To Glaze:
  • 2 tablespoons maple syrup
  • Icing:
  • 100g Icing sugar
  • 1-2 tablespoons maple syrup
Instructions
  1. Warm milk and butter in a small saucepan until the butter melts. Allow to cool to room temperature and beat in the egg.
  2. Sift flour into a large bowl or the bowl of a stand mixer with the dough hook attached.
  3. Add the yeast to one side of the bowl. Add the salt to the other side of the bowl. This helps stop the yeast being retarded by the salt.
  4. Make a well in the centre and add the milk, butter and egg mixture.
  5. Knead for 10 minutes by hand or 7 minutes in a stand mixer with a dough hook until the dough is smooth and elastic.
  6. Transfer the dough to a large oiled bowl and cover with Clingfilm. Allow to proof until double in size (1-2 hours).
  7. Line a deep sided roasting tin with baking parchment.
  8. Gently tip the dough on to a lightly dusted work surface. Gently roll into a large rectangle about 5mm thick.
  9. On the edge closest to you, squash the very edge of the dough all the way along so it sticks to the work-surface. This will help with rolling later.
  10. Melt the butter and brush evenly over the dough.
  11. Mix the brown sugar and cinnamon together and sprinkle all over the dough.
  12. Spread the fruit evenly over the dough.
  13. From the edge that is furthest away from you, tightly roll the dough , slightly pulling it away from you to keep tension against the edge that is stuck to the work surface.
  14. Trim the ends so that you have a neat cylinder. Then cut into 9 equal slices.
  15. Place the slices into the tin, leaving a little room for them to prove for a second time. Cover the tin with lightly oiled cling film and leave to prove for 30-60 minutes until double in size. Preheat the oven to 190c/170c Fan.
  16. Bake for 20-25 minutes until risen and golden brown. Remove from the oven and brush over the maple syrup whilst the buns are still warm.
  17. Move the buns to a wire rack to cool. Once cool, mix the icing sugar and maple syrup to a thick pouring consistency and drizzle over the cooled buns.
Notes
Makes: 9
Oven Temp: Gas 5, 375F, 190C (170C Fan)
3.5.3226


Cornbread muffins

0 June 27, 2017 Bake with the kids

The Ultimate Cornbread Muffins.

The heatwave has me in the BBQ spirit and the 4th of July / Independence day is just around the corner. One thing that the boys and I miss from our vacation in Florida last year are the sweet and fluffy cornbread muffins that seemed to accompany any BBQ meal in most restaurants.

So I thought I would try and recreate the ultimate delicious little fluffy bundles of joy. My benchmark for success is if my youngest son Ethan gives them the thumbs up.

Cornbread muffins

Whilst I do like to add additional flavours to breads and rolls, this base recipe is delicious on its own. Or it can be tweaked with a handful of diced jalapeños and a good grating of your favourite cheese.

The mix is perfect for a dozen muffin sized cornbreads, they are foolproof and super easy to make.

Cornbread

I have tried a few different recipes but the kids voted these the most awesome of the lot. Slathered in some nice cold slightly salted butter, you cannot go wrong. I got a double thumbs up from Ethan.


Makes: 12

Oven Temp: Gas 5, 375F, 190C (170C Fan)

Ingredients:

250g plain flour

130g cornmeal/polenta

270g caster sugar

1 1/2 teaspoon salt

1 tablespoon baking powder

120ml vegetable oil

2 large eggs

240ml full fat milk


Instructions:

1. Add flour, cornmeal, sugar, salt and baking powder to a large mixing bowl and mix together.

2. In a separate bowl mix the vegetable oil, eggs and milk.

3. Pour the wet ingredients into the dry ingredients and mix until combined and there are no lumps.

4. Grease a muffin pan and pour the batter into each section until about two thirds full.

5. Bake in a preheated oven at 170c Fan for 18-20 minutes until golden brown.

6. Allow to cool in the pan for a couple of minutes, then remove from the pan and allow to cool on a wire rack.


The ultimate cornbread muffins.
 
Save Print
Makes: 12 Oven Temp: Gas 5, 375F, 190C (170C Fan)
Author: CluckMuckCook
Ingredients
  • 250g plain flour
  • 130g cornmeal/polenta
  • 270g caster sugar
  • 1½ teaspoon salt
  • 1 tablespoon baking powder
  • 120ml vegetable oil
  • 2 large eggs
  • 240ml full fat milk
Instructions
  1. Add flour, cornmeal, sugar, salt and baking powder to a large mixing bowl and mix together.
  2. In a separate bowl mix the vegetable oil, eggs and milk.
  3. Pour the wet ingredients into the dry ingredients and mix until combined and there are no lumps.
  4. Grease a muffin pan and pour the batter into each section until about two thirds full.
  5. Bake in a preheated oven at 170c Fan for 18-20 minutes until golden brown.
  6. Allow to cool in the pan for a couple of minutes, then remove from the pan and allow to cool on a wire rack.
3.5.3226

Rolo Cupcakes

0 February 19, 2017 Bake with the kids

Rolo Cupcakes

Thursday night before half term and the school tweets that there will be no after school clubs on the Friday. Normally not a major concern but Ollie was looking forward to the school bake off club and making his Rolo chocolate cupcakes. As we had already weighed out the ingredients for him to take in I promised I would make them with him at the weekend.

For an extra flourish we did add some vanilla butter icing, which complimented the chocolate cupcakes perfectly.

Rolo Cupcakes

I would caution though, after my last escapade with Rolos in chocolate brownies. I tried to turn the brownies out of the pan too early and ended up with the Rolos welding to one hand. I ended up doing a dance of pain, whilst trying to work out if I should save the brownie or save my hand . The brownie won and was saved and I spent the rest of the night with my hand in a bowl of iced water.

As we often bake together at the weekend, it spawned the idea of a section of the blog dedicated to baking with the kids. All the recipes in this section will be baked by Ollie, loosely under my supervision so that he does not set fire to the house or chop off a finger!

Hopefully these easy and delicious recipes will be used by mums and dads to get the kids baking.

Rolo Cupcakes
Makes: 12 Cupcakes
Oven Temp: Gas 4, 350F, 180C (160C Fan)

Ingredients:
100g butter, softened
175g light brown sugar
175g self raising flour
25g cocoa powder
2 eggs
125ml milk
12 Rolos
12 muffin cases

Butter cream icing:
140g butter, softened
280g icing sugar
1-2 tbsp milk
1 tsp Vanilla extract

Instructions for the cupcakes:

  1. Preheat the oven to 180C/160F Fan.
  2. Sift flour, cocoa powder and sugar in the mixing bowl.
  3. Add the wet ingredients: egg, milk and butter
  4. With a wooden spoon beat all the ingredients together until they form a smooth batter.
  5. Line a muffin tin with the cases and divide the mixture evenly between the 12 cases.
  6. Poke a Rolo into the batter until it is just covered.
  7. Bake in the oven for 15-20 minutes.
  8. Let cool for a couple of minutes in the muffin tin . Then transfer to a cooling rack.
  9. Do not eat when hot as the Rolos are like lava!

Instructions for the butter icing:

  1. If you have a mixer put the butter and sift half of the icing sugar into the mixer bowl and beat on a slow speed until smooth. Or you can do this with a wooden spoon.
  2. Sift the remaining icing sugar and one tablespoon of the milk and the vanilla and beat the mixture until creamy and smooth.
  3. Beat in the extra tablespoon of milk, if necessary, to loosen the mixture.
  4. Pipe or spoon onto the cooled cupcakes.
Canele

7 February 5, 2017 Cakes

Canele

Time for a coffee on a midweek afternoon at work. I need to stretch my legs as I have been hunched over my computer working on presentations most of the week. So rather than pop to the staff canteen, I decide on a stroll outside. Canary Wharf has a great selection of coffee shops and whilst Starbucks in Jubilee Place has a great friendly team and can knock out a consistently decent cappuccino, I fancied something a bit different.

Canele

On the lower level of Jubilee Place, tucked away under the escalators, there is a little ‘Paul’ French patisserie booth. Along with good coffee, they always have an interesting selection of breads, cakes and patisserie. I was browsing what they had whilst the coffee was being made and I spotted what looked like little burnt sandcastles. I had never seen them before but they looked intriguing. I made a note of their name ‘canelé’, grabbed my coffee and put them to the back of my mind until I got home.

Canele

After a little googling I found out that a canelé is a small French pastry, flavoured with rum and vanilla, with a soft custard centre and a dark, thick caramelised crust. It originates from the Bordeaux region of France.

When browsing some recipes two things became evident. Firstly you need a special baking pan to get the traditional shape. I always like an excuse to buy another fancy baking tray. Secondly the recipe is a cross between basically a wet pancake batter and a custard, which is hard to mess up. Do not be scared when you make these and the batter seems barely thicker than water.

Canele

You could probably make these in muffin pan or mini popover tin but you would have to play around with the cooking timing. The recipe I landed on was a Michel Roux Jr recipe but I switched out the rum for brandy.

Canele

They are very easy to make but the batter is best rested overnight in the fridge. These make delicious breakfast treats on a Sunday morning with a strong cup of coffee.

When baking you want to see the bottom turn a rick dark brown. Then the outside will be nice and caramelised when you turn them out. You start with a hot oven at 220c for 8 mins then turn down to 180c for the final 40 minutes.

Makes: 18
Oven Temp: Gas 4, 350F, 180C (160C Fan)

Ingredients:
500ml milk
2 eggs
2 egg yolks
100g plain white flour
200g caster sugar
50g butter
1 tbsp brandy
1 tsp vanilla extract
A pinch of salt

Instructions:

  1. Warm the milk in a saucepan and add the vanilla extract and butter. Allow the butter to melt and gently stir. Once the butter has melted take off the heat.
  2. In a large bowl, whisk together the eggs and sugar and sift in the flour and salt. Whisk to a smooth thick batter and add the brandy.
  3. Add the lukewarm milk and melted butter mix into the bowl. Whisk until you get a liquid batter mix without any lumps, like a thin pancake mixture.
  4. Allow to cool and leave to rest overnight in the fridge covered with cling film.
  5. Preheat your oven to 220c.
  6. Grease your pan/ moulds with melted butter.
  7. Remove the batter from the fridge, give it a quick whisk and fill the mounds almost to the top. Do not fill quite to the brim as they may to rise a little.
  8. Bake in the oven at a 220c for 8 minutes then lower the heat to 180c for a further 40 mins.
  9. Remove them from the oven when the tops are a rich dark brown and leave to cool down for at least 10 minutes before removing them from their moulds.

Canele
 
Save Print
Prep time
30 mins
Cook time
48 mins
Total time
1 hour 18 mins
 
Author: CluckMuckCook
Serves: 18
Ingredients
  • 500ml milk
  • 2 eggs
  • 2 egg yolks
  • 100g plain white flour
  • 200g caster sugar
  • 50g butter
  • 1 tbsp brandy
  • 1 tsp vanilla extract
  • A pinch of salt
Instructions
  1. Warm the milk in a saucepan and add the vanilla extract and butter. Allow the butter to melt and gently stir. Once the butter has melted take off the heat.
  2. In a large bowl, whisk together the eggs and sugar and sift in the flour and salt. Whisk to a smooth thick batter and add the brandy.
  3. Add the lukewarm milk and melted butter mix into the bowl. Whisk until you get a liquid batter mix without any lumps, like a thin pancake mixture.
  4. Allow to cool and leave to rest overnight in the fridge covered with cling film.
  5. Preheat your oven to 220c.
  6. Grease your pan/ moulds with melted butter.
  7. Remove the batter from the fridge, give it a quick whisk and fill the mounds almost to the top. Do not fill quite to the brim as they may to rise a little.
  8. Bake in the oven at a 220c for 8 minutes then lower the heat to 180c for a further 40 mins.
  9. Remove them from the oven when the tops are a rich dark brown and leave to cool down for at least 10 minutes before removing them from their moulds.
Notes
You start with a hot oven at 220c for 8 mins then turn down to 180c for the final 40 minutes.

Oven Temp: Gas 4, 350F, 180C (160C Fan)

Rest batter overnight for best results
3.5.3226


Blood Orange Upside Down Cake

98 January 22, 2017 Cakes

Blood Orange Upsidedown Cake

One great thing about being a baking social media geek is that it is very obvious when ingredients come into season in the Winter. The summer is a lot easier as I share an allotment with my father, so I tend to bake whatever is in harvest. However it is lovely to have something other than apples and pears to bake with, something with a fresh and vibrant colour and taste.

Blood Orange Upside Down Cake

This time of year one of my favourite ingredients comes back into season, blood oranges. If you have been looking at Pinterest recently, lots of recipes have been popping up. I had been planning an upside down cake for a while and have also been playing around with different sponge recipes.

I spotted some blood oranges in the local farm shop when we popped into their Cafe for a birthday breakfast treat for my wife.

Blood Orange

So this weekend was a perfect time to bring it all together. A fat free almond and orange cake, made moist with two oranges that have been simmered for a couple of hours to remove any bitterness and then blitzed to a pulp and mixed into the egg, sugar and almond mixture.

I carefully thinly slice 3 blood oranges on a mandolin and simmer them in the juice of an orange and sugar .

The remaining syrup I had planned to reduce down to glaze the top. Unfortunately I got side tracked and burnt it to a cinder and spent the next hour with all the windows and doors open, clearing the acrid smoke from the house and praying that no one called the fire brigade. Once I could see further than my nose in the kitchen, I ventured back in and knocked up another pan of orange syrup.
You could sneak a glug of Grand Marnier or Cointreau into the syrup to give it an extra kick on these cold winter days.

I scrunched up the baking parchment to line the tin’s bottom and up the sides, then laid in the slices starting at the centre and working my way outwards, finishing slightly up the sides.

Blood Orange Upside Down Cake

Once cooked and after dinner, I was dispatched to the garage to pick up some double cream to have with it. It is still the wife’s birthday weekend after all, I can be good on Monday.

175C/325F/Gas 3  – Serves 12

Sponge
2 large oranges
6 free-range eggs
250g/9oz ground almonds
250g/9oz caster sugar
1 tbsp baking powder

Toping
2-3 blood oranges
1 cup caster sugar
1/2 cup water

Instructions

  1. Rinse 2 oranges in hot water. Then add them to a large pan of simmering water and simmer gently for 2 hours.
  2. Leave the oranges to cool, chop up and remove any pips. Then put in a food processor or blender and whizz to a pulp.
  3. Slice 3 blood oranges thinly on a mandolin or with a sharpie knife.
  4. In a pan, add the water and caster sugar and bring to a simmer, stirring to dissolve the sugar.
  5. Add the orange slices and simmer for about 15 minutes until the rinds become slightly translucent.
  6. Once cooked, remove the slices with a slotted spoon and allow to cool so you can handle them.
  7. Grease and line a 9 inch tin with baking parchment.
  8. Place the slices slightly overlapping all over the bottom of the tin, working outwards and slightly up the side to finish. Brush with a little of the syrup.
  9. Preheat the oven to 175C/155c fan.
  10. Beat the eggs and sugar together until they are light and fluffy and have reached the ribbon stage.
  11. Mix in all the remaining ingredients, including the orange pulp.
  12. Pour into the cake tin and cook for about an hour, until the cake is golden in colour and a a skewer comes out clean when inserted n the middle.
  13. Transfer to a wire cooling rack, keeping the cake in the tin. When the cake has cooled, carefully remove from the tin and gently peel off the baking parchment.
  14. Brush the top with any remaining syrup to glaze.
  • Go to page 1
  • Go to page 2
  • Go to Next Page »

Copyright© 2025 · Cookd Pro Theme by Shay Bocks