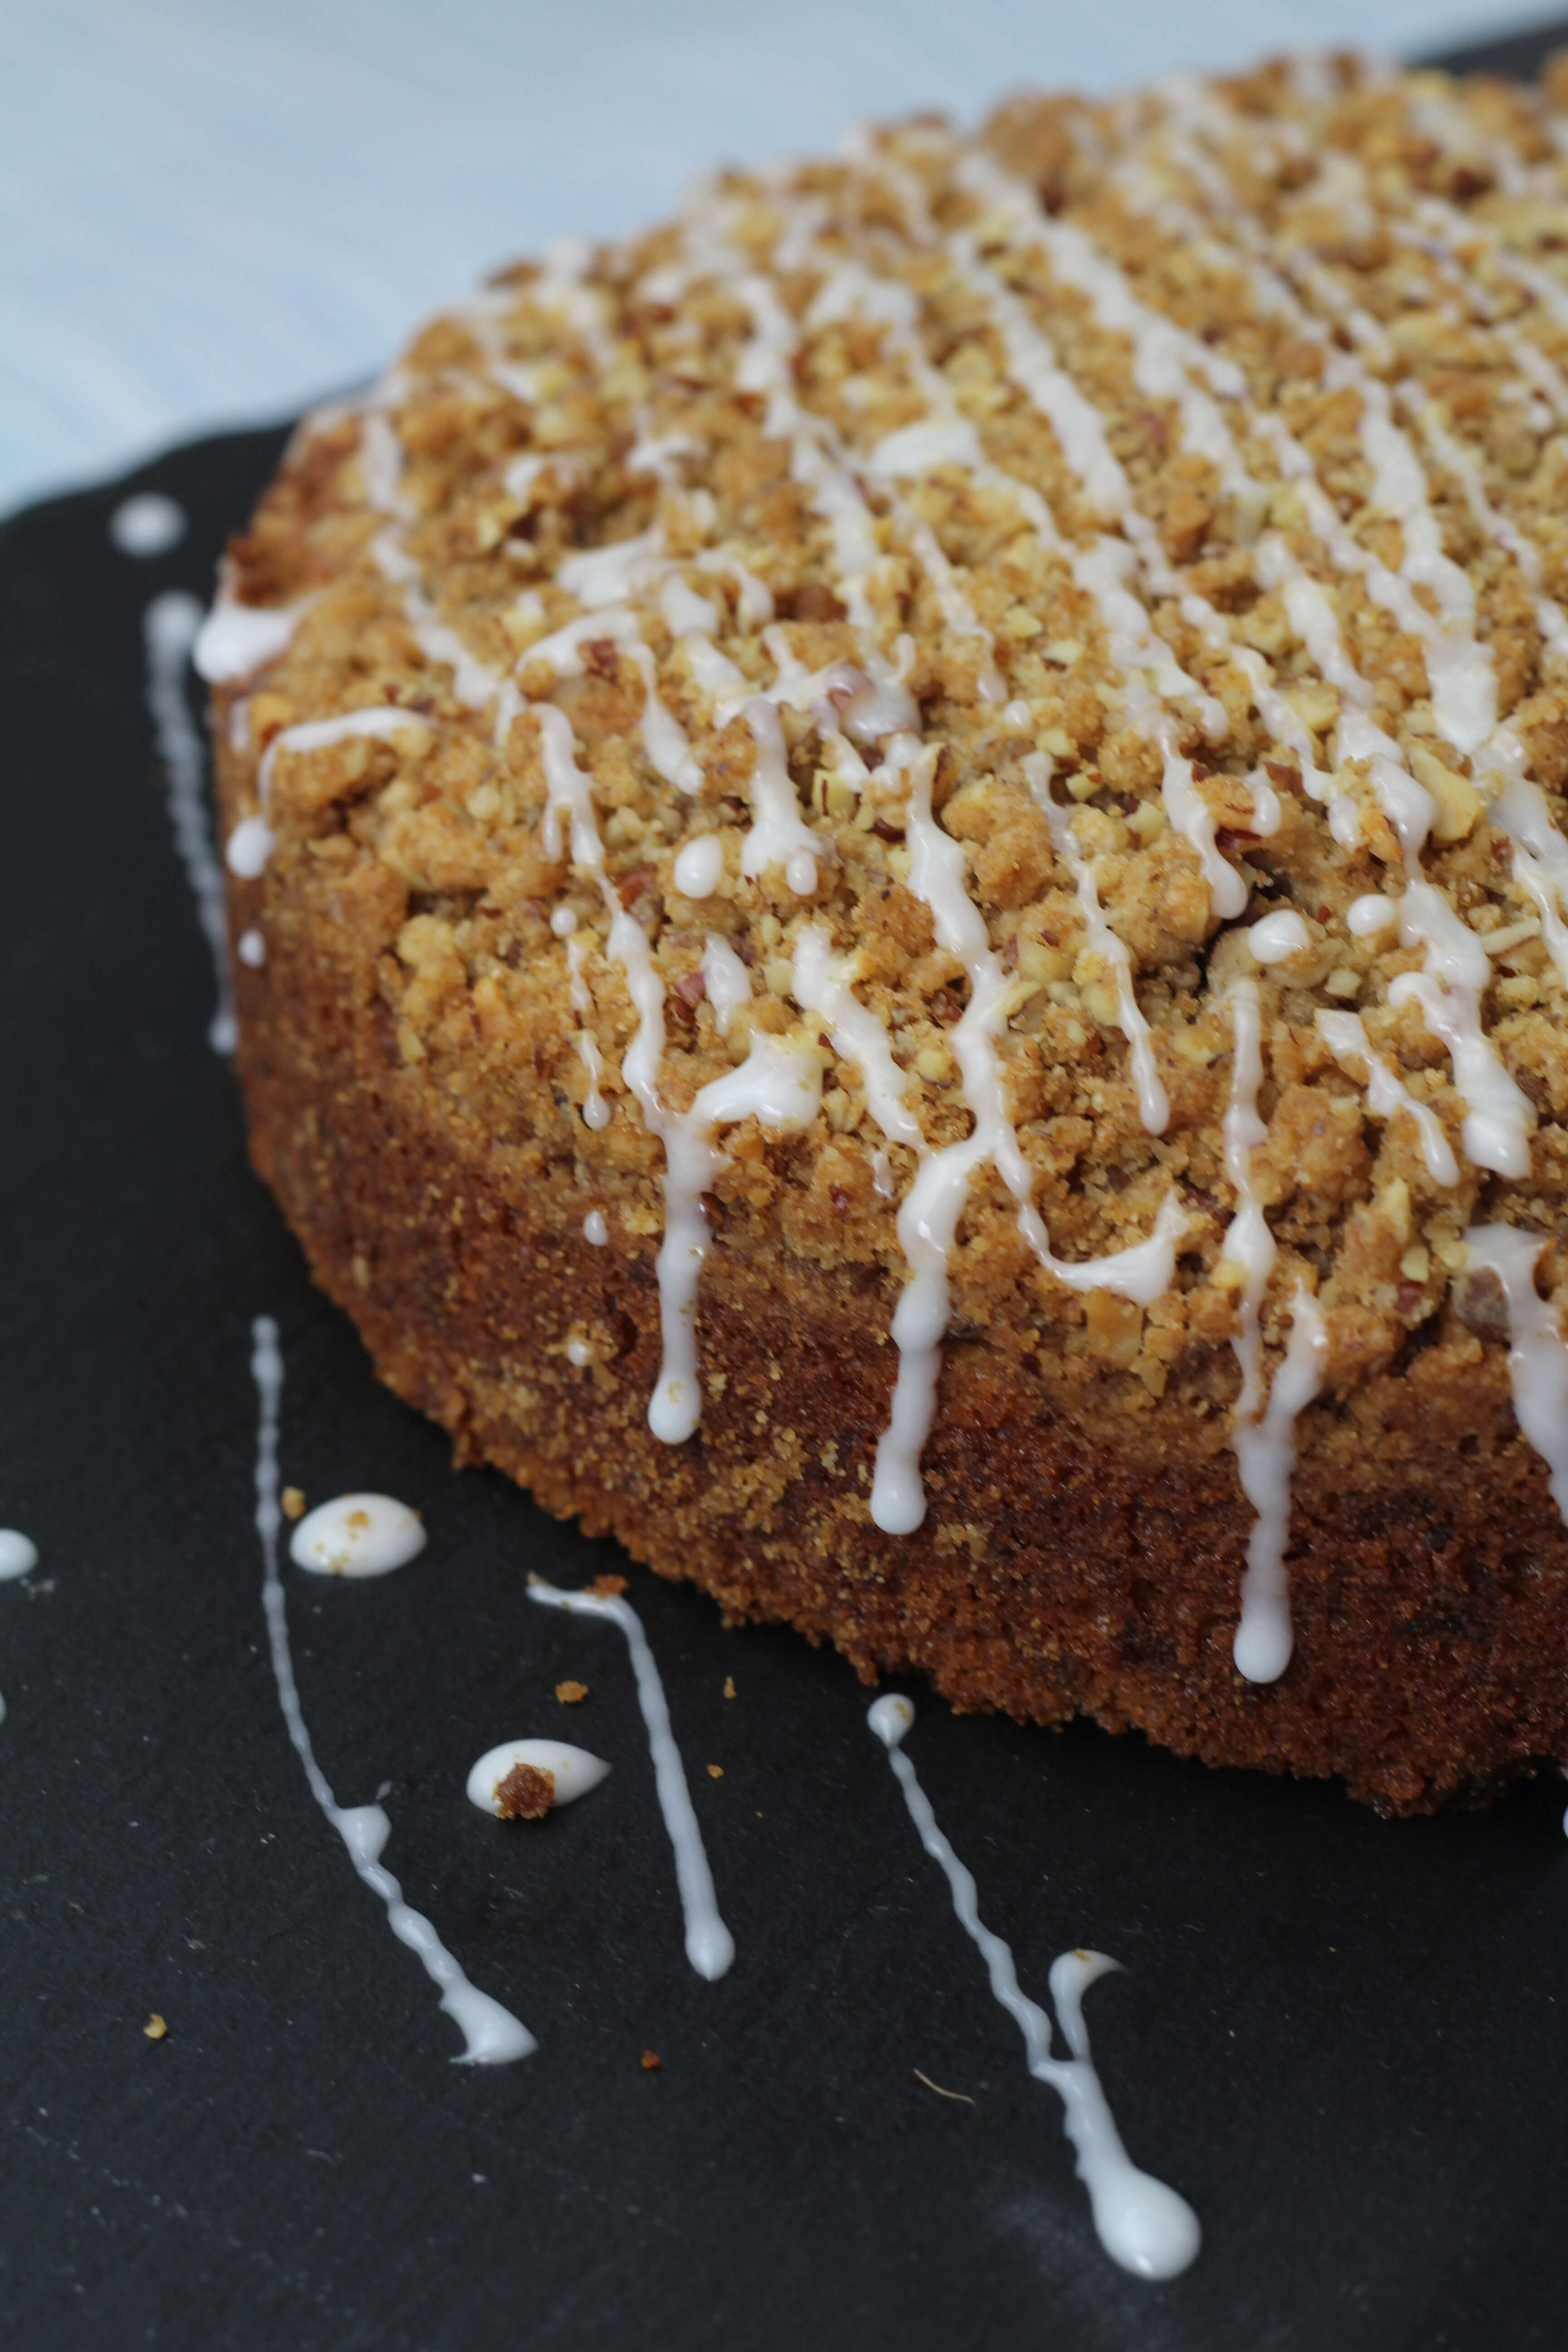
• Skip to primary navigation
  • Skip to main content
  • Home
  • About Me
  • Recipes
    • Cake
    • Biscuits
    • Bread
    • Pastry
    • Tray Bakes
    • Condiments
    • Bake with the kids
    • Anti Inflammatory Baking
  • Conversion Charts. Cups – Grams – Ounces
  • Blog

Cluck, Muck & Cook

Baking & Foodie Blog From Sunny Brentwood Essex

CluckMuckCook

Apple and Pear Crumble Pie

7 March 4, 2020 Pastry and Pies

Apple and Pear Crumble Pie

Winter Pies

As the nights draw in for winter and we move towards the delicious variety of winter fruits, it is a perfect time to think of comfort foods and pies. Especially with all the lovely variety of apples and pears we have in the UK.

I generally steer clear of cooking apples which disintegrate to a mush when baked and look to use my favourite eating apples and pears such as a Cox, Braeburn, Conference or Williams, which hold up well in cooking.

Sunday roasts in the winter need a good rib sticking dessert. I grew up on crumbles filled with whatever fruit was on hand or being grown in the garden. This is a slight twist on a normal crumble. The deep dish pie crust is filled with a mixture of apples and pears, that are in abundance at the moment. Topped with a buttery and nutty crumble mixture, I use pecans a lot in my baking as I love the sweet nutty taste but walnuts would work just as well. The demerara sugar also gives the crumble the extra crunchy texture.
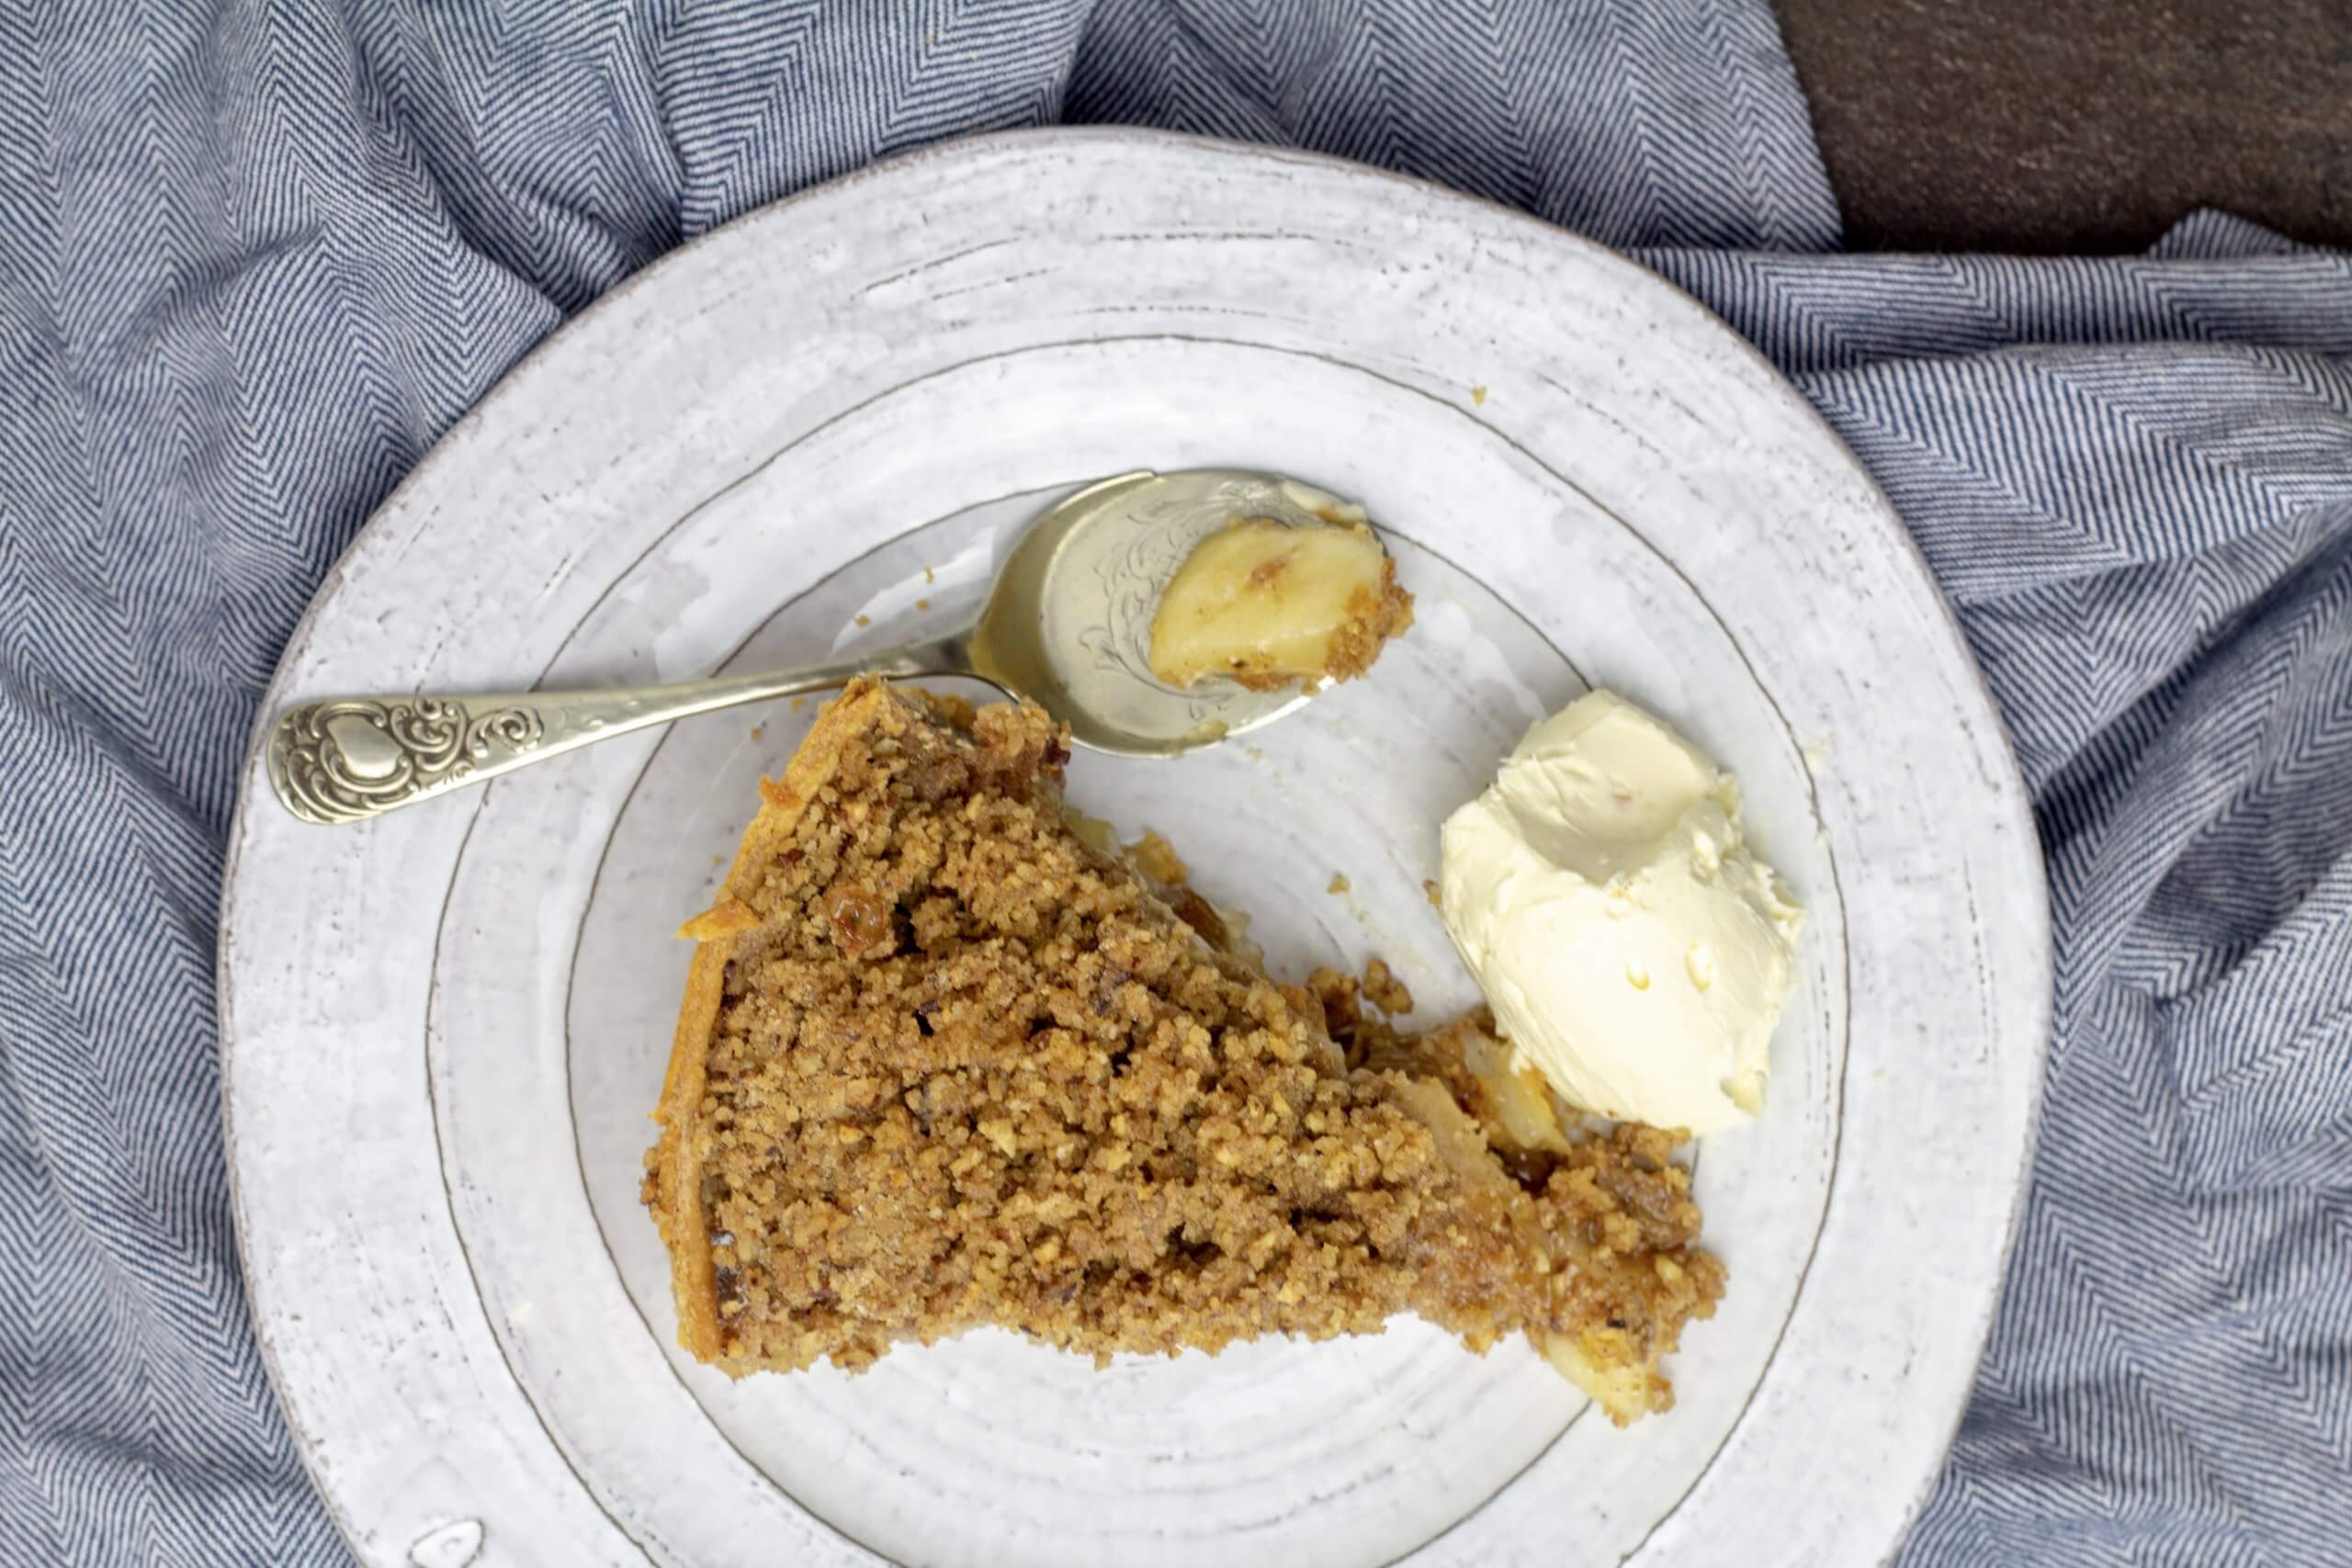
Apple and Pear Crumble Pie

Mix it up – If you have blackberries to hand swap the raisins out for a lovely alternative.

Recipe originally created for Kitchen Garden Magazine.
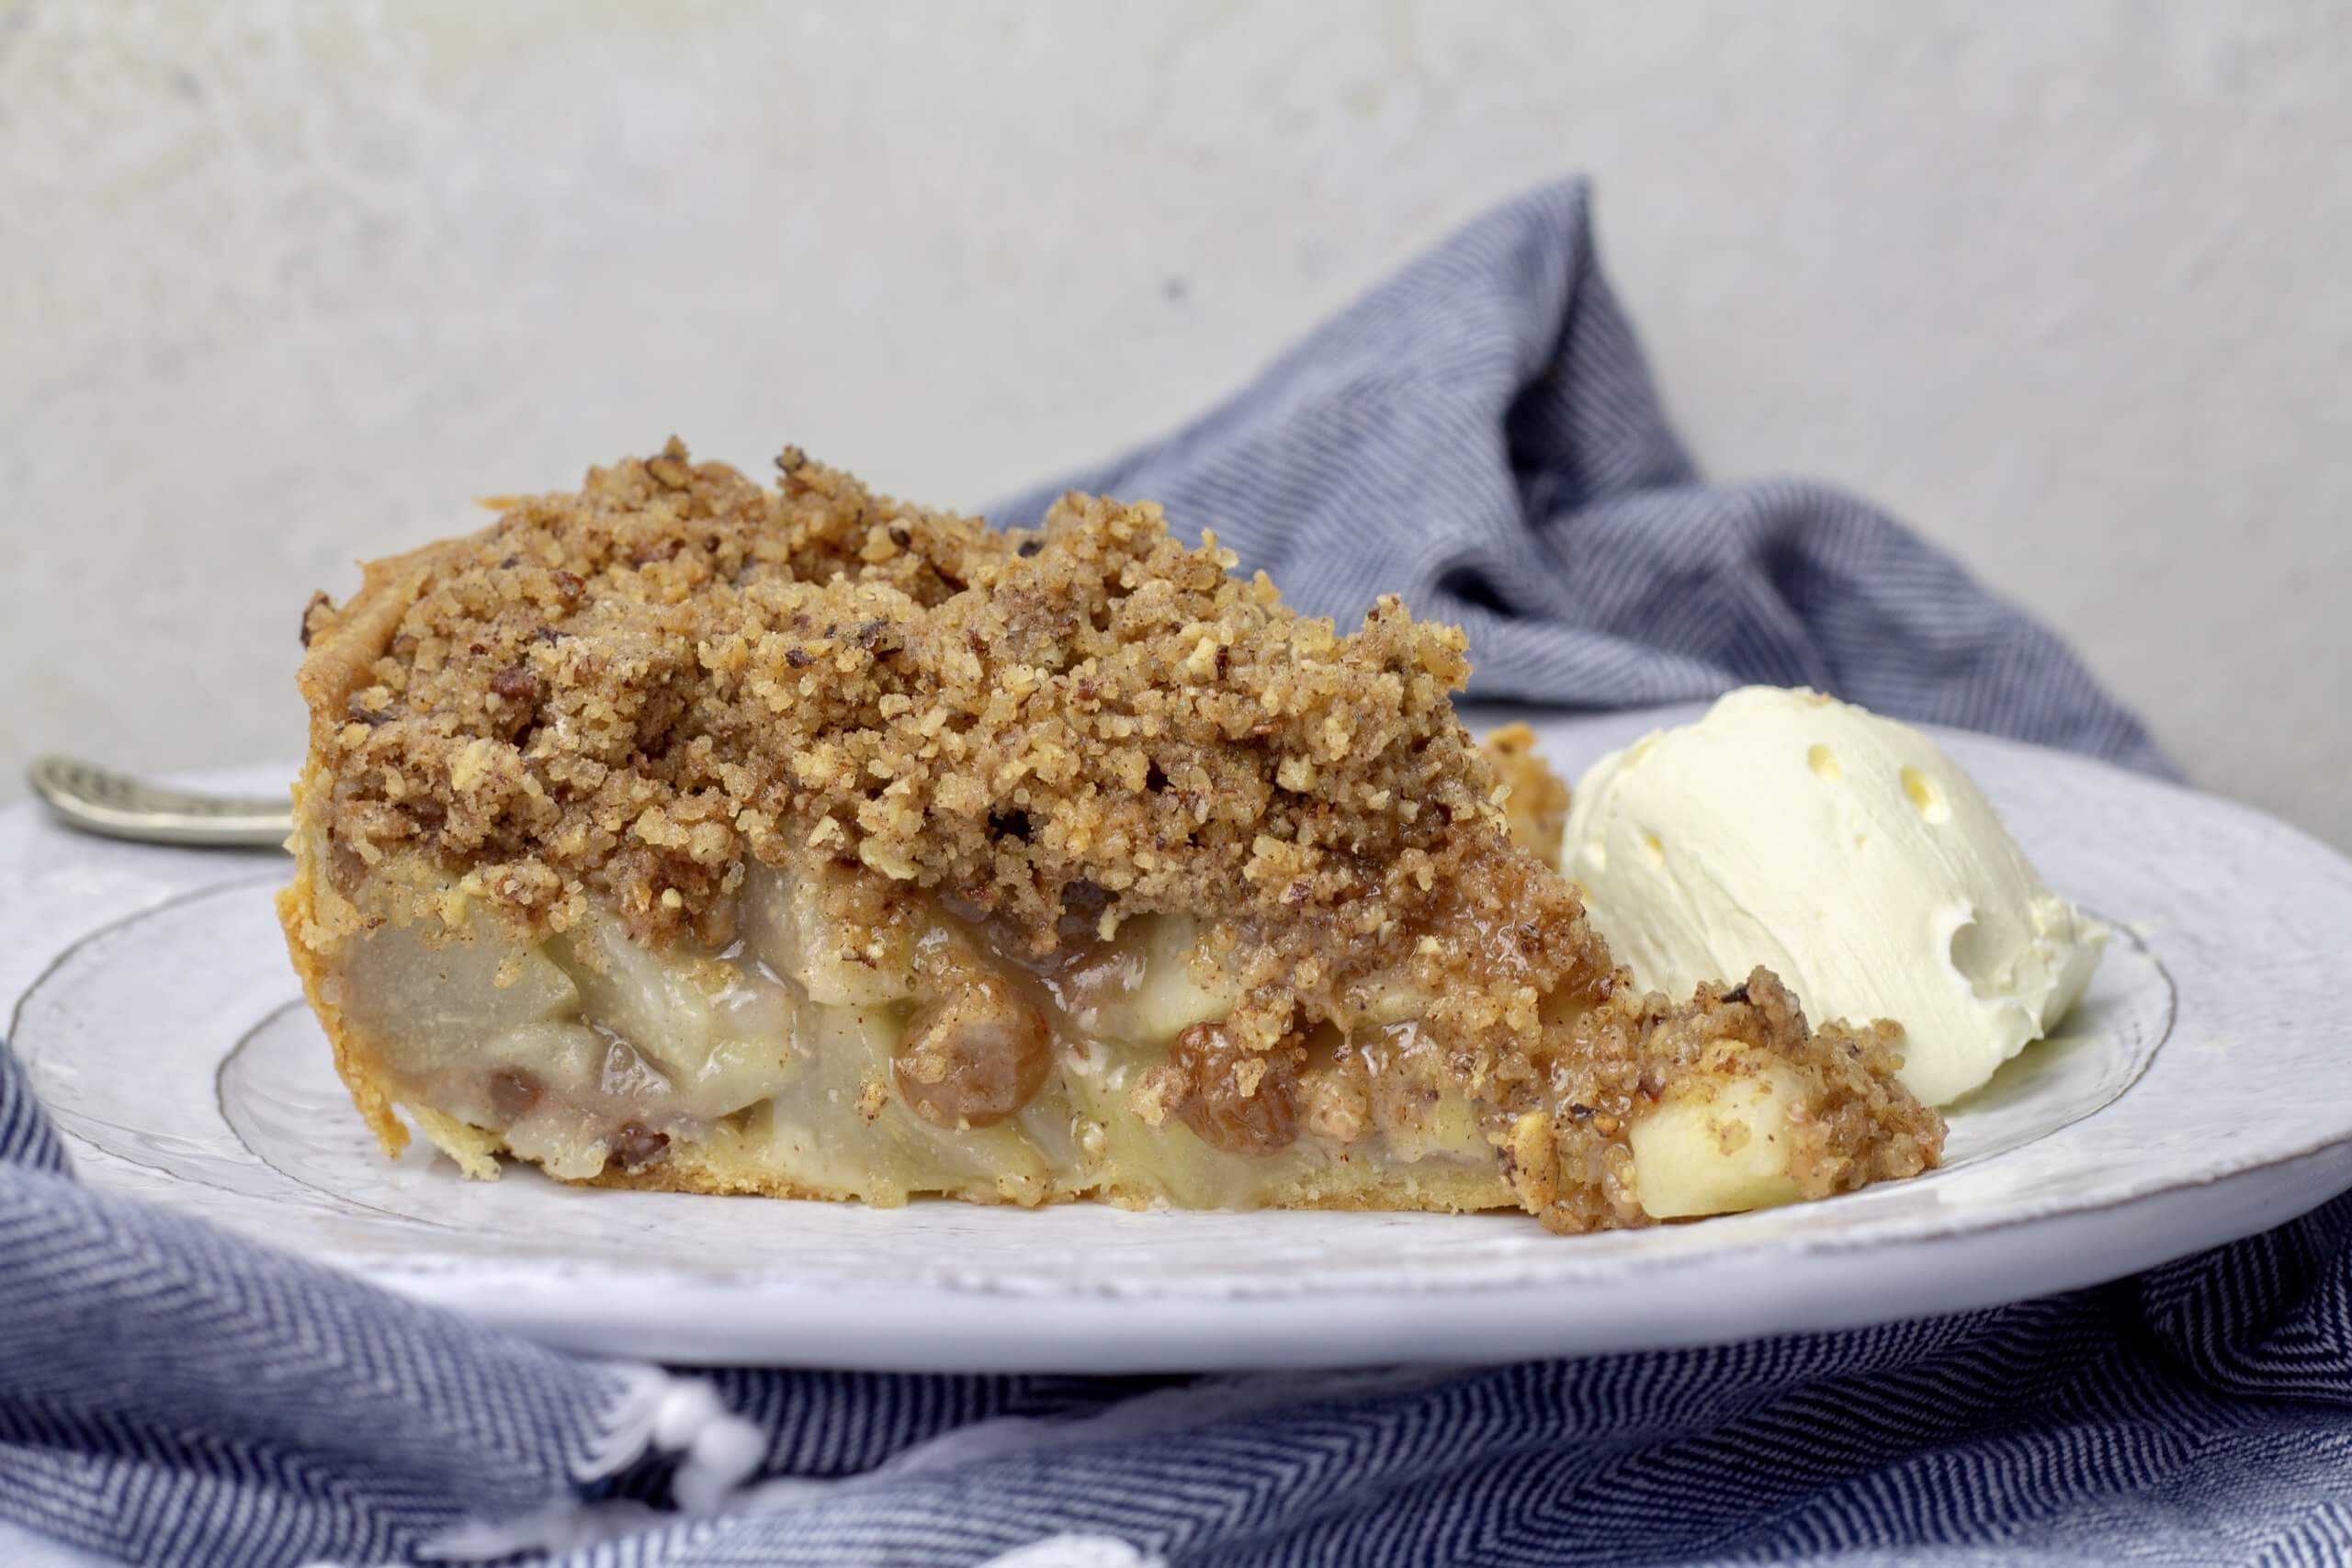
Apple and Pear Crumble Pie

Ingredients:

Pastry
225g plain flour
150g butter, chilled
25g icing sugar
1 large free-range egg
2 tablespoons milk
1 teaspoon of cinnamon powder.

Crumble Topping
110g plain flour
160g demerara sugar (or soft brown sugar)
90g butter
90g pecans, roughly chopped
1 1/2 teaspoons of ground cinnamon
Pinch of salt

Fruit Filling
4 large Cox’s apples, peeled, cored, and chopped into thick slices
4 Conference pears, peeled, cored, and chopped into thick slices
½ lemon (Juice only)
100g raisins
100g caster sugar
2 tablespoons cornflour

Instructions:

Pastry
• Sift the flour into a bowl and rub in the butter using your fingertips until the mixture resembles fine breadcrumbs. Or blitz in a food processor. Then mix in the icing sugar and cinnamon.
•Add the egg and 2 tablespoons of cold milk and mix until it forms a dough. Try not to overwork the dough.
•Wrap the ball of dough in cling film and chill For 30 minutes
• Roll the chilled dough into about a 14-inch disk, then line a 9 to 10 inch wide, (2 to 3 inch deep) pie dish.
• Pop back in the fridge and chill for another 30 minutes while you prepare the fruit and crumb topping.

Topping
• Add the flour, sugar, cinnamon, and salt to a large bowl and rub in the butter using your fingertips until the mixture resembles fine breadcrumbs.
• Then mix in the roughly chopped pecans and pop the bowl in the fridge whilst you prepare the filling.

Filling
• Peel, core and chop up the apples and pears into thick slices. Place into a bowl and add the lemon juice to stop them going brown.
• Mix together the sugar and cornflour and add to the apples and pears .
• Add in the raisins and mix until everything is distributed evenly and the apples and pears are coated with sugar and cornflour.
• Preheat the oven to 190c/170c Fan/ Gas Mark 5.
• Add the filling to the pastry case, then top with the crumble. Heap it up in the middle to get it all on, as the fruit will settle a little when cooked.
• Place into the preheated oven and bake for 1 to 1 ¼ hours or until the crumble topping is golden and the fruit juices are bubbling around the edge.
• Allow to cool to room temperature to get the perfect slice.
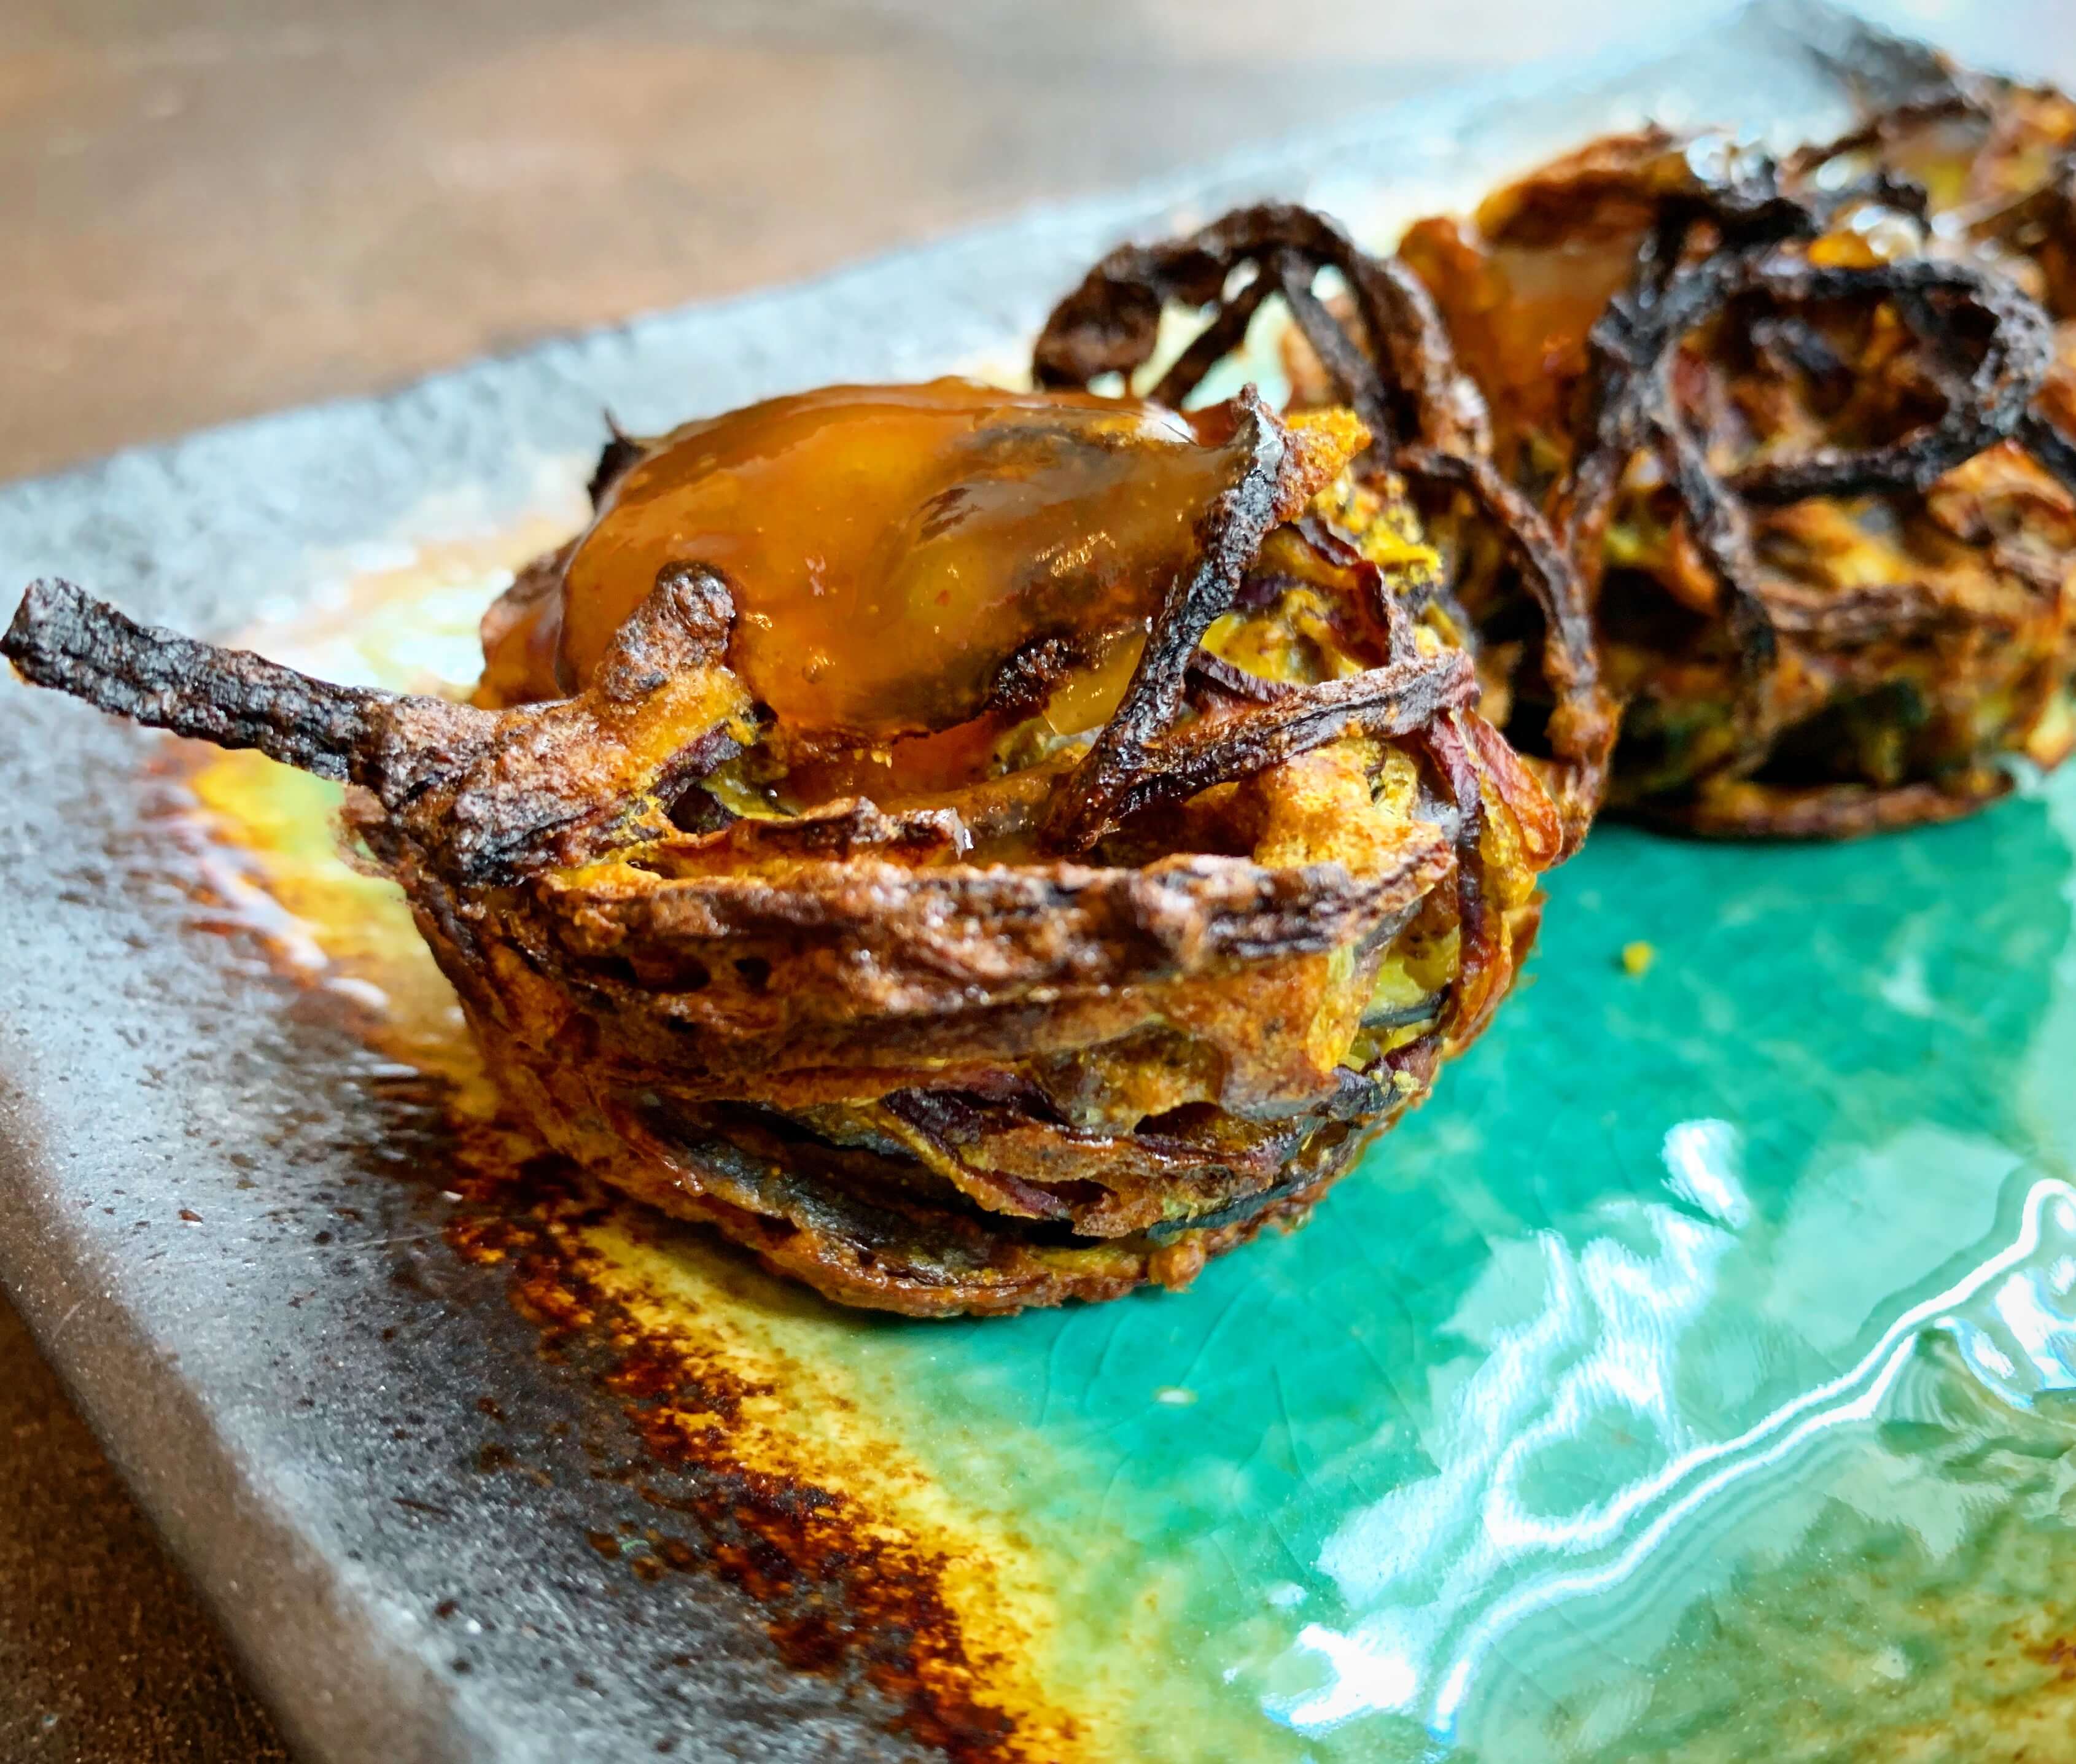
Apple and Pear Crumble Pie
 
Save Print
Prep time
60 mins
Cook time
75 mins
Total time
2 hours 15 mins
 
Sunday roasts in the winter need a good rib sticking dessert. I grew up on crumbles filled with whatever fruit was on hand or being grown in the garden. This is a slight twist on a normal crumble. The deep dish pie crust is filled with a mixture of apples and pears, that are in abundance at the moment. Topped with a buttery and nutty crumble mixture, I use pecans a lot in my baking as I love the sweet nutty taste but walnuts would work just as well. The demerara sugar also gives the crumble the extra crunchy texture.
Author: CluckMuckCook
Serves: 8 slices
Ingredients
  • Ingredients:
  • Pastry
  • 225g plain flour
  • 150g butter, chilled
  • 25g icing sugar
  • 1 large free-range egg
  • 2 tablespoons milk
  • 1 teaspoon of cinnamon powder.
  • Crumble Topping
  • 110g plain flour
  • 160g demerara sugar (or soft brown sugar)
  • 90g butter
  • 90g pecans, roughly chopped
  • 1½ teaspoons of ground cinnamon
  • Pinch of salt
  • Fruit Filling
  • 4 large Cox’s apples, peeled, cored, and chopped into thick slices
  • 4 Conference pears, peeled, cored, and chopped into thick slices
  • ½ lemon (Juice only)
  • 100g raisins
  • 100g caster sugar
  • 2 tablespoons cornflour.
Instructions
  1. Pastry
  2. Sift the flour into a bowl and rub in the butter using your fingertips until the mixture resembles fine breadcrumbs. Or blitz in a food processor. Then mix in the icing sugar and cinnamon.
  3. Add the egg and 2 tablespoons of cold milk and mix until it forms a dough. Try not to overwork the dough.
  4. Wrap the ball of dough in cling film and chill For 30 minutes
  5. Roll the chilled dough into about a 14-inch disk, then line a 9 to 10 inch wide, (2 to 3 inch deep) pie dish.
  6. Pop back in the fridge and chill for another 30 minutes while you prepare the fruit and crumb topping.
  7. Topping
  8. Add the flour, sugar, cinnamon, and salt to a large bowl and rub in the butter using your fingertips until the mixture resembles fine breadcrumbs.
  9. Then mix in the roughly chopped pecans and pop the bowl in the fridge whilst you prepare the filling.
  10. Filling
  11. Peel, core and chop up the apples and pears into thick slices. Place into a bowl and add the lemon juice to stop them going brown.
  12. Mix together the sugar and cornflour and add to the apples and pears .
  13. Add in the raisins and mix until everything is distributed evenly and the apples and pears are coated with sugar and cornflour.
  14. Preheat the oven to 190c/170c Fan/ Gas Mark 5.
  15. Add the filling to the pastry case, then top with the crumble. Heap it up in the middle to get it all on, as the fruit will settle a little when cooked.
  16. Place into the preheated oven and bake for 1 to 1 ¼ hours or until the crumble topping is golden and the fruit juices are bubbling around the edge.
  17. Allow to cool to room temperature to get the perfect slice.
3.5.3251


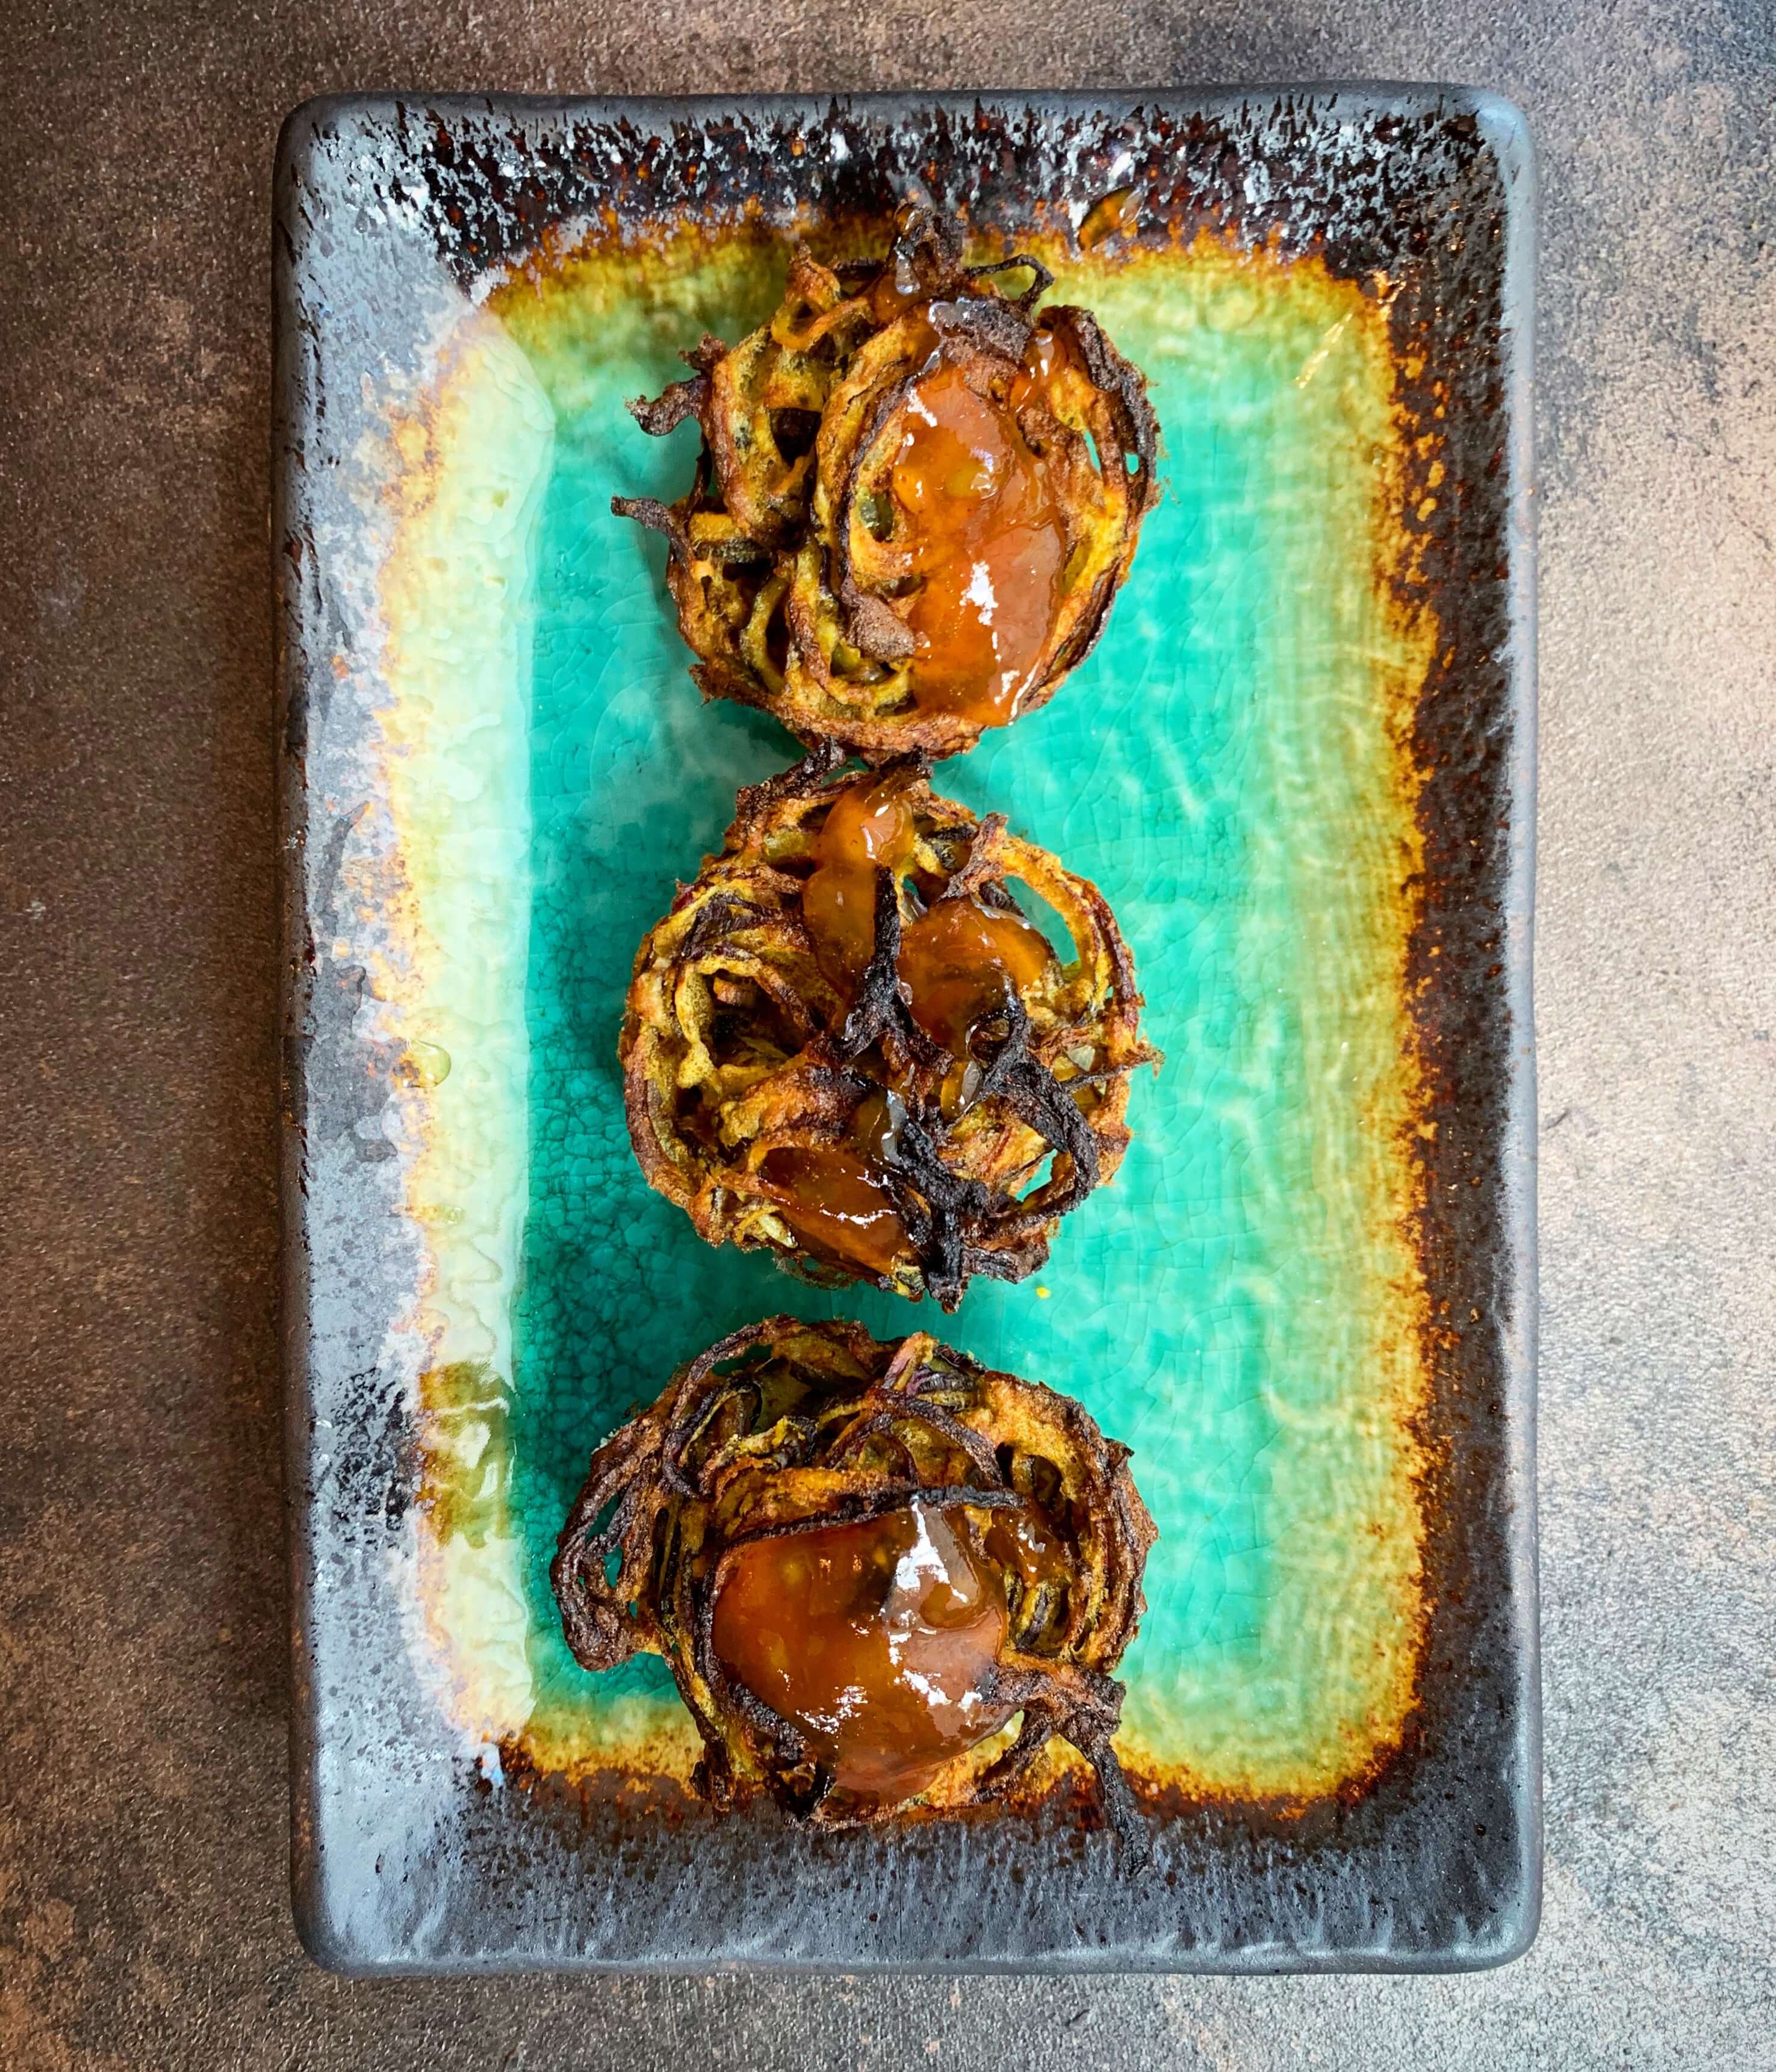
Healthy onion bhaji

17 June 9, 2019 Anti Inflammatory Baking

Healthy Baked Onion Bhajis

I have started to play around with ingredients that are well known for their anti inflammatory properties. I was diagnosed with an inflammatory arthritis in 2012 but have never really considered the impact of diet on the condition until recently. So I thought I would start looking at how I can include more foods that may have a positive affect on my condition. Chilli, turmeric and onions in these healthy baked onion bhajis are all meant to be great for reducing inflammation. Combining black pepper with turmeric greatly increases the absorption of the curcumin (the anti inflammatory compound in the turmeric), into the body.

Whilst eating a few healthy baked onion bhajis will not cure arthritis, making small changes to my diet to increase the “anti inflammatory” foods and reducing the “inflammatory” foods can only help. Every little helps.

Healthy onion bhaji

Stay tuned for some delicious healthy anti inflammatory based recipes as I research the topic a little more.

3 small red onions
1 ½ tablespoons of wholegrain flour
1 heaped teaspoon garam masala
1/4 teaspoon chilli powder
1/2 teaspoon of turmeric
Good grind of fresh black pepper
Pinch of salt
One egg beaten
Oil spray

Preheat oven to 220c/200c Fan.
Slice the onions very thinly into rounds and place into a large bowl.
Beat the egg and add to the onions and mix them around to coat in the egg.
In a separate bowl, mix together the flour, garam masala, chilli powder, turmeric and a pinch of salt.
Sprinkle the dry mix over the onions and stir until they are all coated, being careful not to let them clump together.
In a deep muffin tin spray 6 holes with a little oil.
Gently place spoonfuls of the onion mixture into the muffin tin, dividing all the mixture between the 6 holes.
Do not press down, you want an open onion mixture to crisp up nicely.
Bake in the oven for 22-25 mins until the tops have gone dark and crispy.
Eat whilst hot.

Healthy Baked Onion Bhajis
 
Save Print
Delicious healthy baked onion bhajis , packed with anti inflammatory ingredients .
Author: CluckMuckCook
Ingredients
  • 3 small red onions
  • 1 ½ tablespoons of wholegrain flour
  • 1 heaped teaspoon garam masala
  • ¼ teaspoon chilli powder
  • ½ teaspoon of turmeric
  • Good grind of fresh black pepper
  • Pinch of salt
  • One egg beaten
  • Oil spray
Instructions
  1. Preheat oven to 220c/200c Fan.
  2. Slice the onions very thinly into rounds and place into a large bowl.
  3. Beat the egg and add to the onions and mix them around to coat in the egg.
  4. In a separate bowl, mix together the flour, garam masala, chilli powder, turmeric and a pinch of salt.
  5. Sprinkle the dry mix over the onions and stir until they are all coated, being careful not to let them clump together.
  6. In a deep muffin tin spray 6 holes with a little oil.
  7. Gently place spoonfuls of the onion mixture into the muffin tin, dividing all the mixture between the 6 holes.
  8. Do not press down, you want an open onion mixture to crisp up nicely.
  9. Bake in the oven for 22-25 mins until the tops have gone dark and crispy.
  10. Eat whilst hot.
3.5.3251


4 May 28, 2019 Condiments

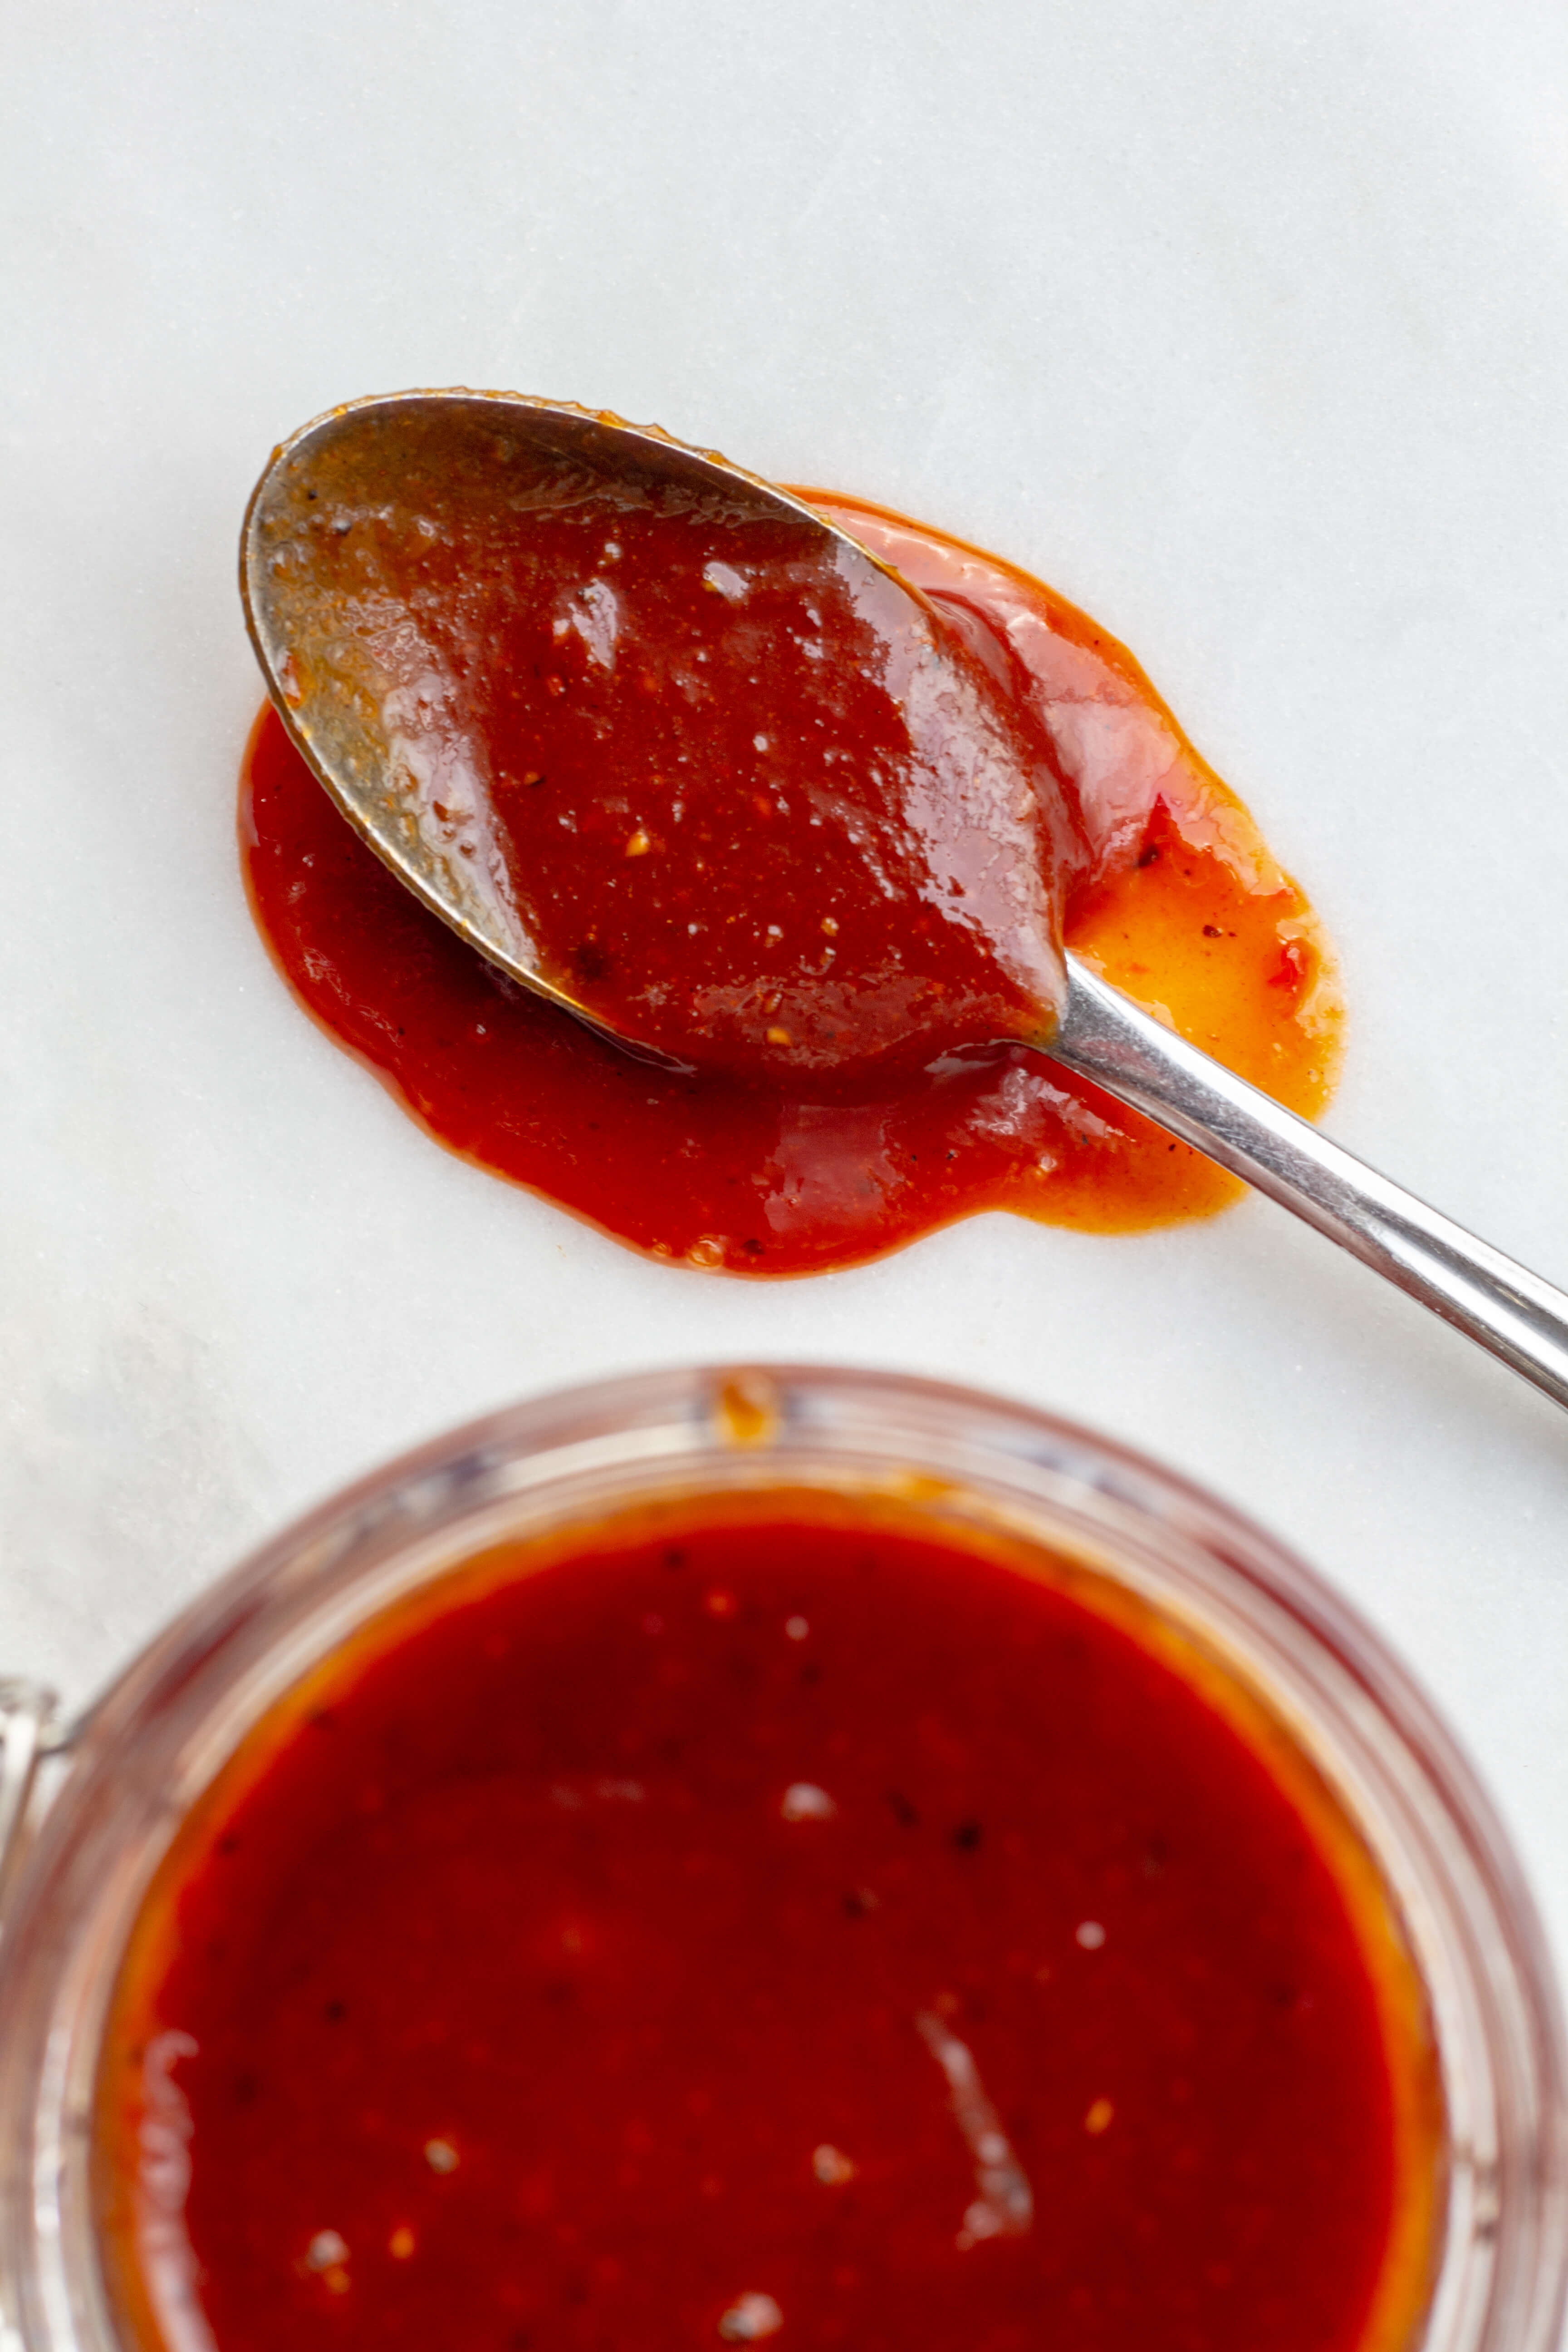
Kansas City Style Sweet and Spicy Chilli BBQ Sauce

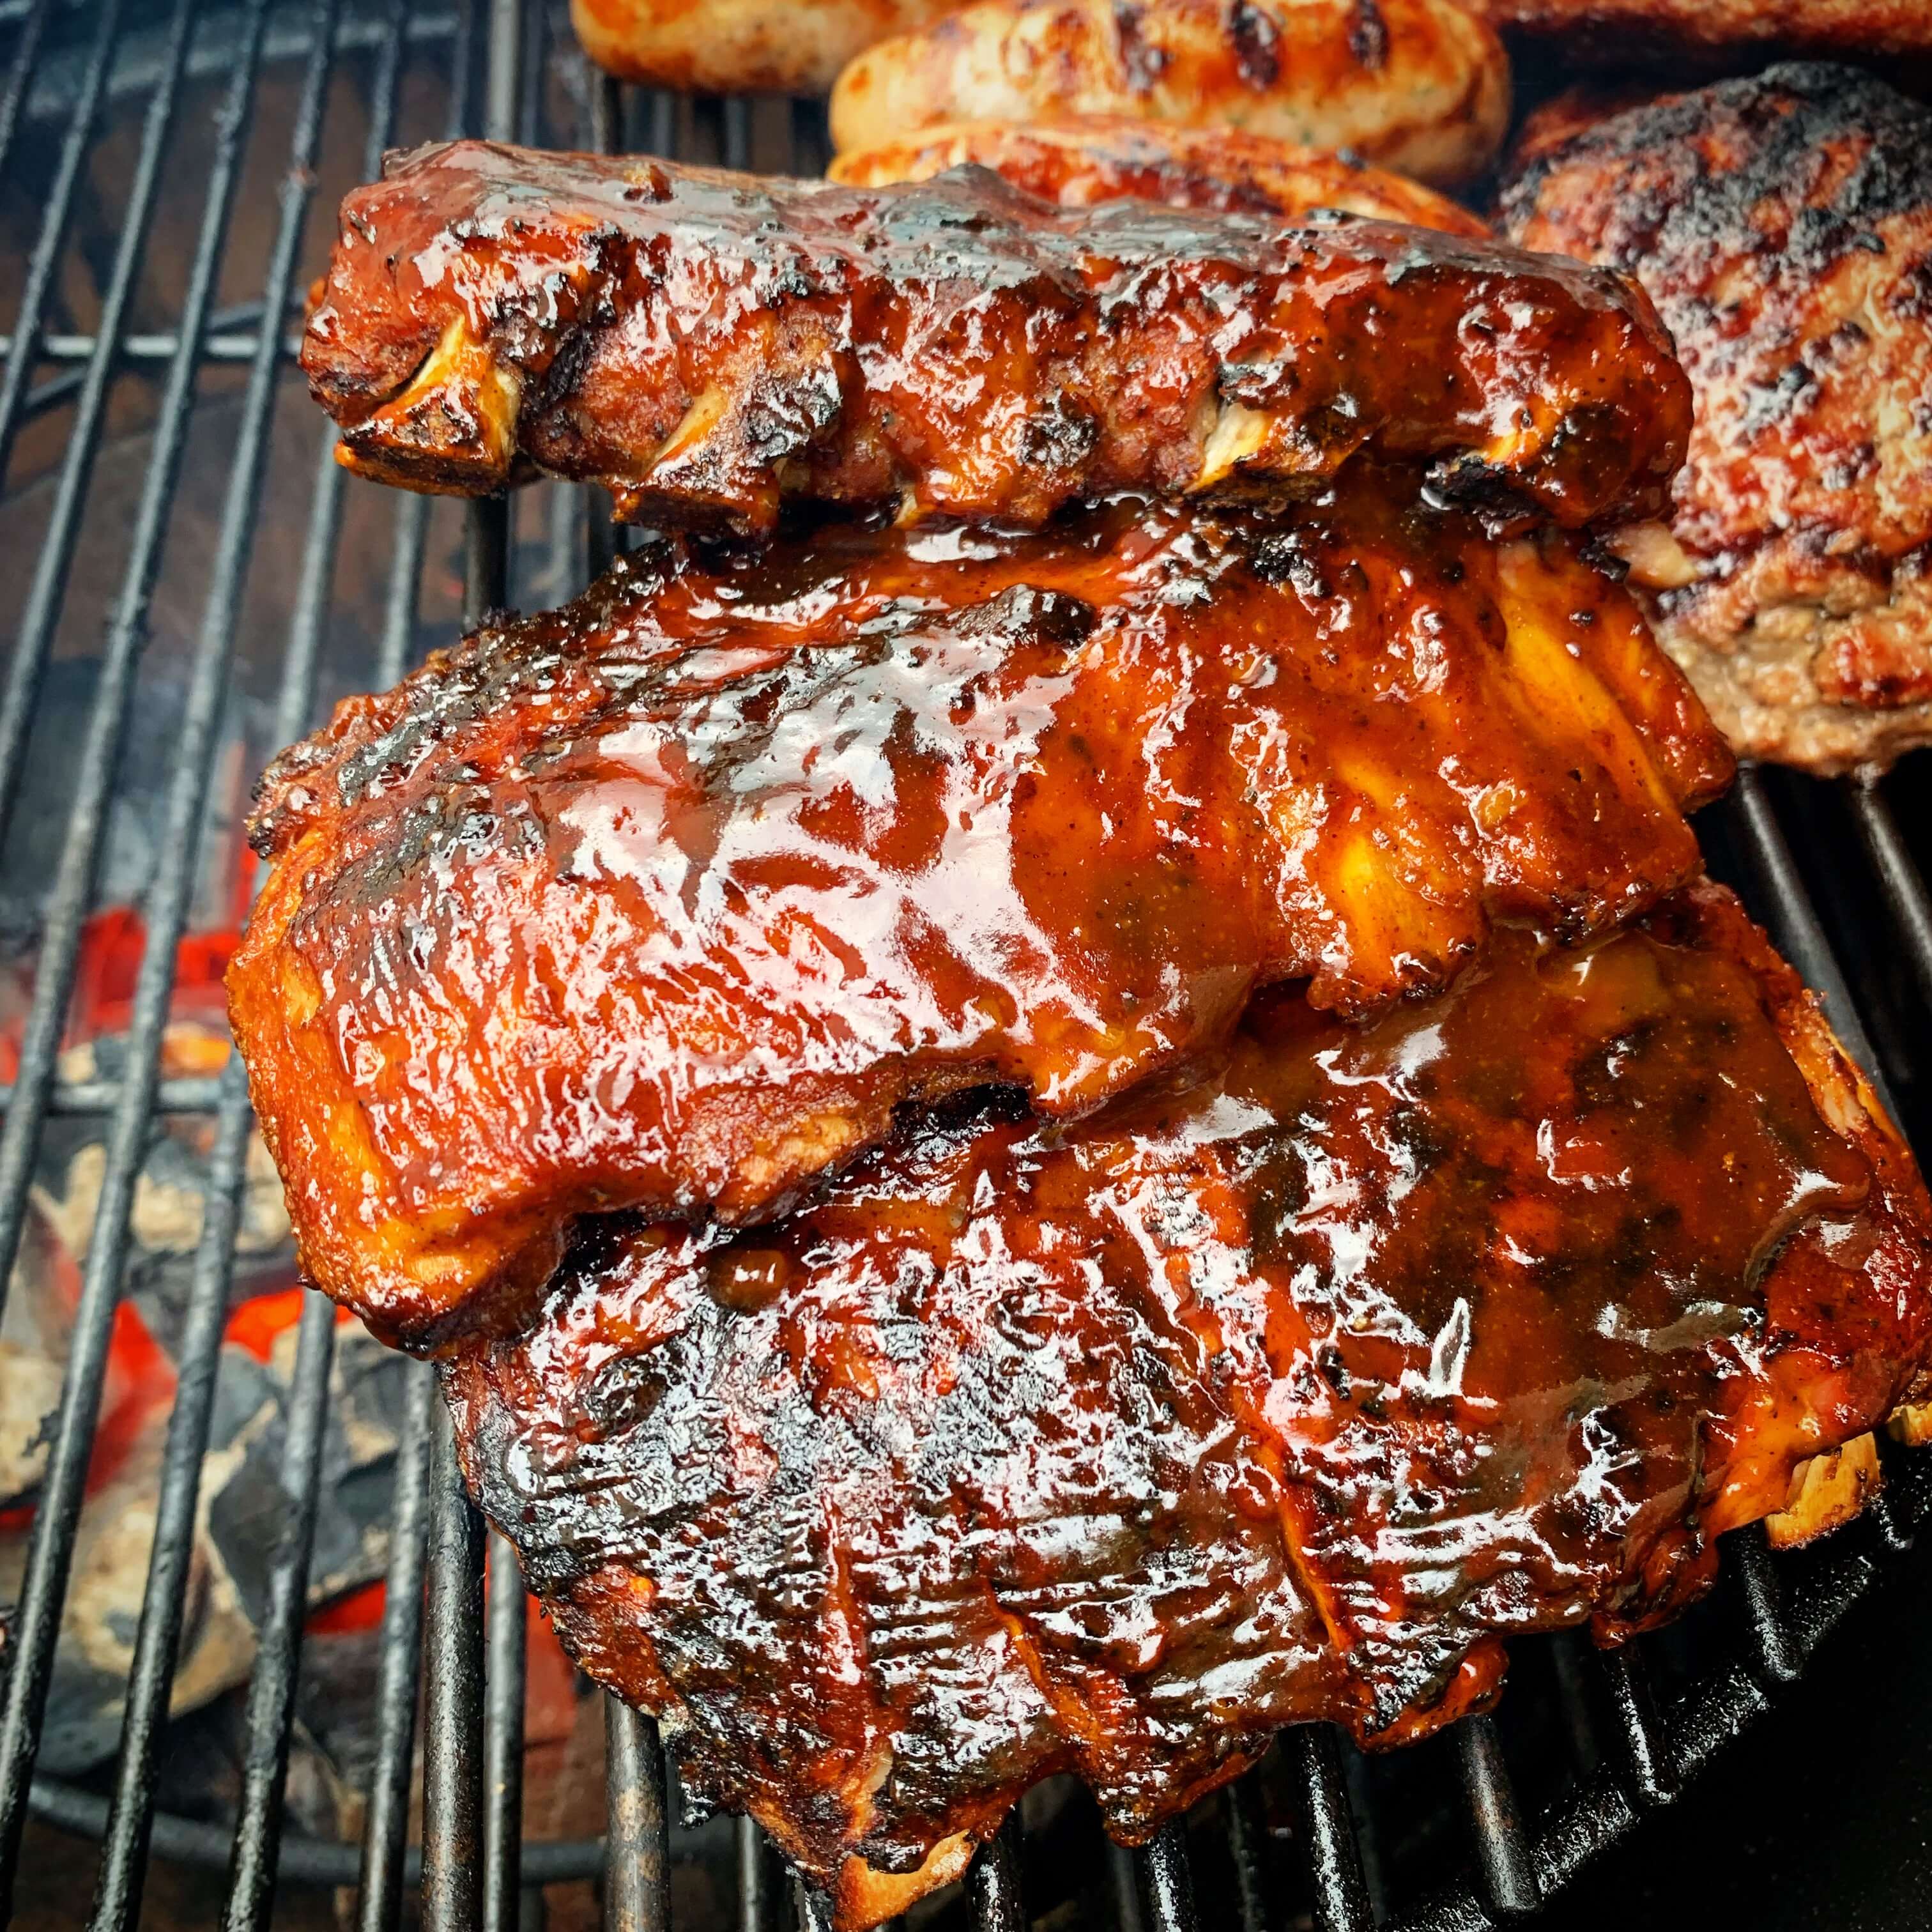
When you think of BBQ sauce, you are probably thinking of that rich, thick, sweet and spicy sauce
that is delicious on ribs and chicken. That deep flavoured tomato based sauce is a Kansas city style
sauce. I have been tweaking this recipe for years and have never shared it outside close friends.
Whilst there looks a lot of ingredients, it is very simple to make and is a great use of onions and
chillies you may be growing.

This sauce can be used on its own as an accompaniment, or slathered over delicious ribs on the BBQ.


Makes 2 Jars

Ingredients:
1 tablespoon olive oil
2 large cloves of garlic, chopped
3-4 large red chillies, deseeded and chopped
Thumb sized piece of fresh ginger, chopped
1 teaspoon onion powder
1 pinch of nutmeg
½ teaspoon ground ginger
1 teaspoon salt
1 teaspoon ground black pepper
1 teaspoon English mustard powder
240ml ketchup
240ml water
60ml cider vinegar
60ml honey
60ml maple syrup
60ml Worcestershire sauce
160g soft brown sugar
1 bay leaf

Instructions:

  1. In a medium saucepan gently fry the chopped garlic, chillies and ginger in the oil for a few
    minutes until the garlic is softened but not coloured.
  2. Add all of the dried spices and fry for another minute.
  3. Once all combined, add all of the liquid ingredients and sugar and bring to a gentle simmer
    whilst stirring. Add the bay leaf.
  4. Gentle simmer uncovered for 35-40 minutes until the sauce is nice and thick, stirring
    occasionally.
  5. Take out the bay leaf and allow to cool.
  6. Blitz in a food processor, blender or you can use an immersion blender. Just make sure it
    becomes a nice smooth sauce.
  7. Pour into sterilised jars and keep in the fridge.

Kansas City Style Sweet and Spicy Chilli BBQ Sauce
 
Save Print
Prep time
15 mins
Cook time
40 mins
Total time
55 mins
 
When you think of BBQ sauce, you are probably thinking of that rich, thick, sweet and spicy sauce that is delicious on ribs and chicken. That deep flavoured tomato based sauce is a Kansas city style sauce. I have been tweaking this recipe for years and have never shared it outside close friends.
Author: CluckMuckCook
Serves: 2 Jars
Ingredients
  • 1 tablespoon olive oil
  • 2 large cloves of garlic, chopped
  • 3-4 large red chillies, deseeded and chopped
  • Thumb sized piece of fresh ginger, chopped
  • 1 teaspoon onion powder
  • 1 pinch of nutmeg
  • ½ teaspoon ground ginger
  • 1 teaspoon salt
  • 1 teaspoon ground black pepper
  • 1 teaspoon English mustard powder
  • 240ml ketchup
  • 240ml water
  • 60ml cider vinegar
  • 60ml honey
  • 60ml maple syrup
  • 60ml Worcestershire sauce
  • 160g soft brown sugar
  • 1 bay leaf
Instructions
  1. In a medium saucepan gently fry the chopped garlic, chillies and ginger in the oil for a few
  2. minutes until the garlic is softened but not coloured.
  3. Add all of the dried spices and fry for another minute.
  4. Once all combined, add all of the liquid ingredients and sugar and bring to a gentle simmer
  5. whilst stirring. Add the bay leaf.
  6. Gentle simmer uncovered for 35-40 minutes until the sauce is nice and thick, stirring
  7. occasionally.
  8. Take out the bay leaf and allow to cool.
  9. Blitz in a food processor, blender or you can use an immersion blender. Just make sure they
  10. become a nice smooth sauce.
  11. Pour into sterilised jars and keep in the fridge.
3.5.3251


8 April 19, 2019 Bake with the kids

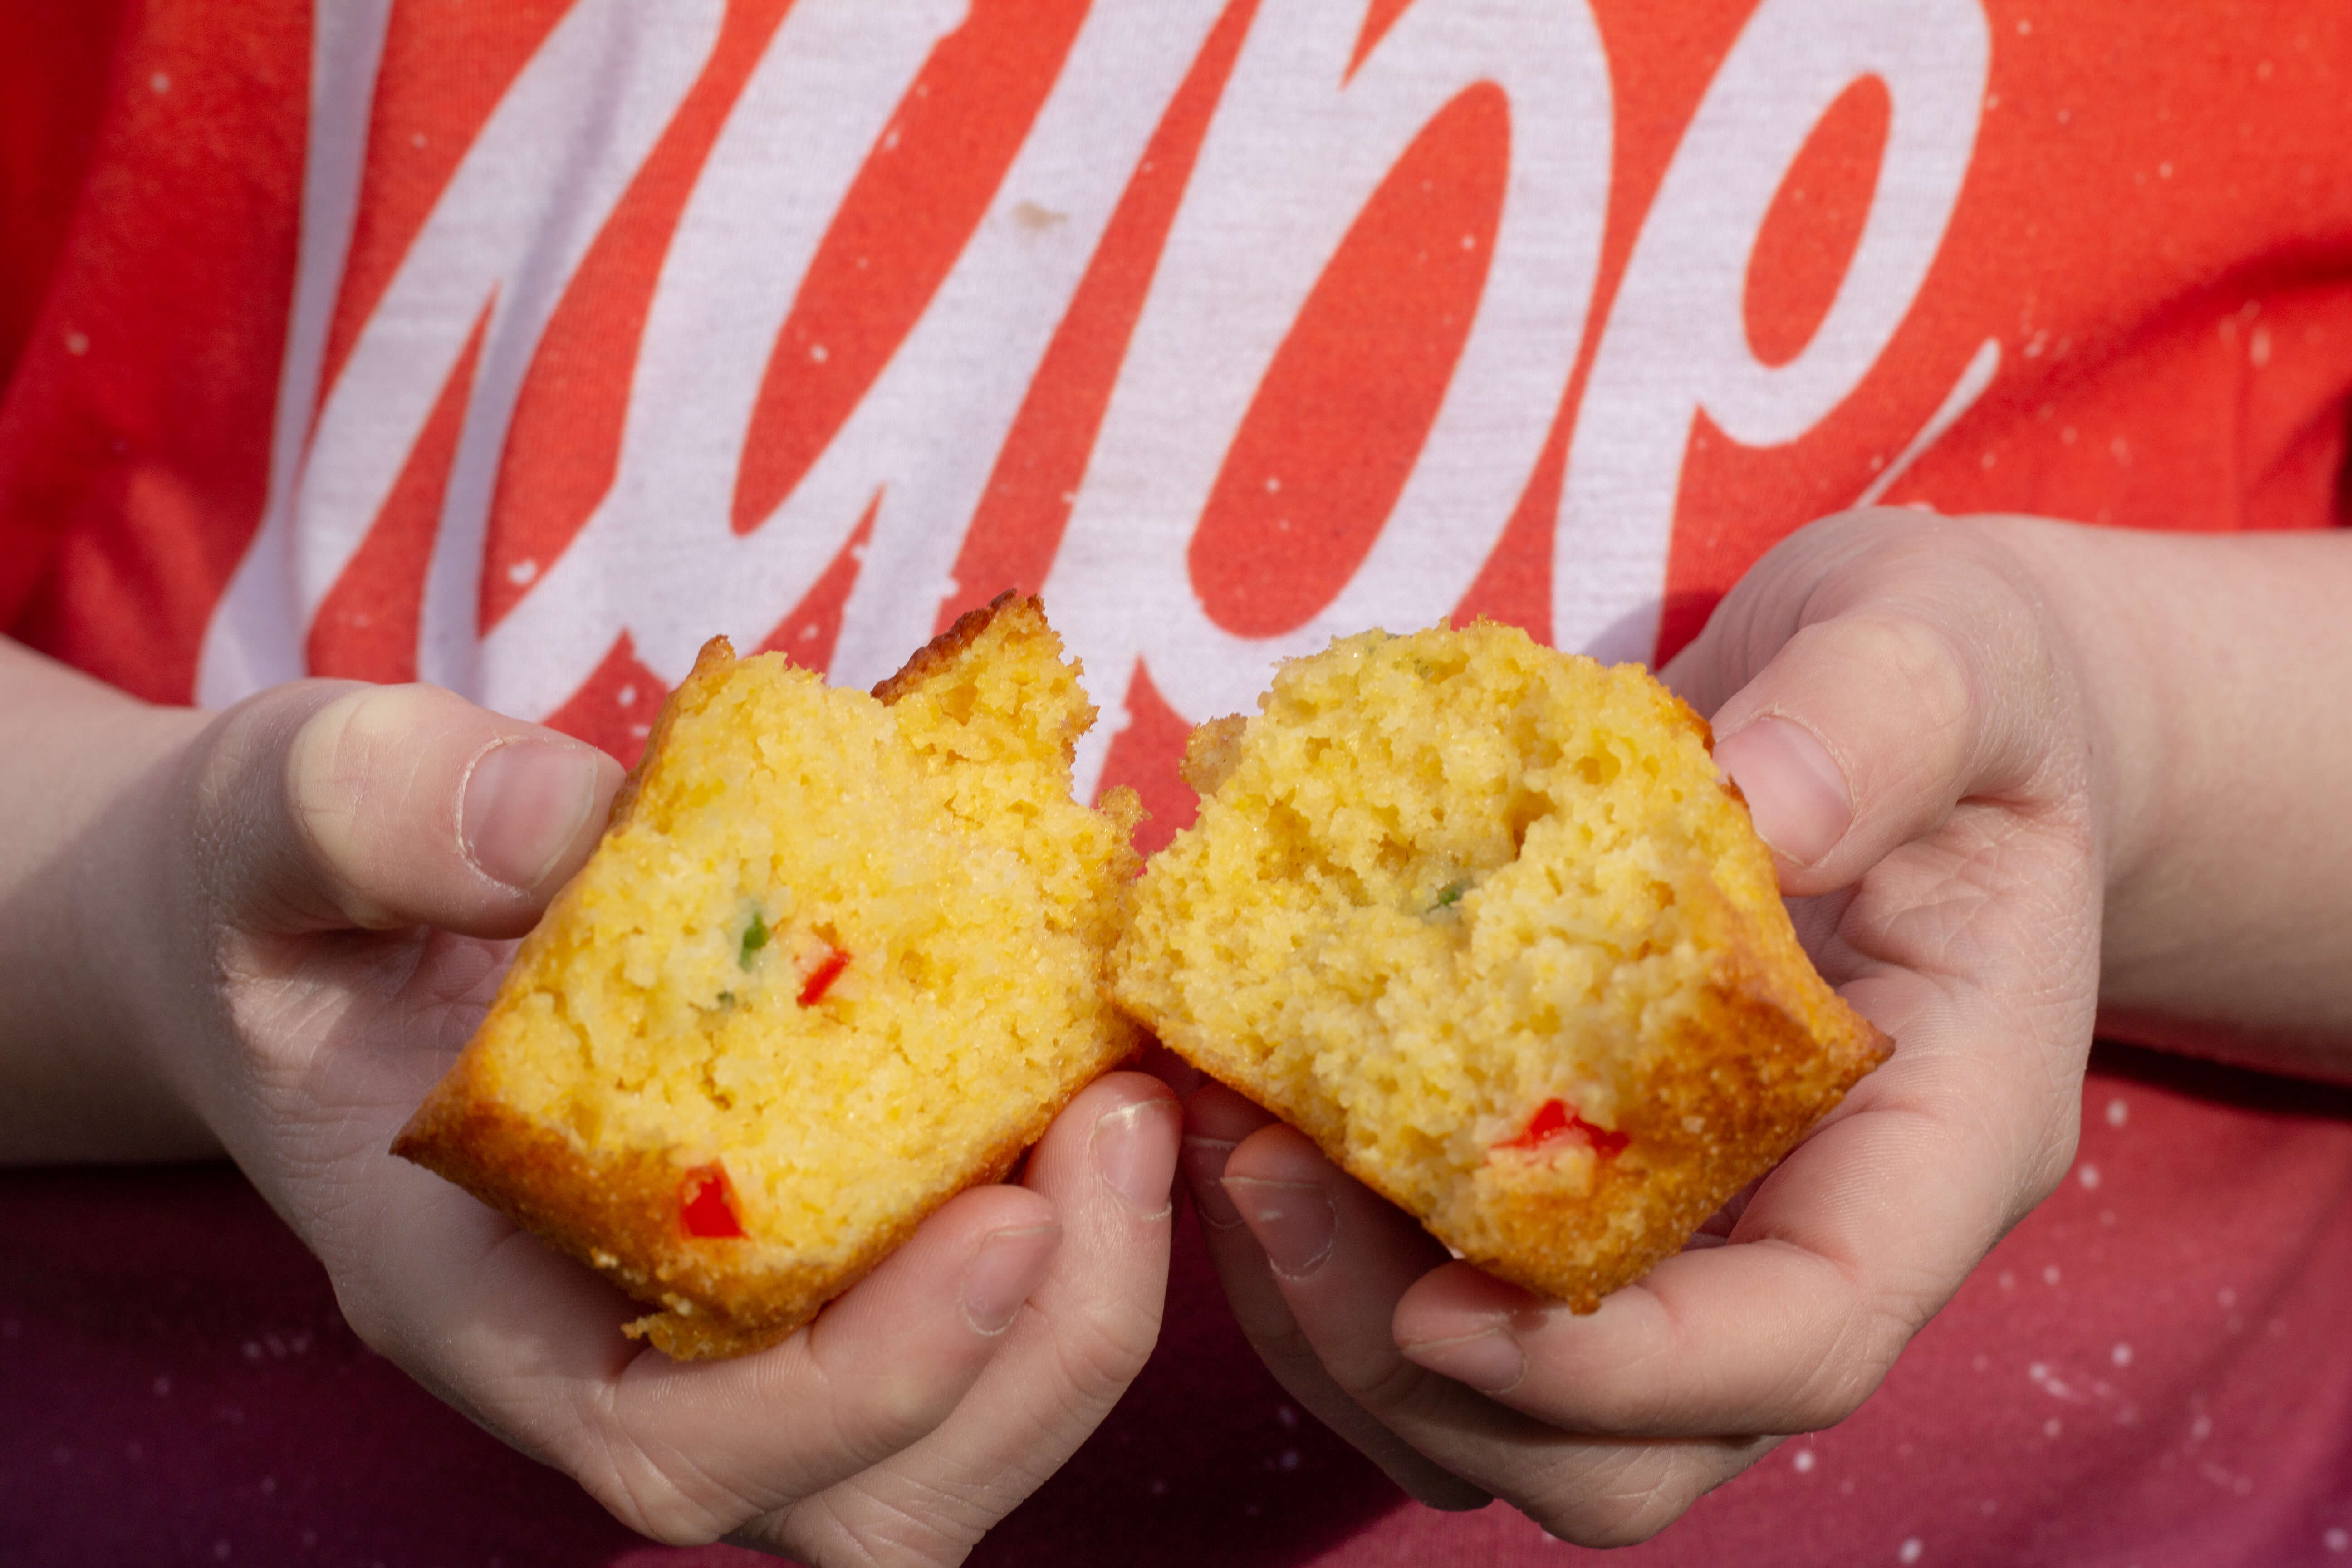
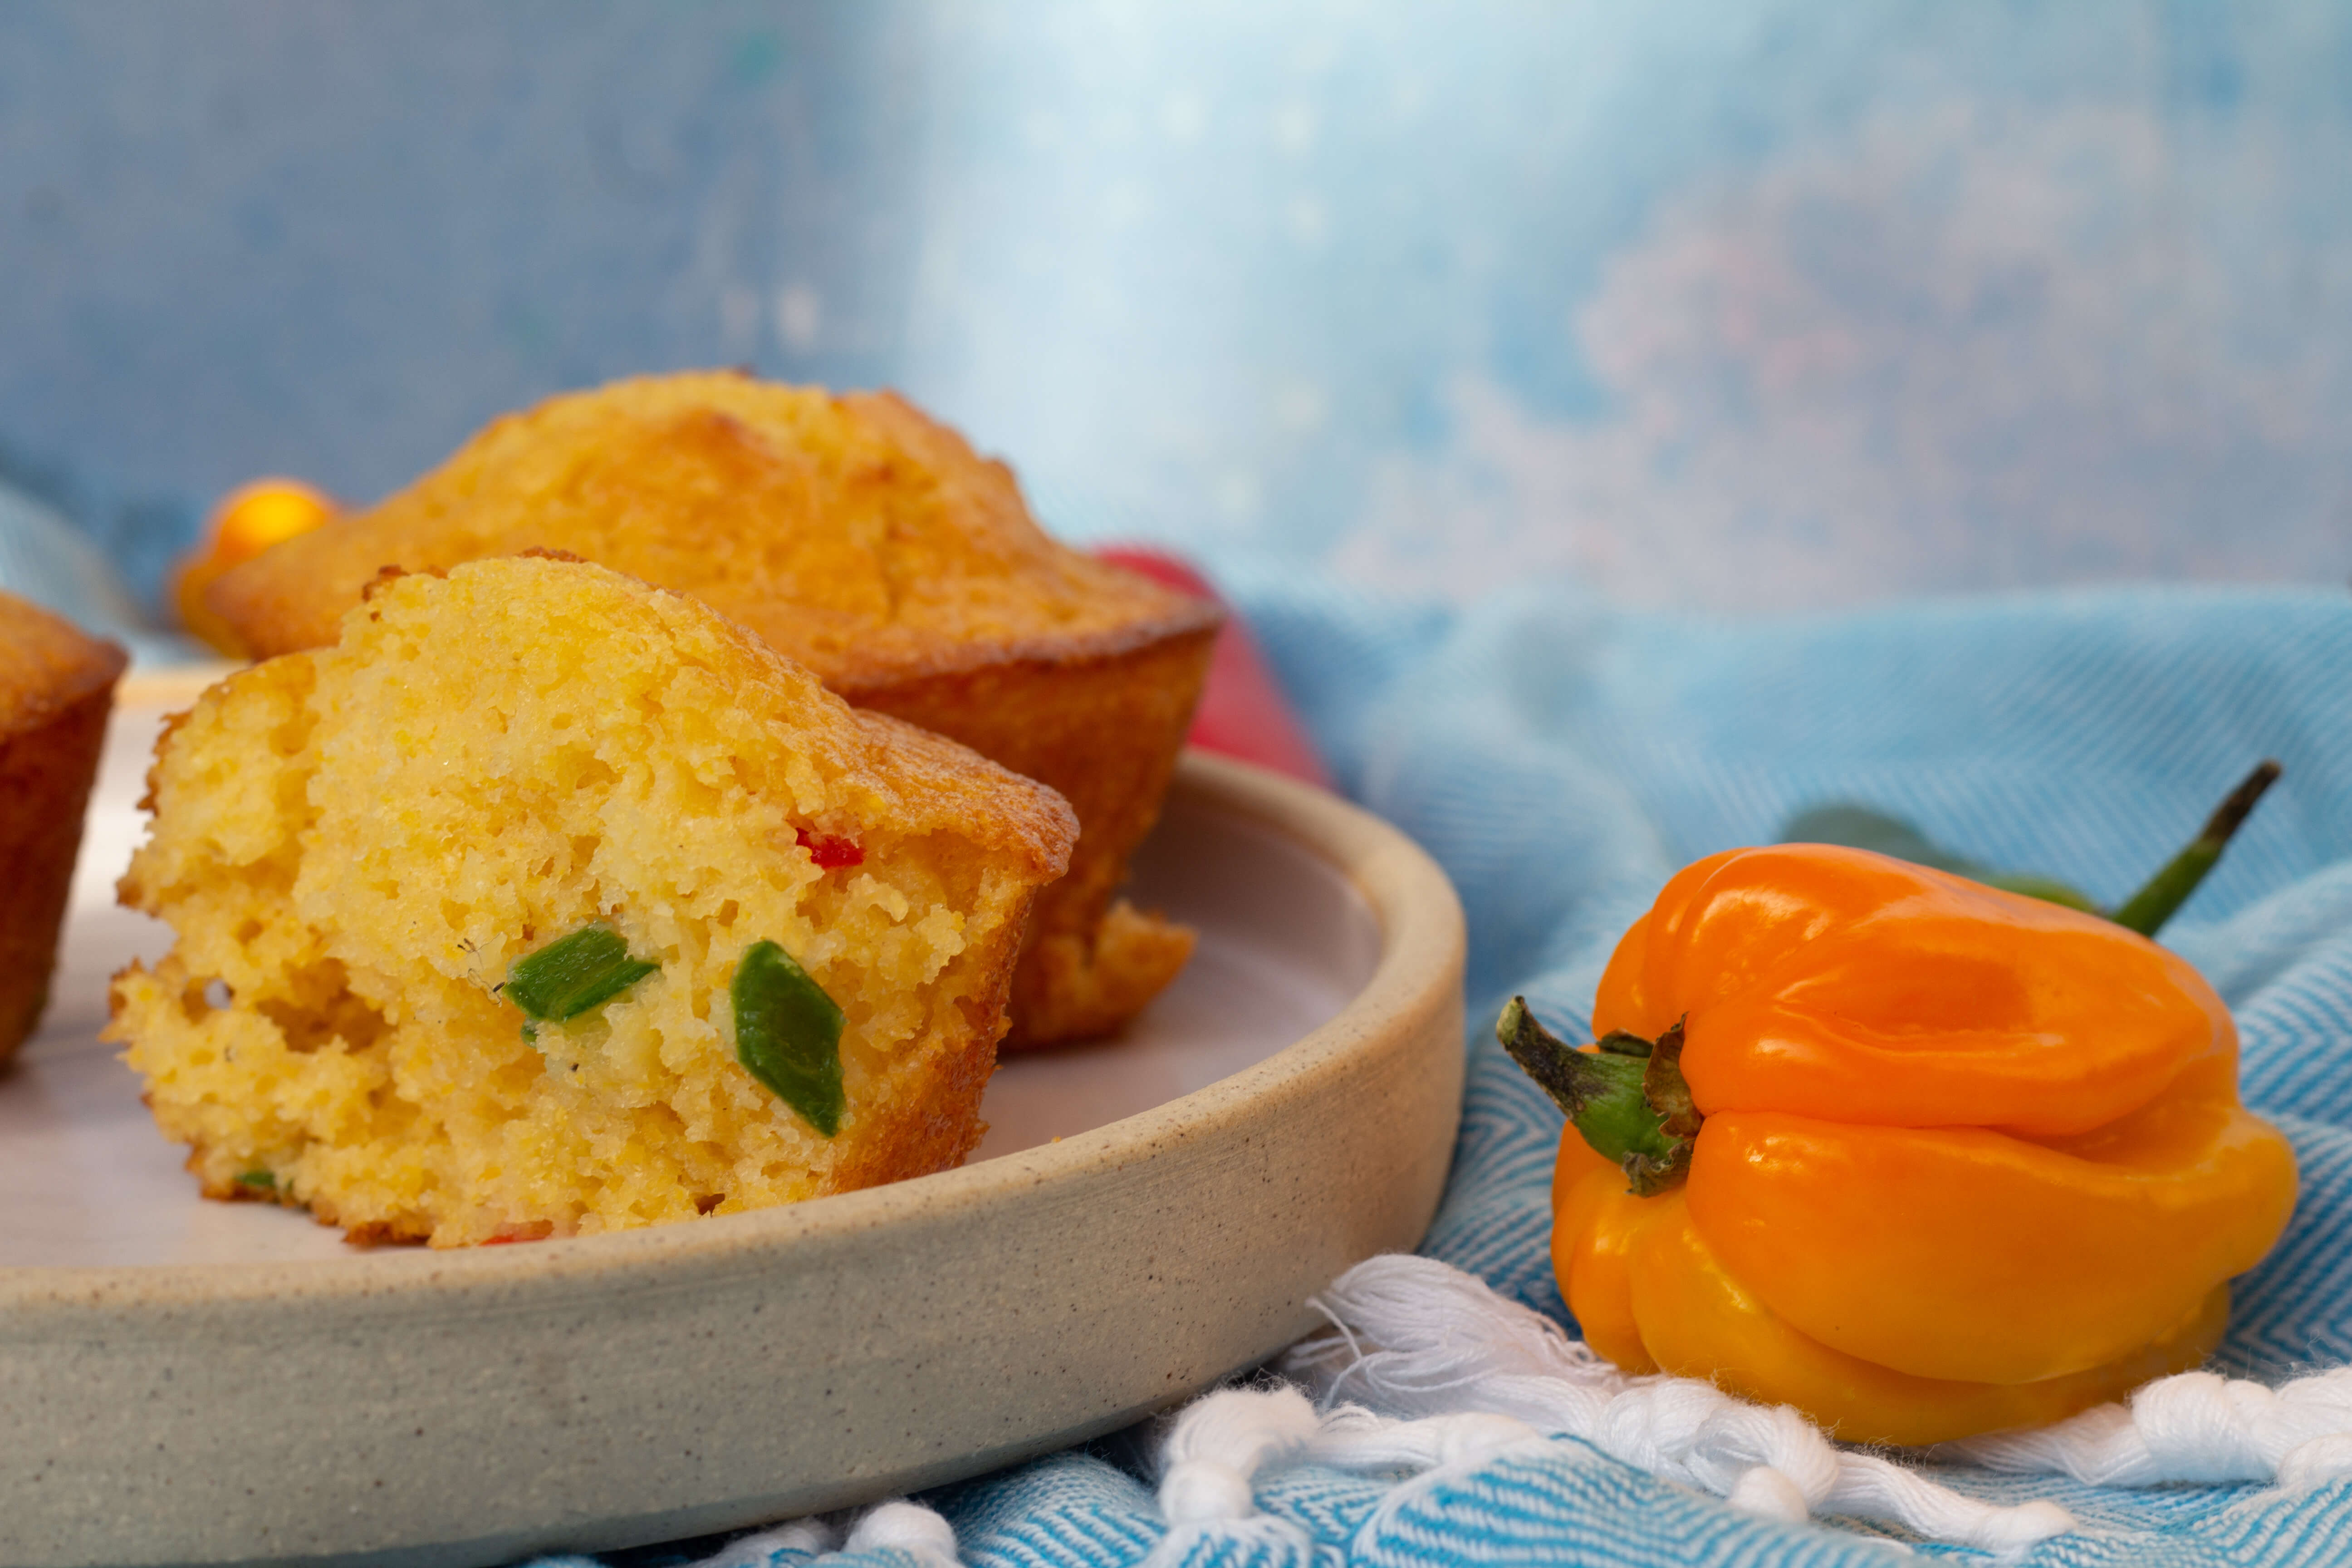
Chilli cornbread muffins

For me the summer means BBQs and outdoor eating. Our allotment will often have BBQs through the summer months when we can all get together for a chat and a cold drink.
I spent a few years living in Chicago and a staple BBQ side dish that I fell in love with was the cornbread muffin. If you add some chopped chillies as well you get the perfect balance of sweetness from the muffin and heat from the chillies. Often jalapeños are used as the chilli of choice. I love an Aji lemon chilli in them but use whatever chilli you love.

Mix it up – You can also throw in some chopped chives or any fresh herbs you have growing. Go ahead and make your own fantastic and fresh combination.

Makes 12 muffins

Ingredients:
160g cornmeal (also called polenta)
145g plain flour
1 tablespoon baking powder
100g caster sugar
1 teaspoon salt
240ml milk
60g butter, melted
2 large eggs
60 ml honey
2 jalapeños, finely chopped (or your favourite chillies)

Instructions:
• Preheat the oven to 200C/180C Fan.
• In a large bowl, mix the dry ingredients together – cornmeal, flour, baking powder, sugar and salt.
• In a separate mixing bowl, whisk together the milk, eggs, melted butter and honey.
• Add the wet to the dry ingredients and stir until just combined and there are no lumps.
• Gently mix in the chopped chillies.
• Grease the muffin tin, or line with muffin cases and fill 2/3 full with the mixture.
• Place the muffin tin on a baking tray and bake for 15 minutes, until golden brown and you can insert a skewer and it comes comes out clean.
• Allow muffins to cool for a couple of minutes in the tin, then transfer them to a cooling rack.
• Best eaten warm but can be stored in an airtight container for a few days.

Chilli cornbread muffins
 
Save Print
Prep time
10 mins
Cook time
15 mins
Total time
25 mins
 
Author: CluckMuckCook
Serves: 12
Ingredients
  • Ingredients:
  • 160g cornmeal (also called polenta)
  • 145g plain flour
  • 1 tablespoon baking powder
  • 100g caster sugar
  • 1 teaspoon salt
  • 240ml milk
  • 60g butter, melted
  • 2 large eggs
  • 60 ml honey
  • 2 jalapeños, finely chopped (or your favourite chillies)
Instructions
  1. • Preheat the oven to 200C/180C Fan.
  2. • In a large bowl, mix the dry ingredients together - cornmeal, flour, baking powder, sugar and salt.
  3. • In a separate mixing bowl, whisk together the milk, eggs, melted butter and honey.
  4. • Add the wet to the dry ingredients and stir until just combined and there are no lumps.
  5. • Gently mix in the chopped chillies.
  6. • Grease the muffin tin, or line with muffin cases and fill ⅔ full with the mixture.
  7. • Place the muffin tin on a baking tray and bake for 15 minutes, until golden brown and you can insert a skewer and it comes comes out clean.
  8. • Allow muffins to cool for a couple of minutes in the tin, then transfer them to a cooling rack.
  9. • Best eaten warm but can be stored in an airtight container for a few days
3.5.3251


Vegan hot cross scones

2 March 25, 2019 Bake with the kids

Vegan Hot Cross Scones

I have had some great fun playing around with some Vegan baking over the last few weeks. Something I was a little skeptical about to start with if I am honest, more from my lack of understanding around Vegan baking.

But I tried a few great recipes from the Little Blog of Vegan who I follow on Instagram, which have been delicious, especially the carrot cake and this got me intrigued.

I think the key is to make things that can stand in their own right and where the non vegan equivalent is not so dairy and egg laden that you struggle to get the same textures and flavours.

So it was perfect timing when I was prepping for an Easter baking class that I was presenting with Bake with a Legend that I was asked if I could make the hot cross scones vegan.

Vegan hot cross scones


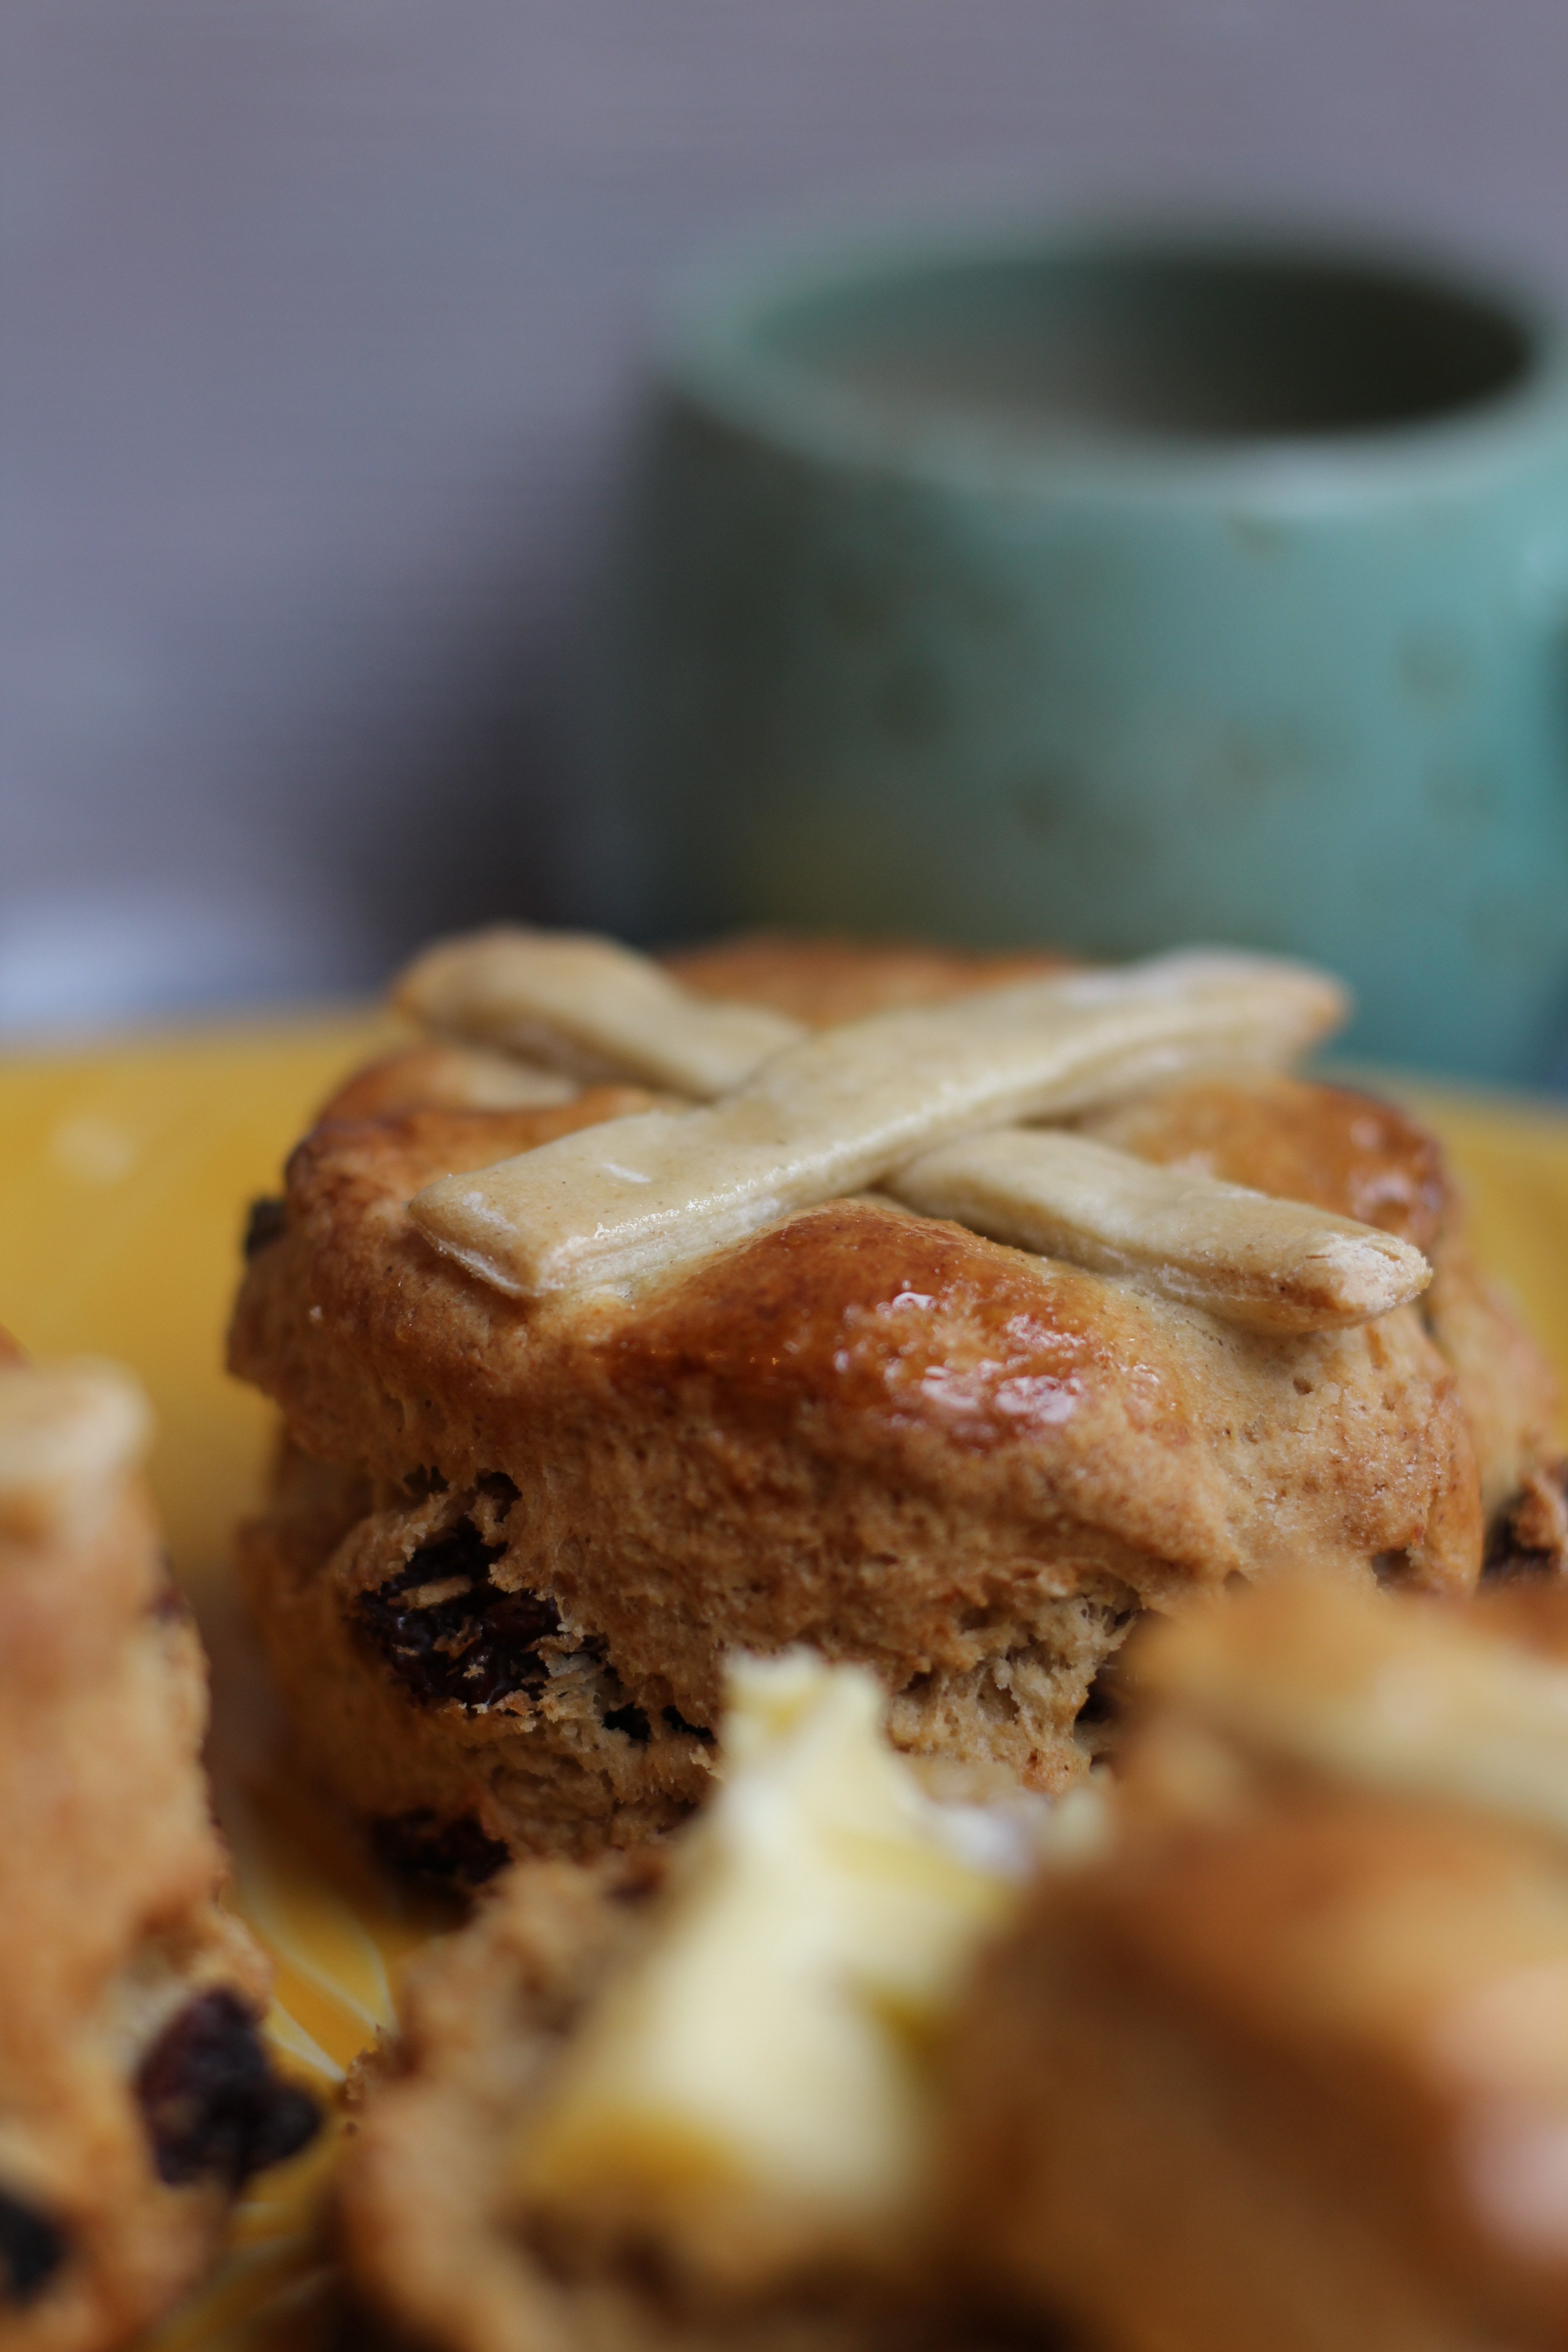
It was such a simple switch. I swapped out the butter for dairy free spread and the buttermilk for almond milk with a squeeze of lemon to give it the acidity needed to help the rise.

They came out tasting delicious, warmly spiced, full of fruit and with exactly that same texture. I have come to realize how inclusive Vegan baking can be. I am tempted to build out a class just around Vegan baking now.


Vegan hot cross scones

Makes 8-10 Scones

Ingredients:
225g self-raising flour, plus extra
for dusting
75g dairy free spread (I used Flora)
40g light muscovado sugar
125g mixed dried fruits
½ tsp ground mixed spice
4 1/2 tbsp of your favorite dairy free milk (I used Alpro)
1/2 tbsp of lemon juice
A little dairy free milk to glaze
50g plain flour
2 tbsp caster sugar

Instructions:

  1. Preheat the oven to 220°C/ Fan 200°C/ Gas 7.
  2. Sift the self-raising flour into a large bowl and rub in the dairy free spread with your fingertips.
  3. Stir in the sugar, fruits and spice.
  4. In a jug, mix together the dairy free milk and lemon juice. Pour into the flour mixture and bring together to make a soft dough with your hands. Don’t worry if it seems sticky and a little wet.
  5. Dust a work surface with extra flour, then roll out the dough to no thinner than 2cm.
  6. Using a 4cm cutter, cut out the scones– try not to twist the cutter, as this makes the scones rise unevenly.
  7. Re-roll the off cuts and cut out more. You should get between 8-10 scones.
  8. Place on a baking sheet lined with parchment.

For the crosses:

  1. Mix together the plain flour and 1-2 tablespoons of water and knead to make a smooth dough.
  2. Roll out, cut into thin strips and put a cross on top of each scone. Brush with non dairy milk, then bake for 15 minutes, until well risen and golden.

For the glaze:

  1. Dissolve the sugar in 2 tablespoons boiling water.
  2. Use to brush the tops of the scones as soon as they come out of the oven.


Cool slightly on a wire rack. Best eaten while warm but once cooled can be kept in an airtight tin for a few days.


5.0 from 1 reviews
Vegan Hot Cross Scones
 
Save Print
Prep time
15 mins
Cook time
15 mins
Total time
30 mins
 
The ultimate Vegan / Dairy free "Hot Cross Scone" . A lovely warmly spiced , light scone , packed full of fruit and delicious eaten warm out of the oven . A great inclusive Easter bake that everyone can enjoy.
Author: CluckMuckCook
Serves: 8-10
Ingredients
  • Makes 8-10 Scones
  • Ingredients:
  • 225g self-raising flour, plus extra
  • for dusting
  • 75g dairy free spread (I used Flora)
  • 40g light muscovado sugar
  • 125g mixed dried fruits
  • ½ tsp ground mixed spice
  • 4½ tbsp of your favorite dairy free milk (I used Alpro)
  • ½ tbsp of lemon juice
  • A little dairy free milk to glaze
  • 50g plain flour
  • 2 tbsp caster sugar
Instructions
  1. Preheat the oven to 220°C/ Fan 200°C/ Gas 7.
  2. Sift the self-raising flour into a large bowl and rub in the dairy free spread with your fingertips.
  3. Stir in the sugar, fruits and spice.
  4. In a jug, mix together the dairy free milk and lemon juice. Pour into the flour mixture and bring together to make a soft dough with your hands. Don't worry if it seems sticky and a little wet.
  5. Dust a work surface with extra flour, then roll out the dough to no thinner than 2cm.
  6. Using a 4cm cutter, cut out the scones– try not to twist the cutter, as this makes the scones rise unevenly.
  7. Re-roll the off cuts and cut out more. You should get between 8-10 scones.
  8. Place on a baking sheet lined with parchment.
  9. For the crosses:
  10. Mix together the plain flour and 1-2 tablespoons of water and knead to make a smooth dough.
  11. Roll out, cut into thin strips and put a cross on top of each scone. Brush with non dairy milk, then bake for 15 minutes, until well risen and golden.
  12. For the glaze:
  13. Dissolve the sugar in 2 tablespoons boiling water.
  14. Use to brush the tops of the scones as soon as they come out of the oven.
3.5.3251


1 March 14, 2019 Bake with the kids

Vegan Biscoff Sweet Rolls

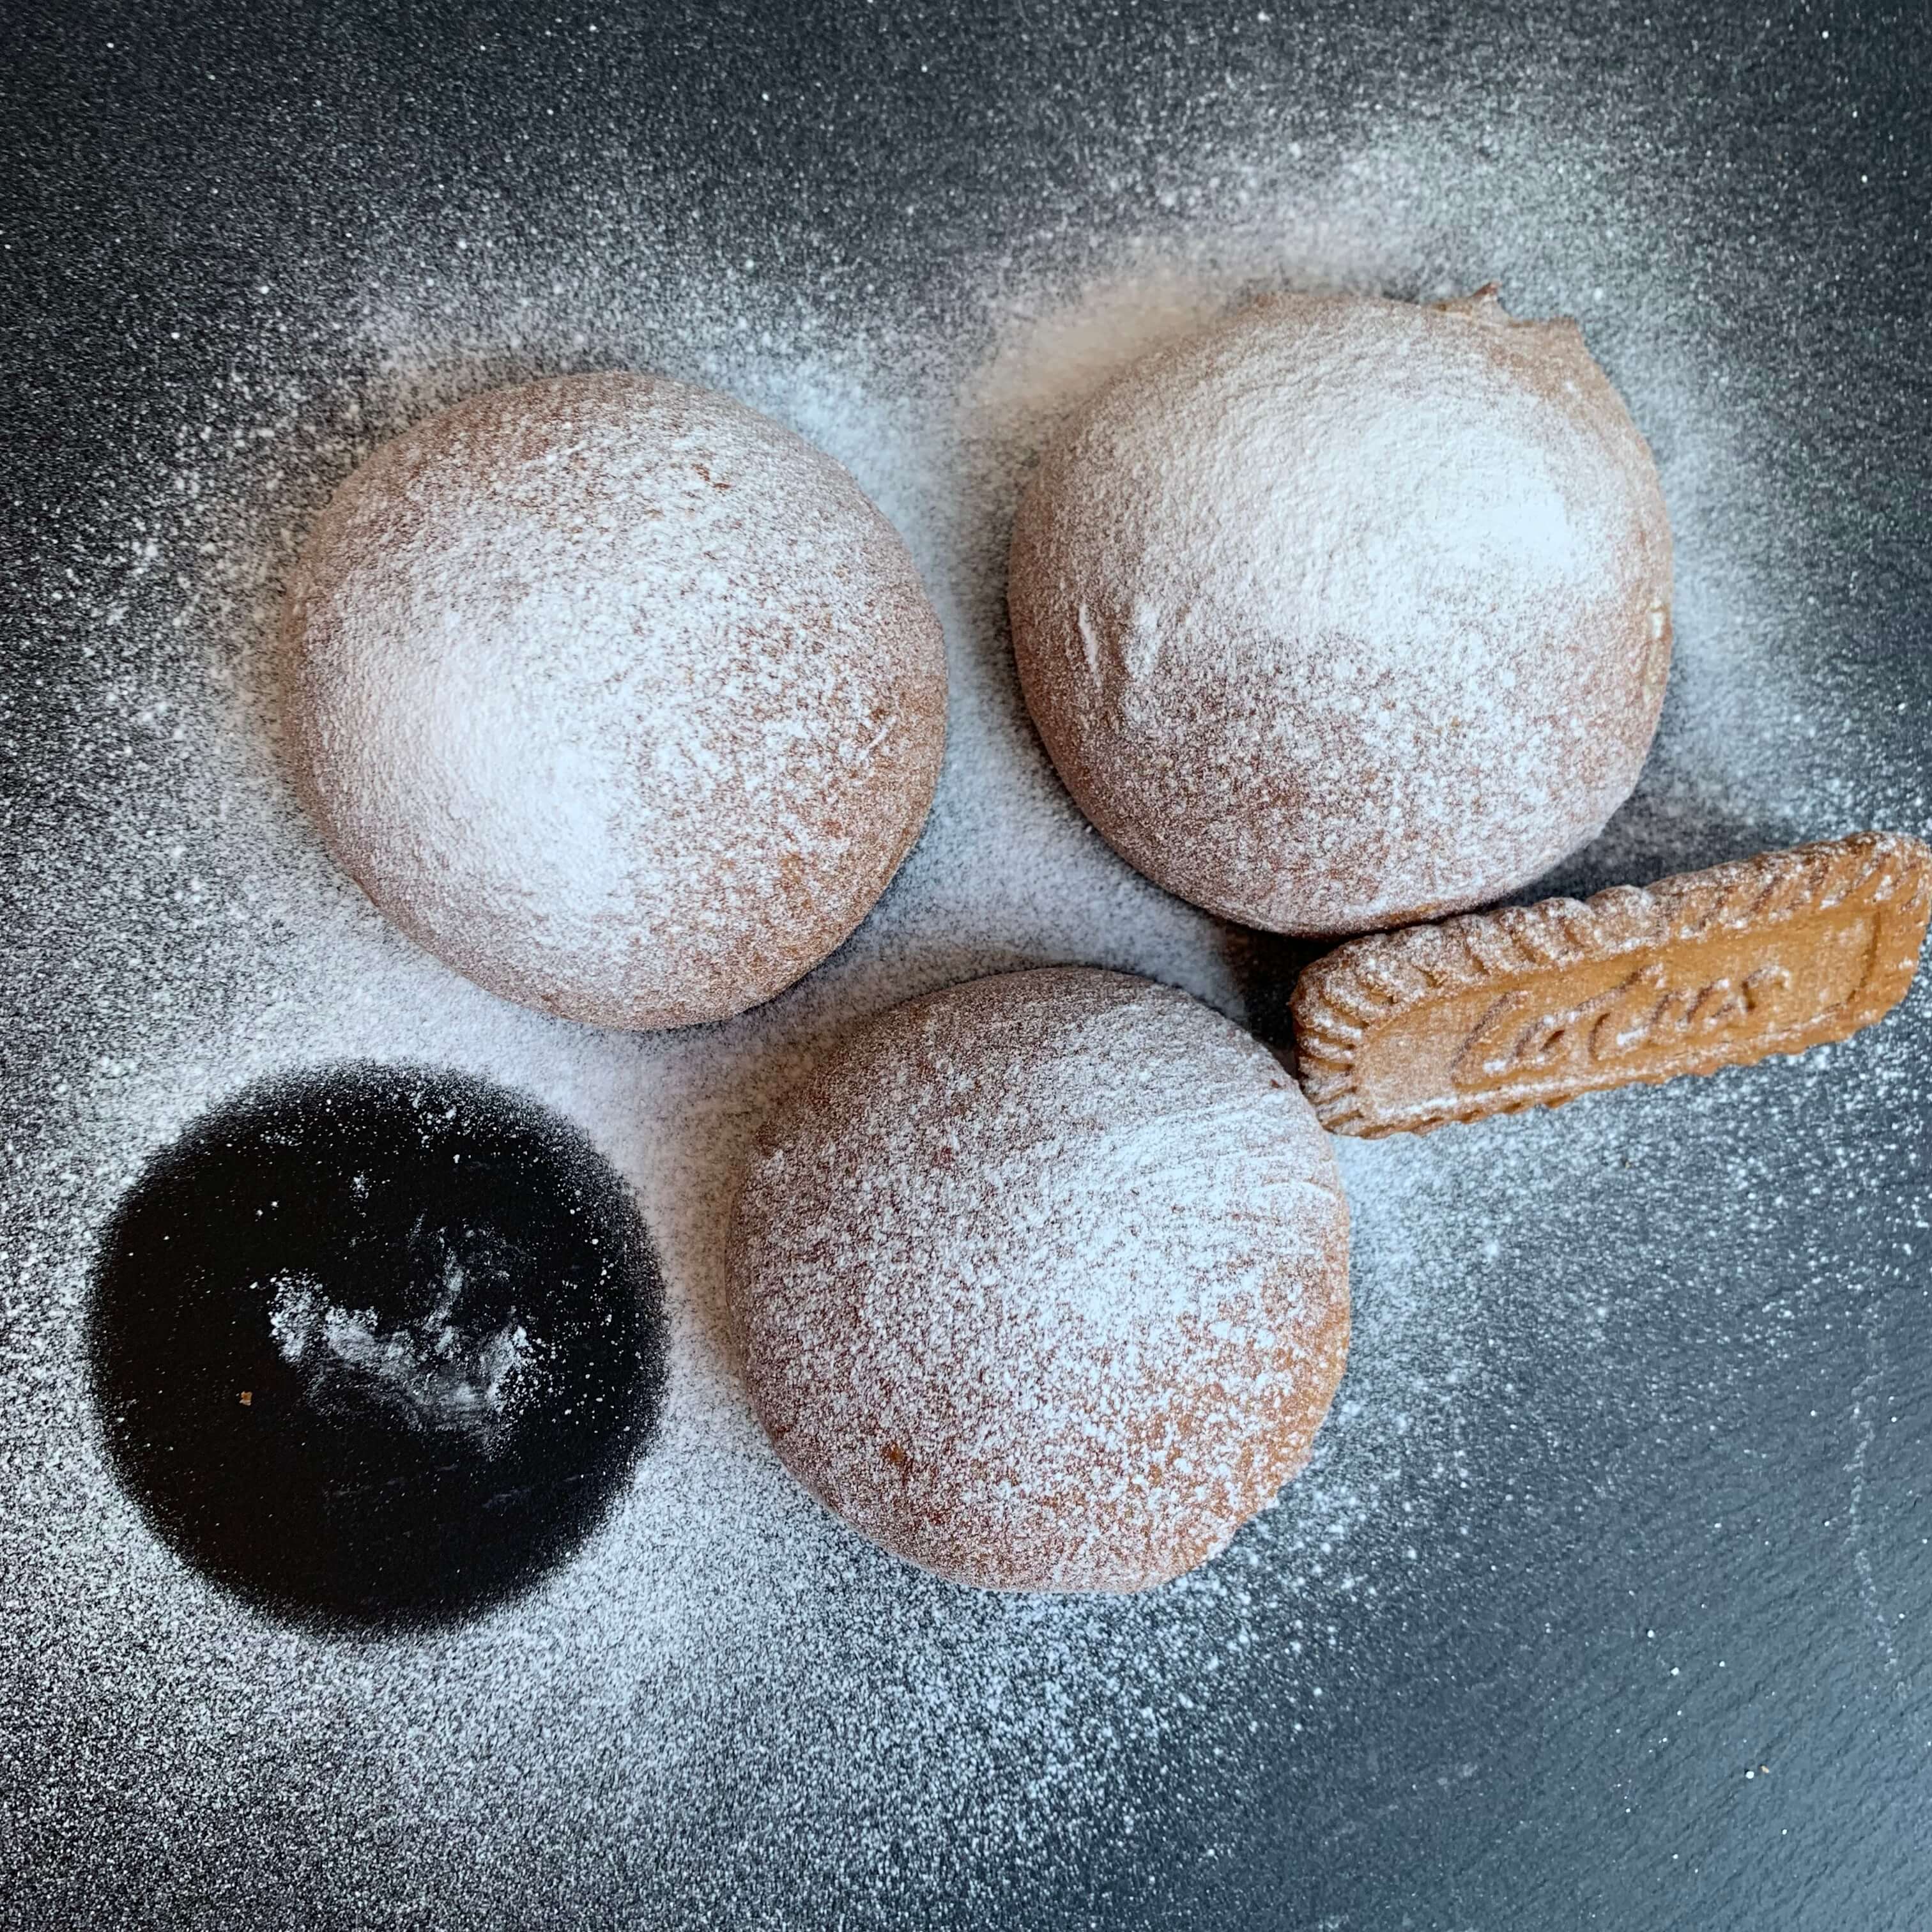
I have been inspired by a lot of vegan baking posts of late, especially the Little Blog of Vegan, whose bakes always look so delicious, so I committed to a weekend of Vegan baking, Alongside a vegan carrot cake for work and a vegan no bake Lotus Biscoff tart for home, I also wanted to develop something new. I love baking bread and also have a passion for Lotus Biscoff biscuits. So I set about trying to bring the flavour of speculoos, which is basically what a biscoff biscuit is, into a roll that had a little bit of sweetness but not too much and had to have those lovely spice flavours.

Biscoff Sweet Rolls

Biscoff Sweet Rolls

As always with anything Biscoff related, my youngest son volunteers as chief tester and he is a hard judge to please. A few attempts later I got the thumbs up, the rolls being the right consistency and they had enough spices to amp up the actual Biscoff spread also added to the dough.

Biscoff Sweet Rolls

Biscoff Sweet Rolls

These are easy enough to make and are delicious slightly warm but can also be stored in an airtight box for a day or two.

With the amount of Lotus Biscoff biscuits we get through in our house you would think we are sponsored by them, sadly not, we are just addicts 😉

Makes 9-10 rolls

INGREDIENTS
130g warm water
250g white bread flour
1 teaspoon dry yeast
25g soft brown sugar
60g Biscoff spread
1 teaspoon vanilla bean extract
1/2 teaspoon salt
1/2 teaspoon cinnamon
1/8 teaspoon nutmeg
1/8 teaspoon ground ginger
1/8 teaspoon ground cloves
30g vegetable oil (I use rapeseed oil)
Icing sugar to dust

Method

  1. Whisk together the hand warm water with the Biscoff spread, brown sugar, vanilla extract and yeast.
  2. In the bowl of a stand mixer with a dough hook, mix together the flour, salt and spices.
  3. Pour in the liquid mixture and add the oil.
  4. Knead for 7 minutes in the mix until the dough is smooth and elastic. If doing this by hand, knead for about 10 minutes.
  5. Place the dough into a lightly oiled bowl, cover with clingfilm and allow to rise in a warm place until doubled in size (about 2 hours).
  6. Once risen, knead for a minute to knock the air out and divide the dough into 50g balls. You should get around 9-10.
  7. Line a baking tray with baking parchment.
  8. Shape each piece of dough into a tight ball and place them onto the baking tray giving them room to rise.
  9. Oil a piece of cling film and gently lay over the top of the rolls to stop them drying out.
  10. Allow to rise again until they are double in size.
  11. Preheat the oven to 180 degrees C /160 degrees C Fan, and bake for about 15 minutes, until golden.
  12. Dust with some icing sugar on top.

Vegan Biscoff Sweet Rolls
 
Save Print
Prep time
15 mins
Cook time
15 mins
Total time
30 mins
 
Delicious light and fluffy vegan Biscoff sweet rolls,a little bit of sweetness, but not too much and had to have those lovely spice flavours.
Author: CluckMuckCook
Serves: 10
Ingredients
  • 130g warm water
  • 250g white bread flour
  • 1 teaspoon dry yeast
  • 25g soft brown sugar
  • 60g Biscoff spread
  • 1 teaspoon vanilla bean extract
  • ½ teaspoon salt
  • ½ teaspoon cinnamon
  • ⅛ teaspoon nutmeg
  • ⅛ teaspoon ground ginger
  • ⅛ teaspoon ground cloves
  • 30g vegetable oil (I use rapeseed oil)
  • Icing sugar to dust
Instructions
  1. Whisk together the hand warm water with the Biscoff spread, brown sugar, vanilla extract and yeast.
  2. In the bowl of a stand mixer with a dough hook, mix together the flour, salt and spices.
  3. Pour in the liquid mixture and add the oil.
  4. Knead for 7 minutes in the mix until the dough is smooth and elastic. If doing this by hand, knead for about 10 minutes.
  5. Place the dough into a lightly oiled bowl, cover with clingfilm and allow to rise in a warm place until doubled in size (about 2 hours).
  6. Once risen, knead for a minute to knock the air out and divide the dough into 50g balls. You should get around 9-10.
  7. Line a baking tray with baking parchment.
  8. Shape each piece of dough into a tight ball and place them onto the baking tray giving them room to rise.
  9. Oil a piece of cling film and gently lay over the top of the rolls to stop them drying out.
  10. Allow to rise again until they are double in size.
  11. Preheat the oven to 180 degrees C /160 degrees C Fan, and bake for about 15 minutes, until golden.
  12. Dust with icing sugar
3.5.3251


4 November 29, 2018 Bake with the kids

Chocolate beetroot brownies

This year I had the pleasure to perform some baking demos at the Lichfield food festival. I love these types of events as I get to share my passion for baking with a live audience and often get to meet up with other bakers and chefs.

At the festival I was overjoyed to be on on the same day as Val Stones. She was a previous contestant on the Great British Bake Off and I am a big fan. When I met her it was like we had known each other for years. She is such a warm and lovely person and we had a great time chatting about our experiences and helping each other out when we were demoing and clearing up.

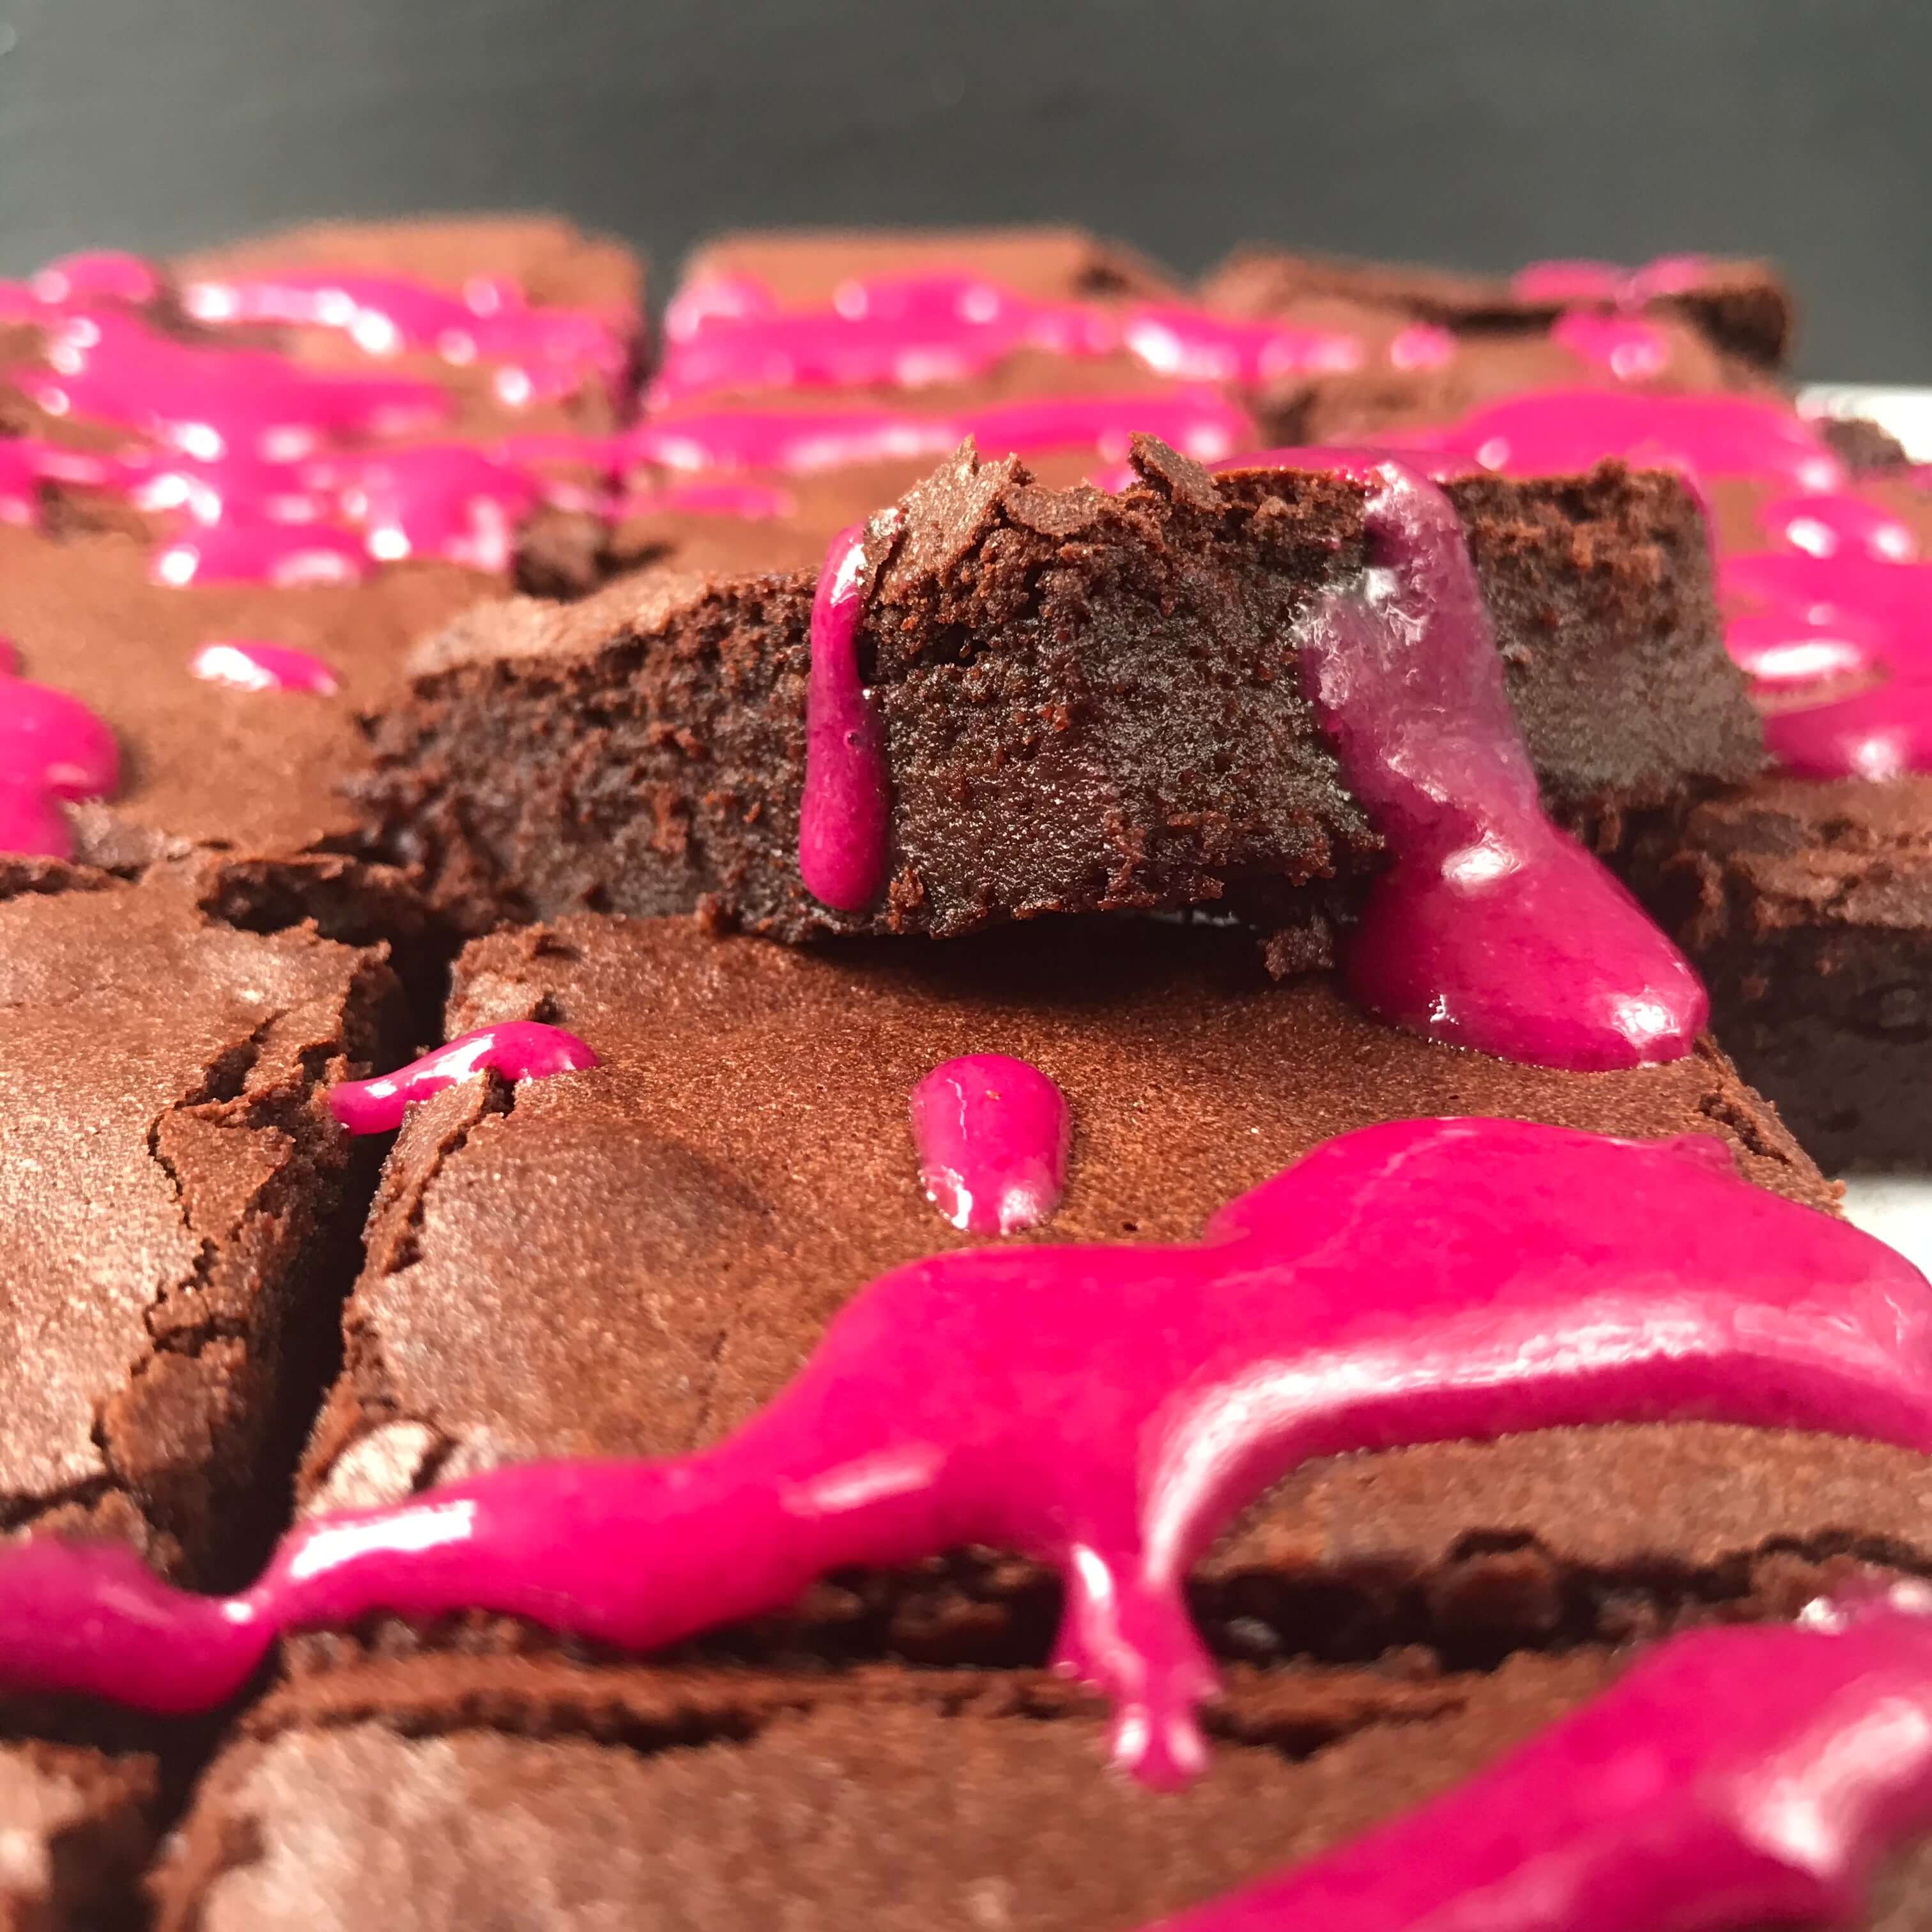
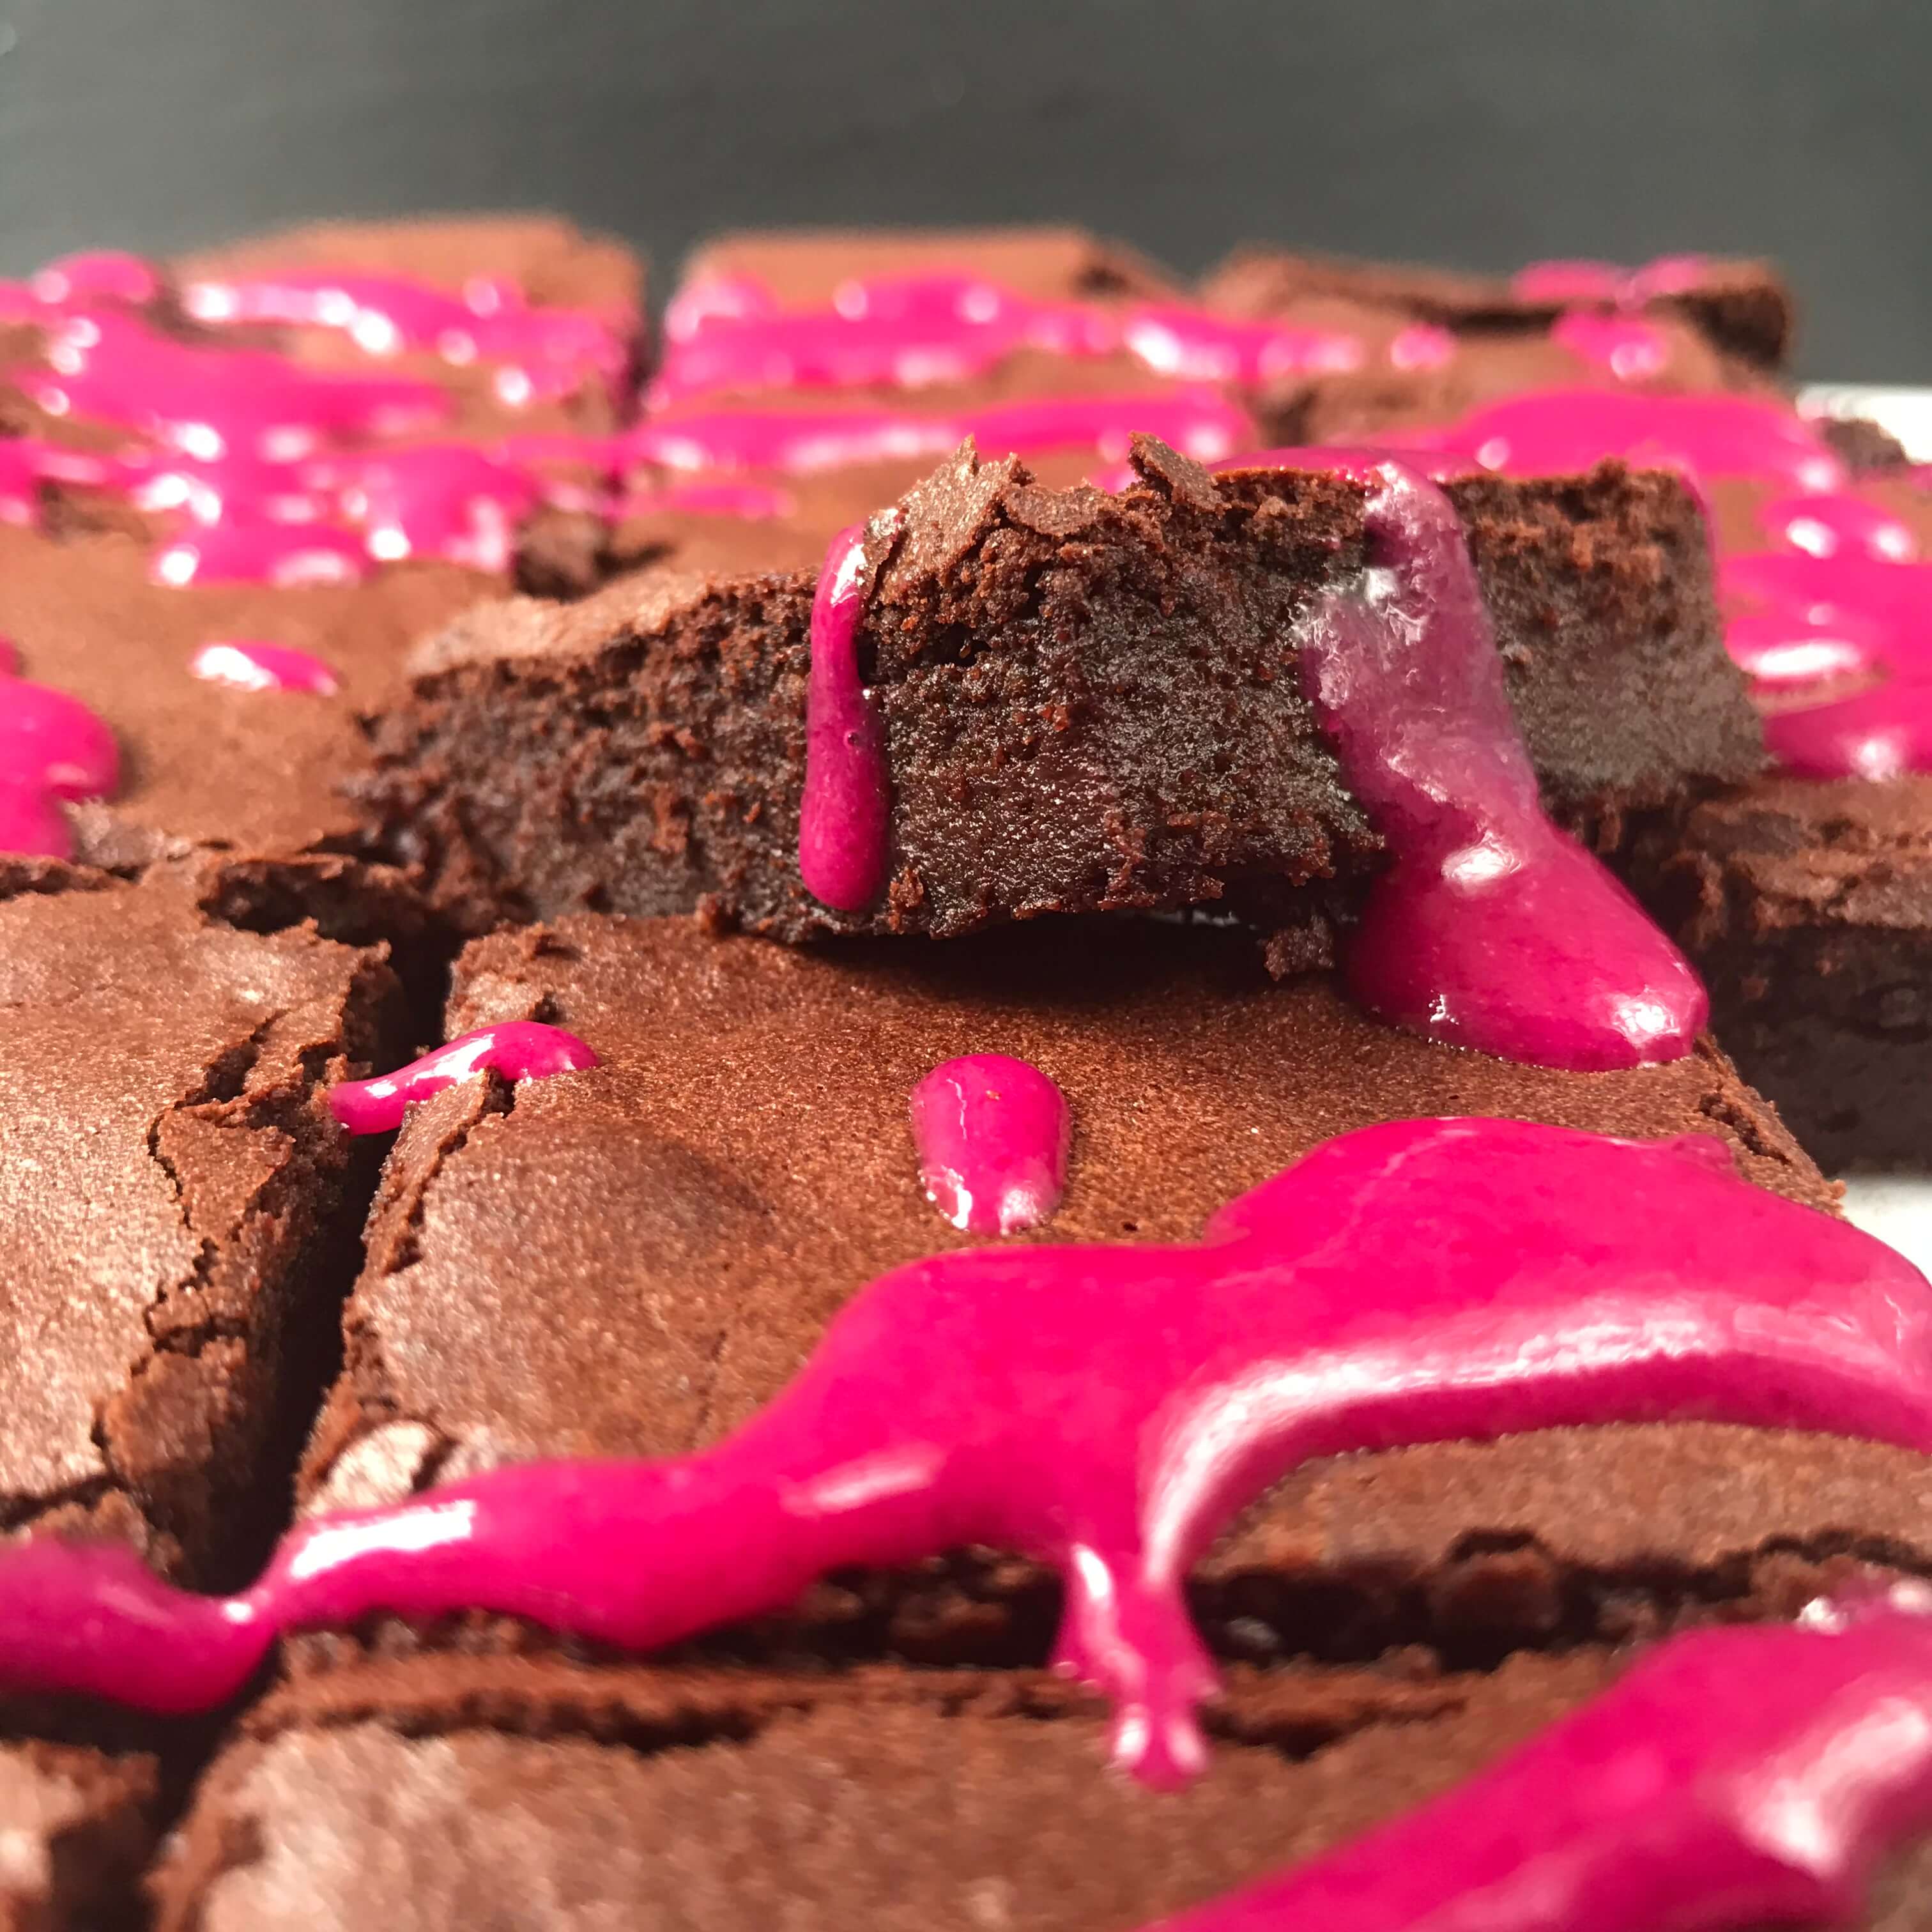
The organiser, knowing I loved a challenge, gave me a call about a week before the show and mentioned one of the sponsors would love it if I could incorporate beetroot into one of my bakes. I had wanted to play around with a beetroot brownie recipe I had seen on Waitrows website, the allotment was awash with them and so my chocolate beetroot brownie was born. Rich, gooey, earthy sweet goodness.

Ingredients:
75g unsalted butter, at room temperature, plus extra for greasing
350g raw beetroot, trimmed and cut into large wedges
300g dark chocolate, chopped
2 eggs
200g granulated sugar
2 tsp vanilla bean paste (or extract)
1 tsp salt
40g plain flour
40g cocoa powder
Shot of espresso
75g icing sugar, sifted

Method:

1. Pre heat the oven to 180 ̊C, 160 ̊C Fan.
2. Grease and line a 20cm x 30cm baking tin with baking parchment.
3. Peel the beetroot, chop into even chunks and add to a pan of water
4. Bring to the boil and cook until soft and tender – about 1 hour.
5. Drain in a sieve, pop into a food processor and blitz to a purée. Keep 1 tbsp purée for the icing.
6. Melt the chocolate with the butter in a large heatproof bowl over a pan of simmering water.
7. Leave to cool for about 10 minutes and whisk in the eggs, granulated sugar, vanilla, espresso, beetroot purée and salt into the chocolate.
8. Add the flour and cocoa, fold everything in until just combined.
9. Pour into the tin and bake for 35-40 minutes, until it looks cooked and shiny on top and cracks have just started to appear.
10. Cool completely in the tin then put in the fridge for a couple of hours or overnight before serving.
11. Whisk the reserved beetroot purée in with the icing sugar and drizzle over the top

Beetroot chocolate brownies
 
Save Print
Prep time
20 mins
Cook time
40 mins
Total time
1 hour
 
Delicious rich chocolate and beetroot brownies.
Author: CluckMuckCook
Serves: 18
Ingredients
  • Ingredients:
  • 75g unsalted butter, at room temperature, plus extra for greasing
  • 350g raw beetroot, trimmed and cut into large wedges
  • 300g dark chocolate, chopped
  • 2 eggs
  • 200g granulated sugar
  • 2 tsp vanilla bean paste (or extract)
  • 1 tsp salt
  • 40g plain flour
  • 40g cocoa powder
  • Shot of espresso
  • 75g icing sugar, sifted
Instructions
  1. Pre heat the oven to 180 ̊C, 160 ̊C Fan.
  2. Grease and line a 20cm x 30cm baking tin with baking parchment.
  3. Peel the beetroot, chop into even chunks and add to a pan of water
  4. Bring to the boil and cook until soft and tender – about 1 hour.
  5. Drain in a sieve, pop into a food processor and blitz to a purée. Keep 1 tbsp purée for the icing.
  6. Melt the chocolate with the butter in a large heatproof bowl over a pan of simmering water.
  7. Leave to cool for about 10 minutes and whisk in the eggs, granulated sugar, vanilla, espresso, beetroot purée and salt into the chocolate.
  8. Add the flour and cocoa, fold everything in until just combined.
  9. Pour into the tin and bake for 35-40 minutes, until it looks cooked and shiny on top and cracks have just started to appear.
  10. Cool completely in the tin then put in the fridge for a couple of hours or overnight before serving.
  11. Whisk the reserved beetroot purée in with the icing sugar and drizzle over the top
3.5.3251


11 November 6, 2018 Bake with the kids

Parmesan and Gruyere cheese biscuits.

The clocks have gone back, Halloween has passed, we’ve been through bonfire night and now it’s time to look towards Christmas.

Last night I looked through some old photos of what I baked last Christmas and I realised that I’ve never posted the recipe to these delicious cheese biscuits.

These parmesan and gruyere cheese biscuits are so buttery and melt in the mouth. They would make a perfect little gift for a Christmas hamper or just a great little snack to take round when you’re visiting friends over the festive period.

In reality though you will make a batch, try one, then devour the lot yourself. If you want a little smokey hit rather than heat, switch out the cayenne for paprika.

Ingredients:

75g plain flour
75g cold unsalted butter, cubed
50g Gruyère cheese, grated
25g Parmesan cheese, grated. Plus a little extra to sprinkle on top.
Pinch of cayenne chilli powder (add a bigger pinch if you like a little heat).
Ground black pepper

Method:

  1. Add flour, cayenne and a good grind of black pepper into a bowl or food processor.
  2. Add the butter and rub in lightly with your fingertips, or blitz in food processor until the mixture resembles breadcrumbs.
  3. Add the cheese to the mixture. If using a food processor, pulse until combined.
  4. Bring the mixture together with your hands until it creates a soft dough.
  5. Wrap the dough in cling film and chill in the fridge for 30 minutes.
  6. Preheat the oven to 200˚C/180˚C fan/Gas Mark 7 and line two baking trays with baking parchment.
  7. Roll out the dough on a lightly floured surface to around 3-4 mm, or the thickness of a pound coin.
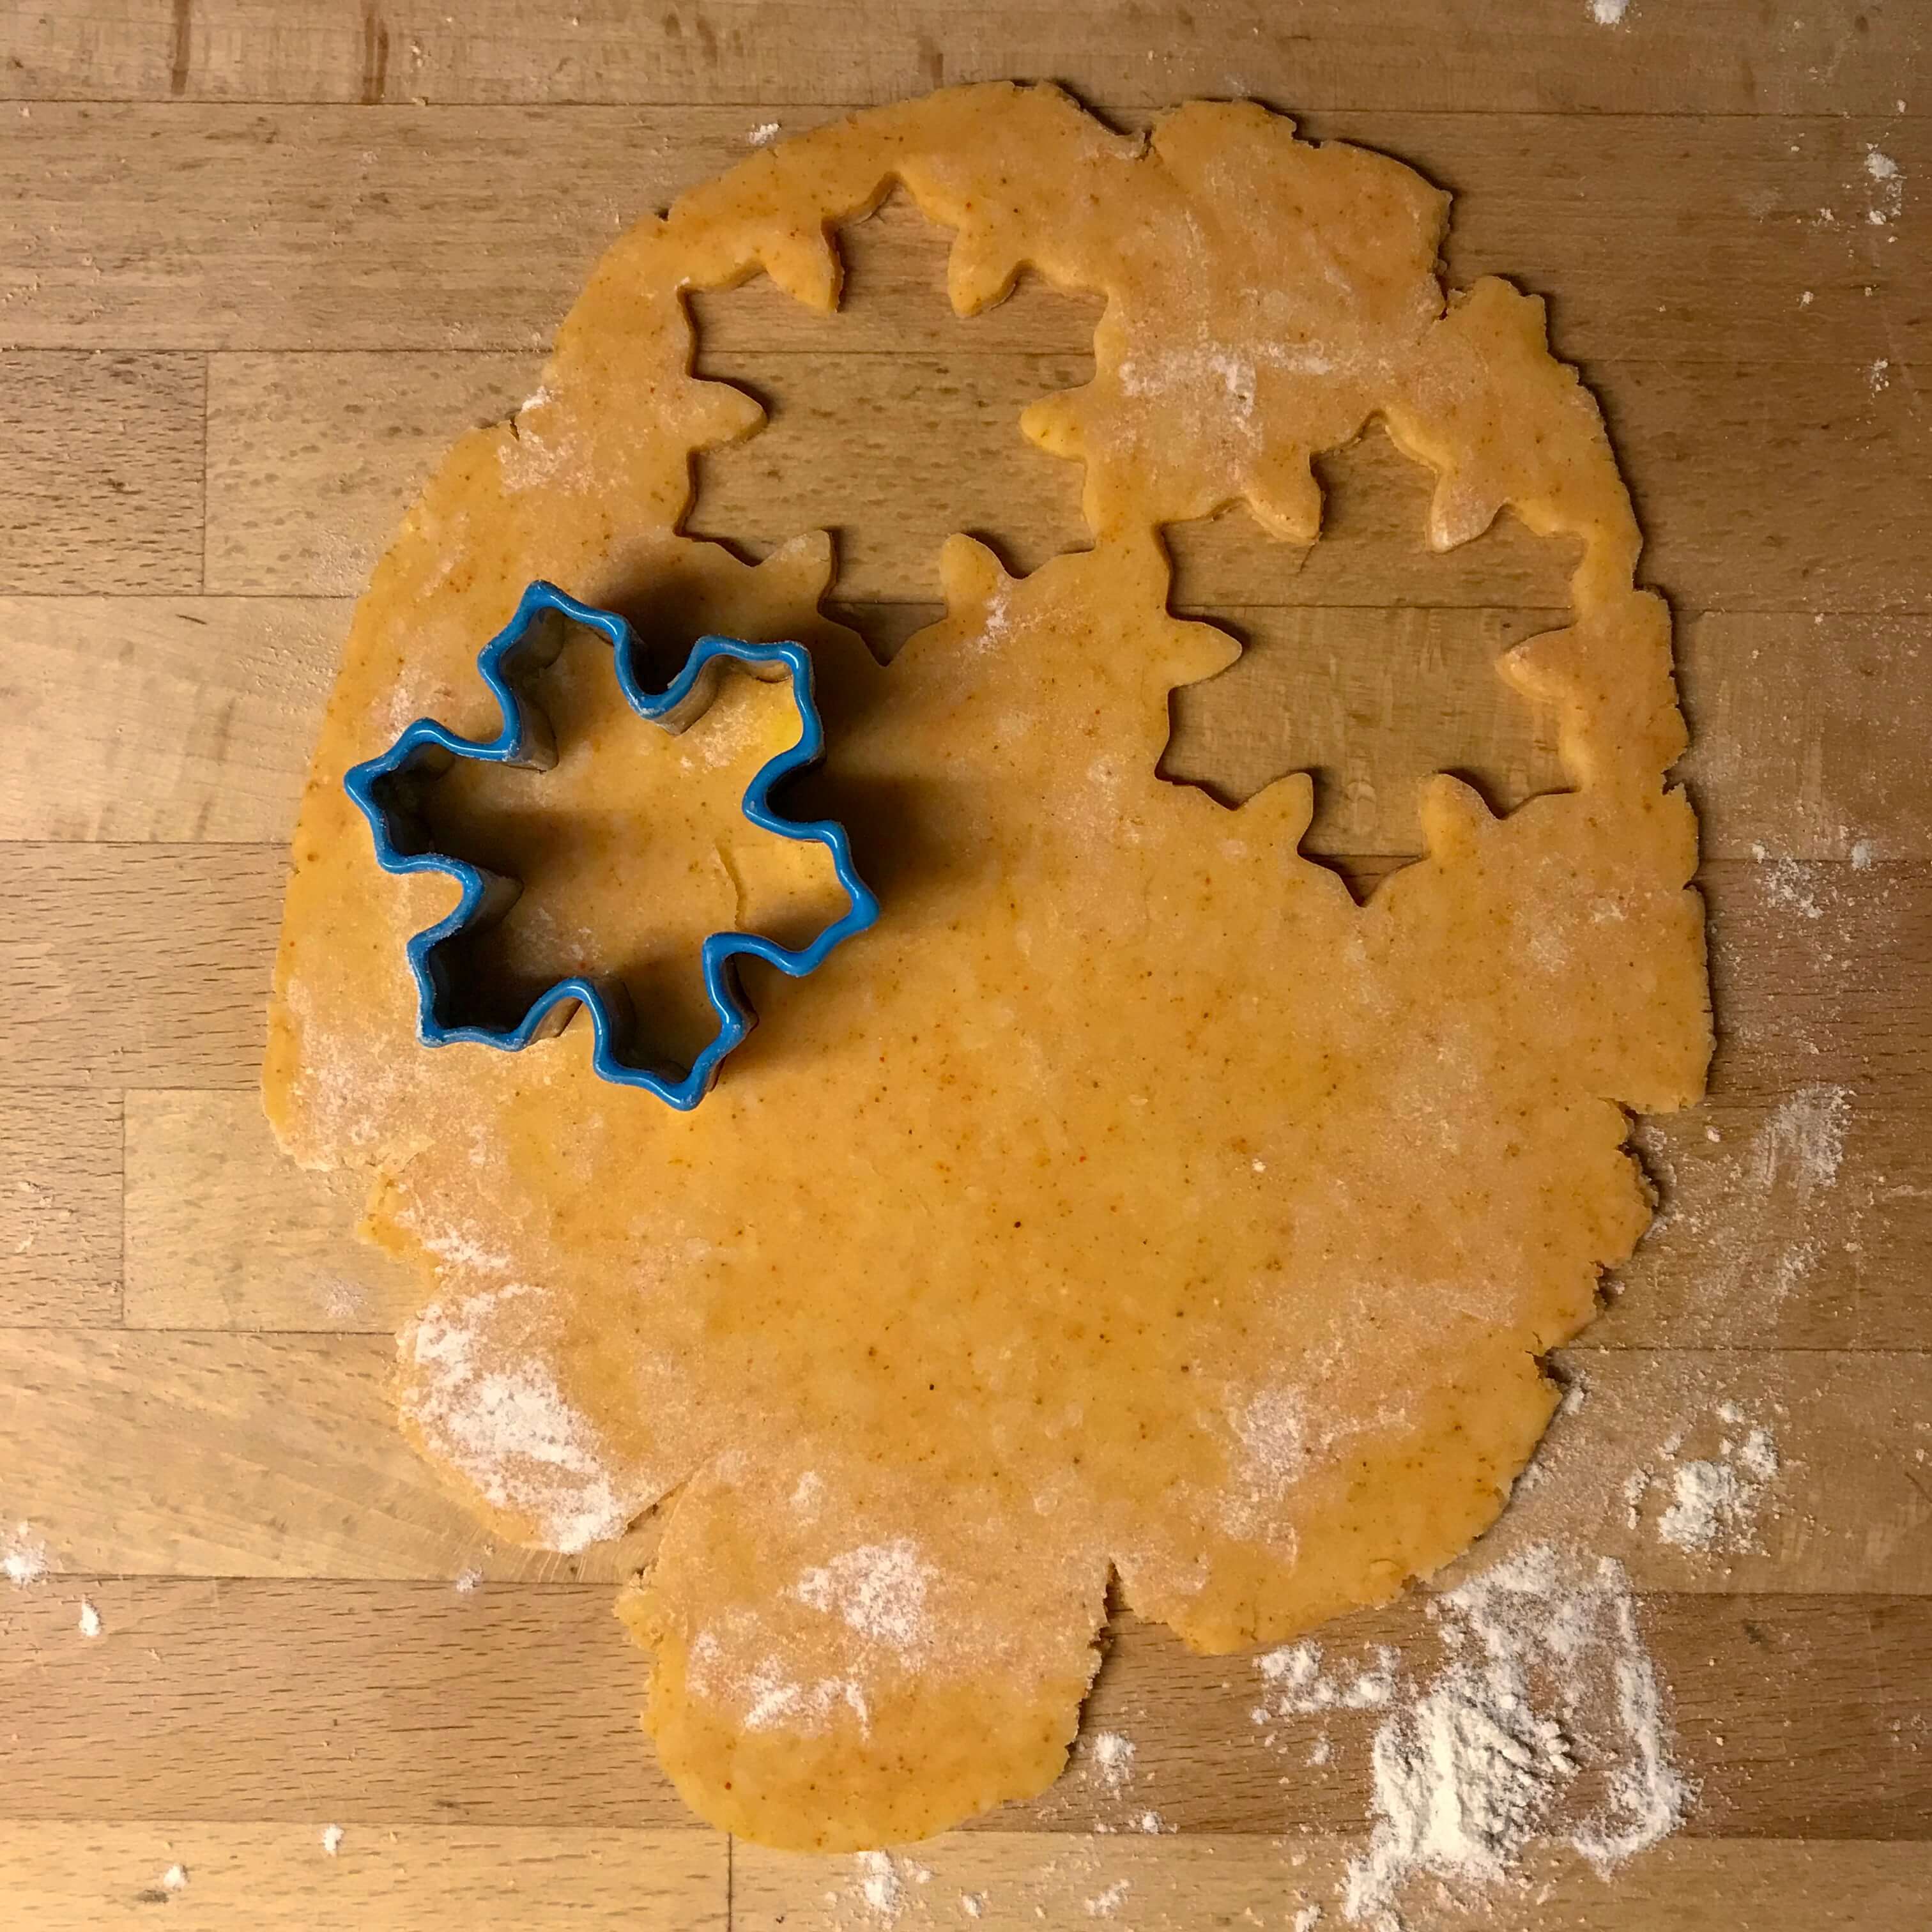
  8. Using a cookie cutter of your choice, cut out the biscuits, around a 5cm size is good. You can re roll the dough until it is all used.
  9. Place on the tray to allow some spreading.
  10. Chill for another 30 minutes to prevent too much spread.
  11. Bake for 10 minutes or so, until lightly browned at the edges.
  12. Grind some pepper over them together with a little sprinkle of leftover Parmesan.
  13. Leave on the baking trays for a couple of minutes to firm up, then carefully move to a wire rack wire rack to cool completely.

Parmesan and Gruyere cheese biscuits.
 
Save Print
These parmesan and gruyere cheese biscuits are so buttery and melt in the mouth. They would make a perfect little gift for a Christmas hamper or just a great little snack to take round when you’re visiting friends over the festive period.
Author: CluckMuckCook
Ingredients
  • Ingredients:
  • 75g plain flour
  • 75g cold unsalted butter cubed
  • 50g Gruyère cheese, grated
  • 25g Parmesan cheese, grated. Plus a little extra to sprinkle on top.
  • Pinch of cayenne chilli powder (add a bigger pinch if you like a little heat).
  • Ground black pepper
  • .
Instructions
  1. Add flour, cayenne and a good grind of black pepper into a bowl or food processor.
  2. Add the butter and rub in lightly with your fingertips, or blitz in food processor until the mixture resembles breadcrumbs.
  3. Add the cheese to the mixture. If using a food processor, pulse until combined.
  4. Bring the mixture together with your hands until it creates a soft dough.
  5. Wrap the dough in cling film and chill in the fridge for 30 minutes.
  6. Preheat the oven to 200˚C/180˚C fan/Gas Mark 7 and line two baking trays with baking parchment.
  7. Roll out the dough on a lightly floured surface to around 3-4 mm, or the thickness of a pound coin.
  8. Using a cookie cutter of your choice, cut out the biscuits, around a 5cm size is good. You can re roll the dough until it is all used.
  9. Place on the tray to allow some spreading.
  10. Chill for another 30 minutes to prevent too much spread.
  11. Bake for 10 minutes or so, until lightly browned at the edges.
  12. Grind some pepper over them together with a little sprinkle of leftover Parmesan.
  13. Leave on the baking trays for a couple of minutes to firm up, then carefully move to a wire rack wire rack to cool completely.
3.5.3251


Salted caramel fudge

4 September 9, 2018 Bake with the kids

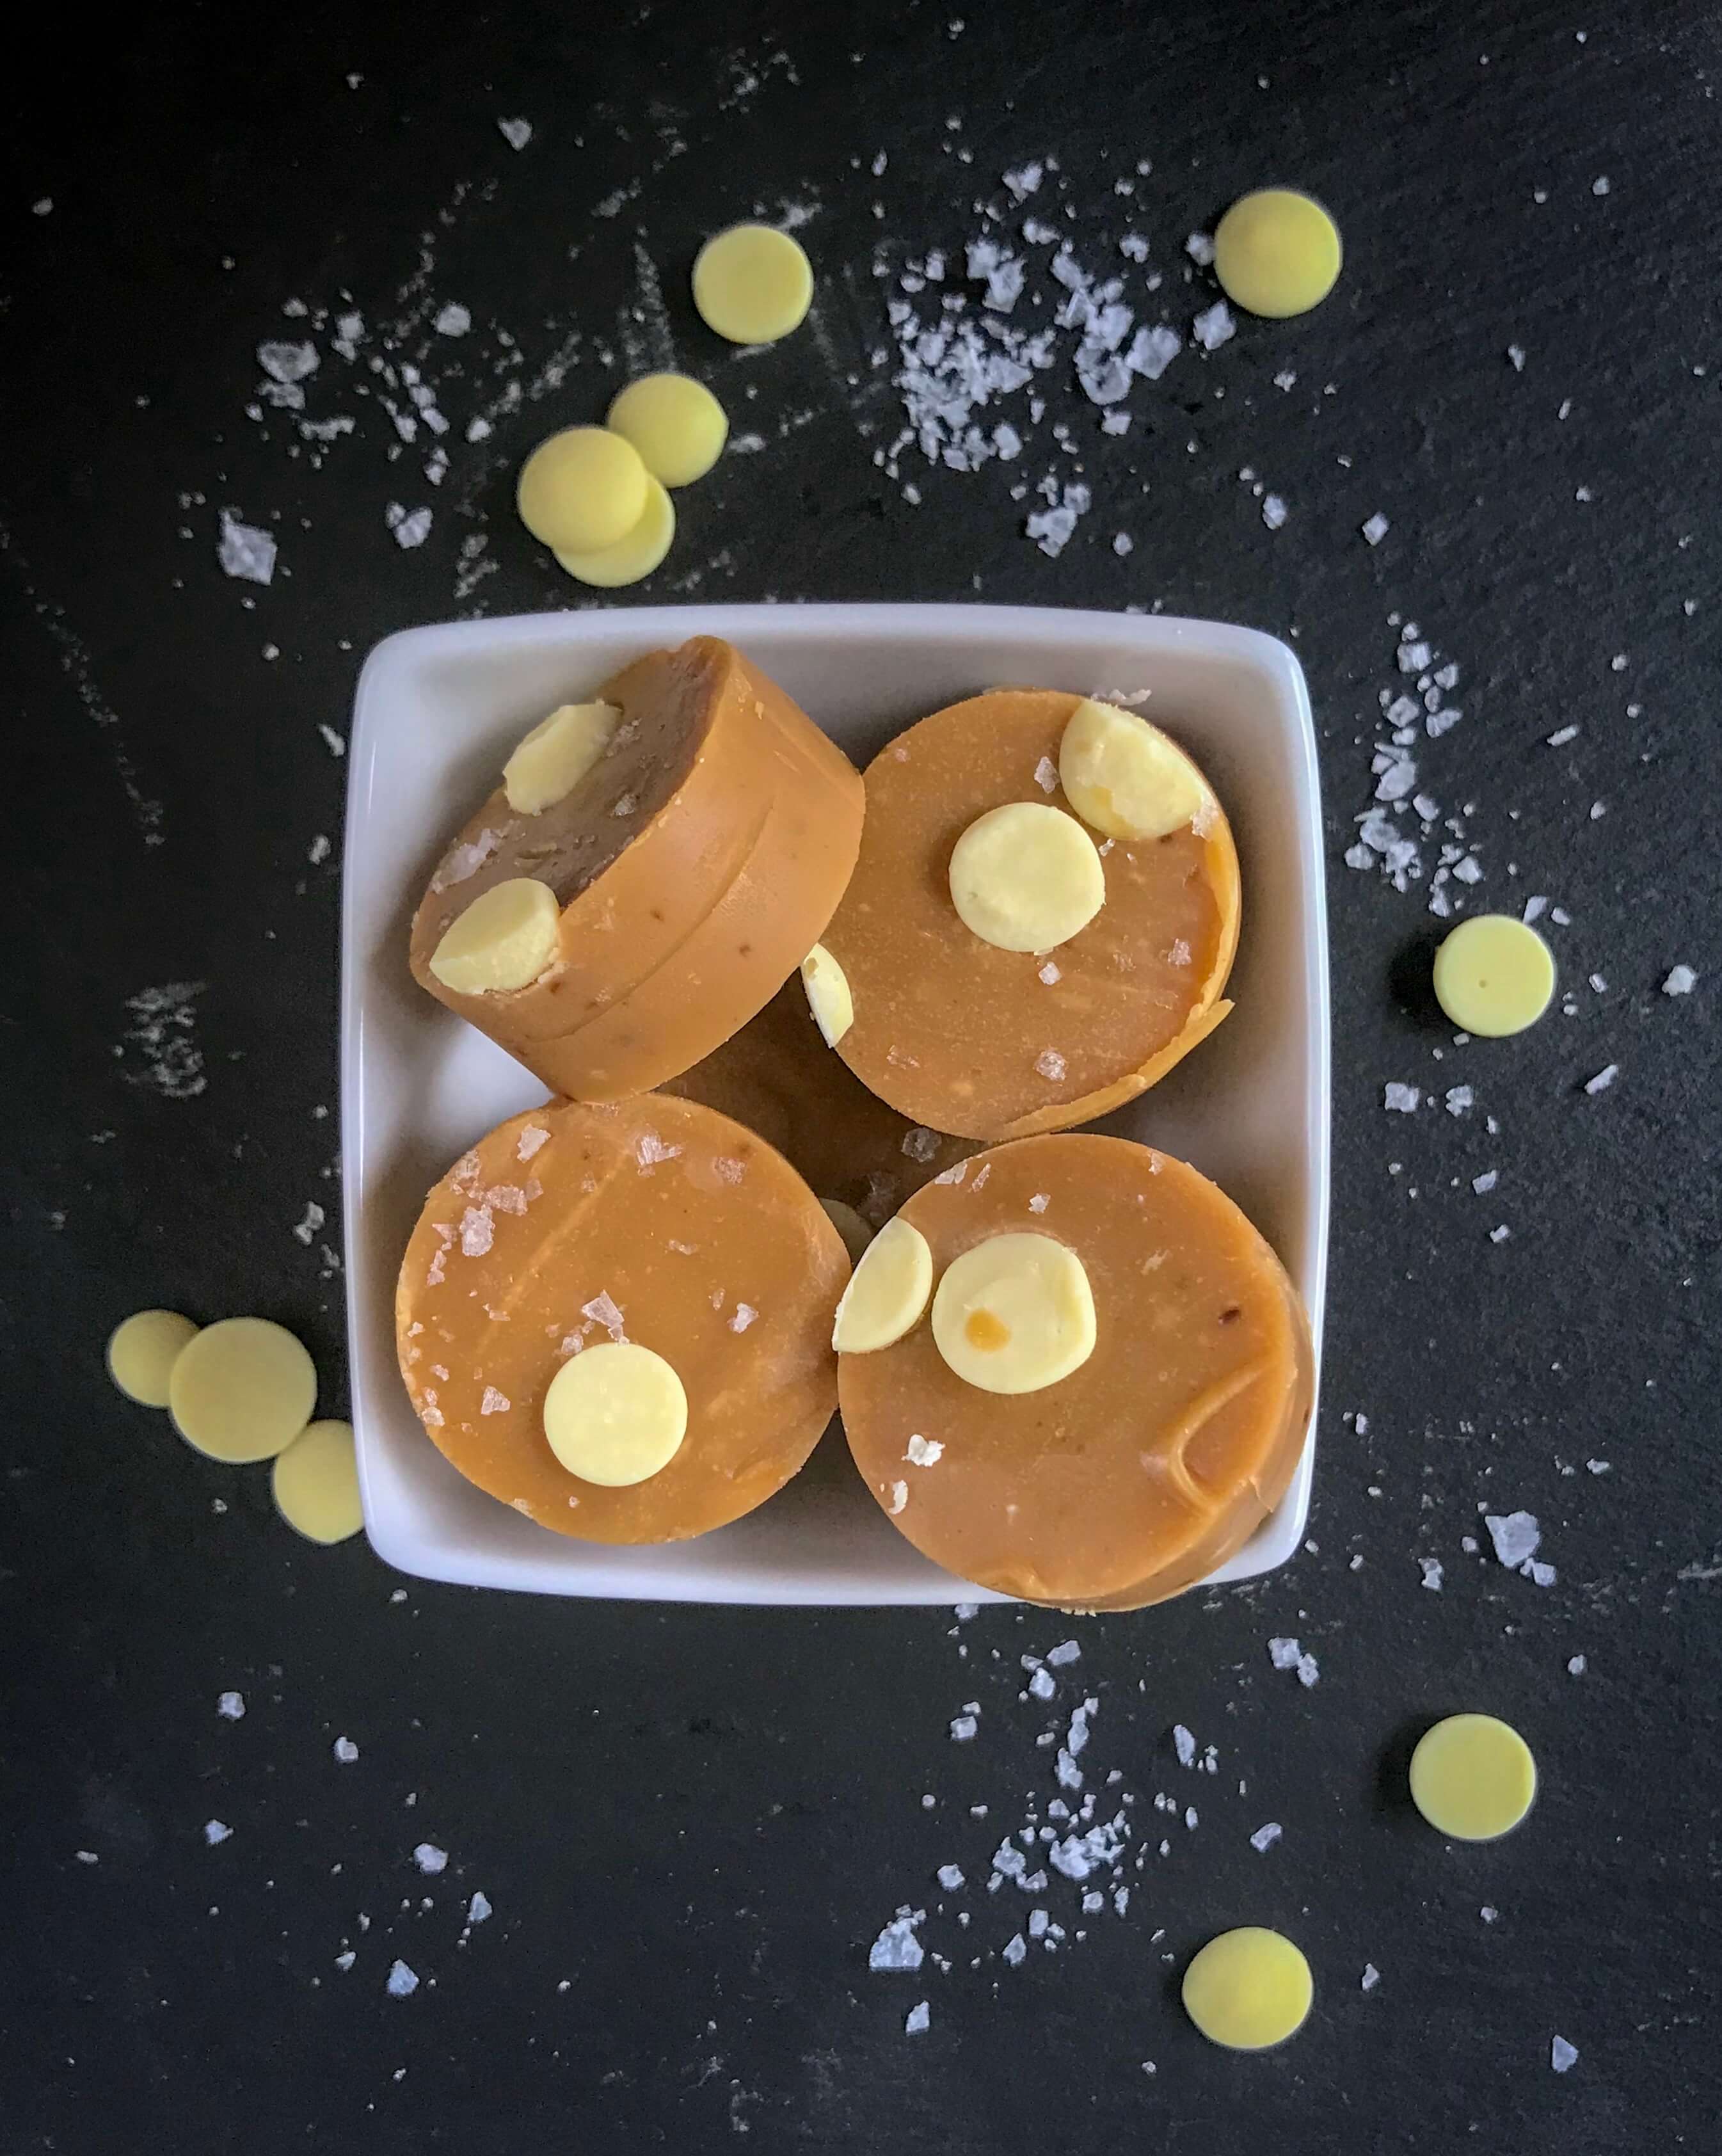
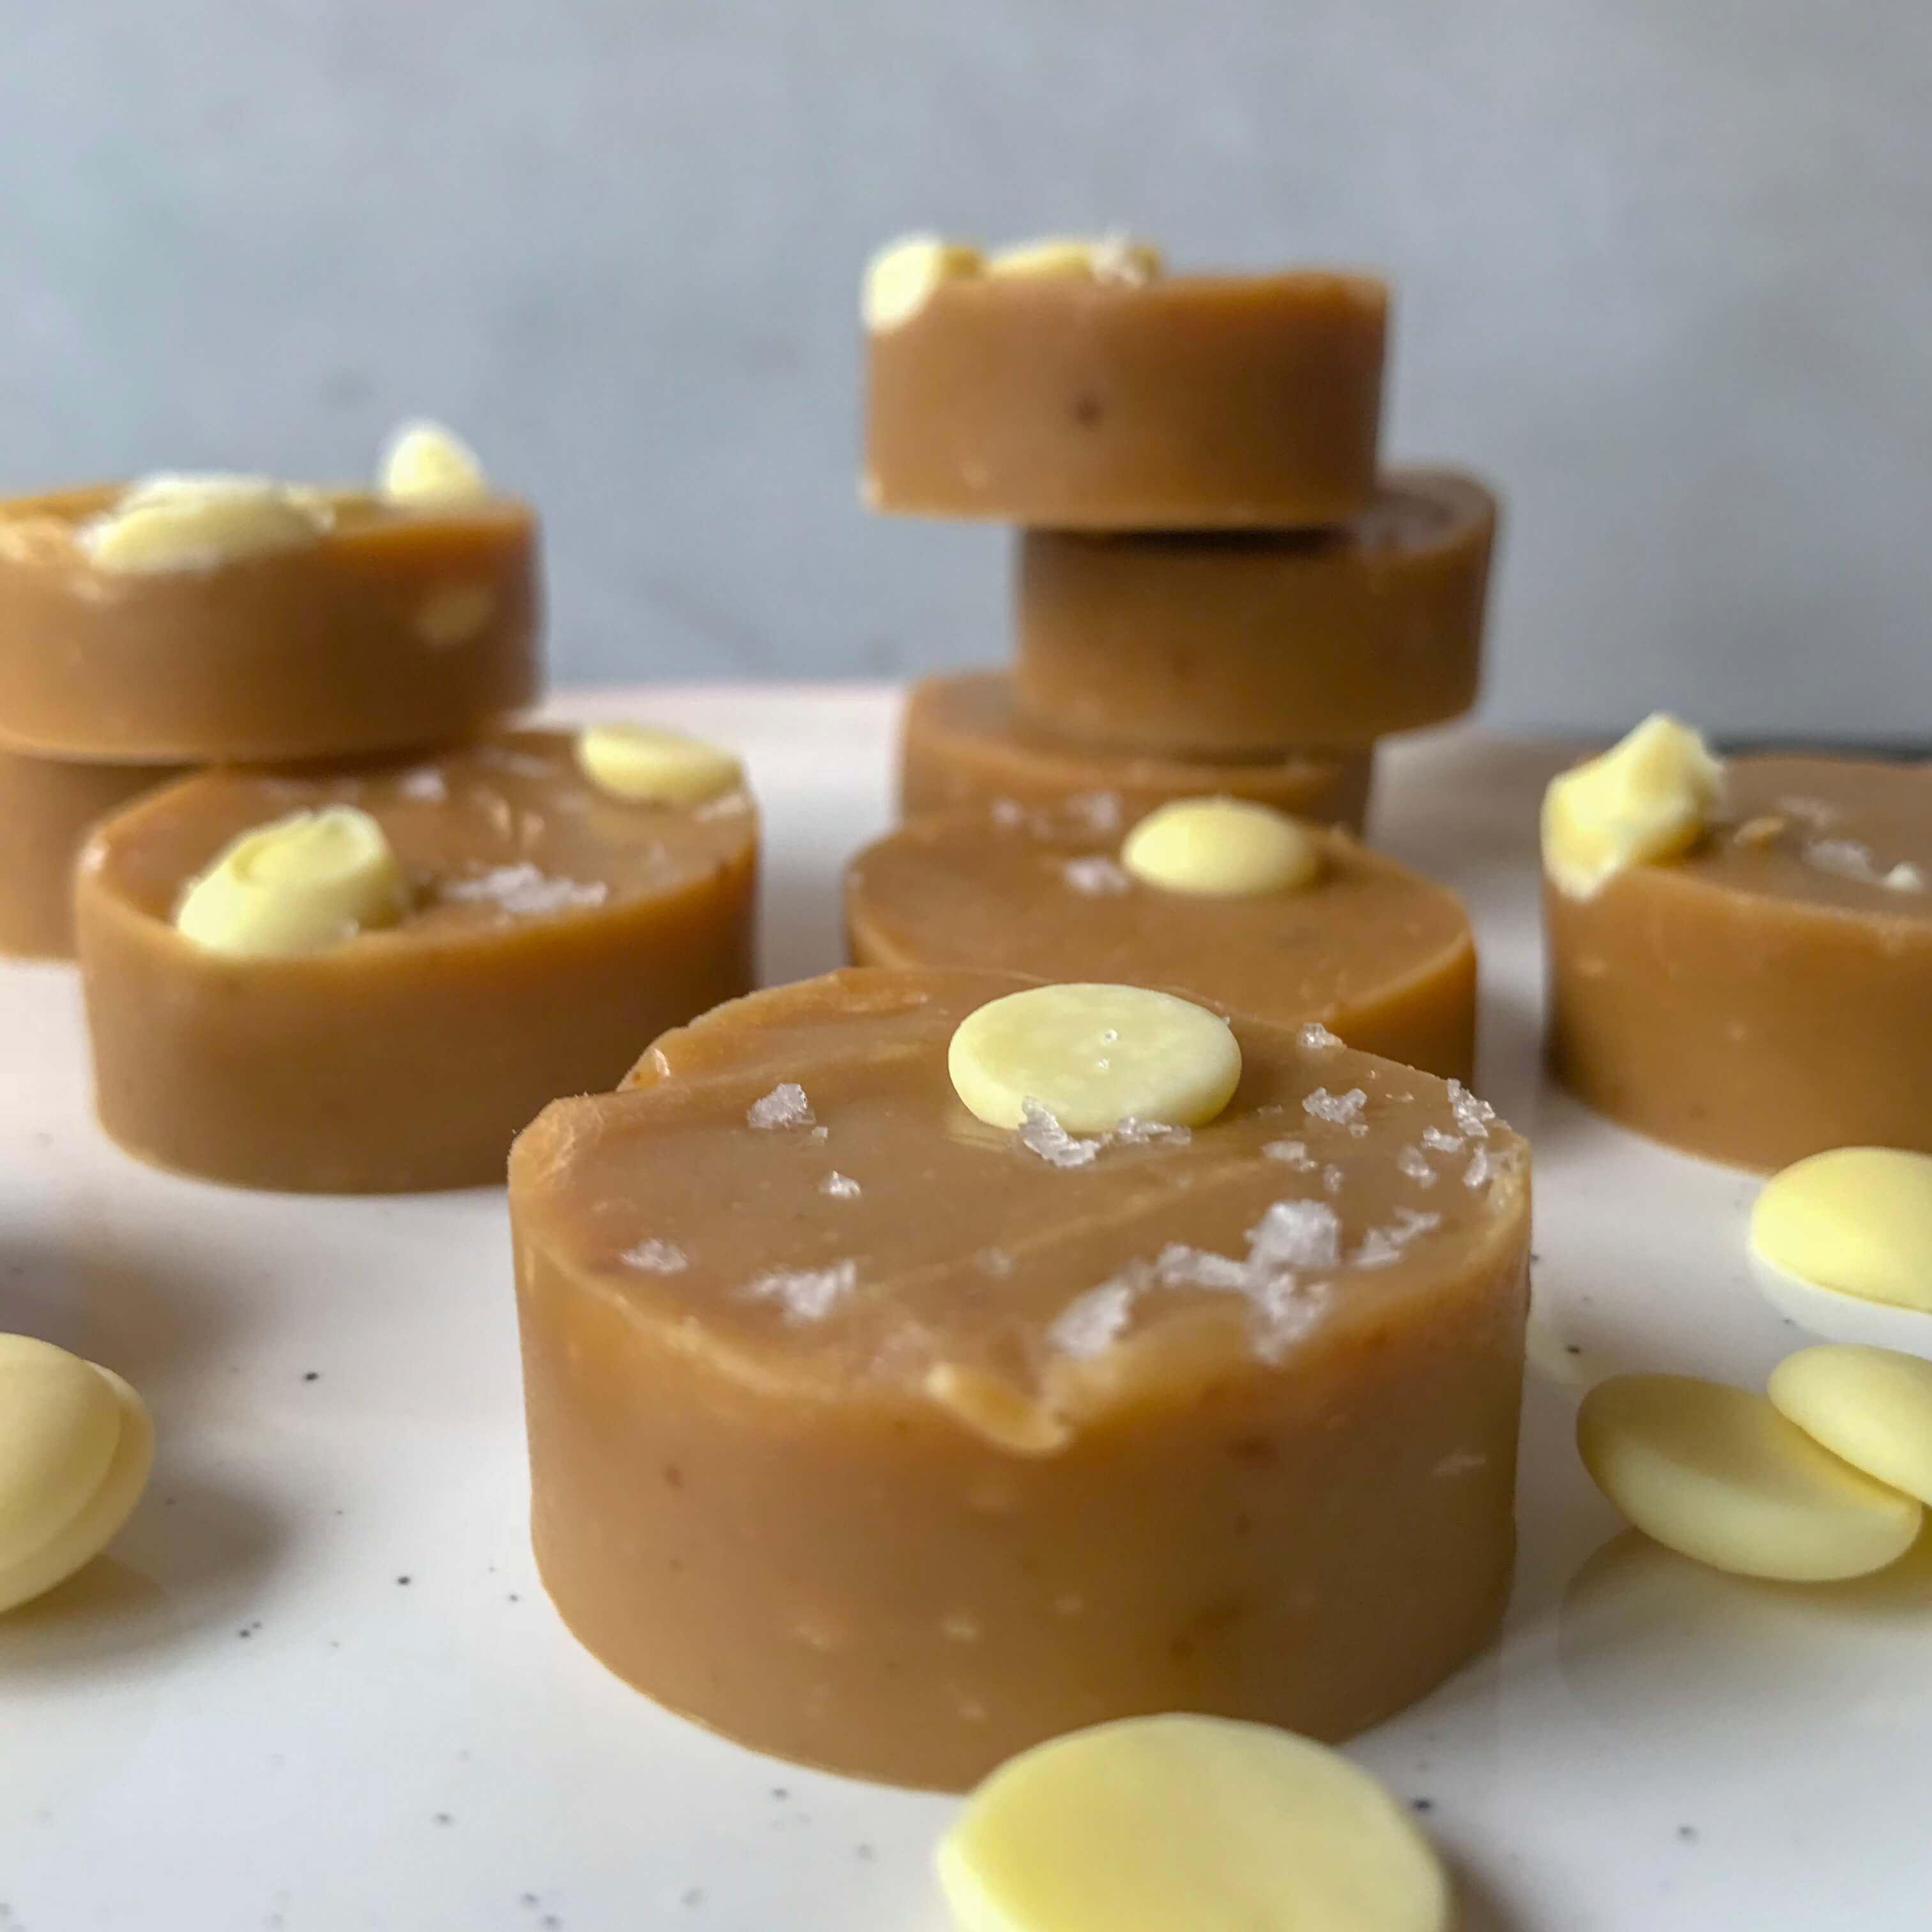
Salted Caramel Maple Fudge

I caught a cooking program on tv this week where they were making homemade fudge.

This brought on a wave of nostalgia of when, as kids, my brother and I used to go to my Nan’s for a week during the summer holidays to catch up with our cousins.

When we arrived, Nan had always made us either fudge or honeycomb to welcome us for the summer. This would fuel us for all the trips she had planned or for spending the day playing at my cousin’s farm.

Salted caramel fudge

The summers always seem hot and lasted forever. Our cousin’s farm was one big adventure playground. We camped in the woods, told scary stories, explored the chalk caves and swam in the freezing, unheated pool. Or Nan packed us all up in her mark 1 Ford Cortina, with the plastic still on the seats to protect them, for a day on the Kent coast and hours on the dodgems.

Salted caramel fudge

Amazing what memories a bit of homemade fudge can bring rushing back!

Ingredients:

395g can condensed milk
120g soft brown sugar
125g diced butter
2 tablespoons glucose syrup
60g maple syrup
180g chopped white chocolate
1 teaspoon sea salt flakes

Method:

1. Line a 20cm square cake tin with baking parchment.

2. Put the condensed milk, sugar, butter, glucose syrup and maple syrup in a heavy bottomed saucepan and gentle warm over a low heat.

3. Keep stirring, without boiling, until everything has dissolved and the mixture looks nice and glossy. This will take about 10 minutes. If you don’t take your time at this stage the fudge will taste grainy.

4. Turn up the heat to medium and bring to a simmer, constantly stirring.

5. Keep simmering and stirring until the mixture thickens, bubbles like lava and pulls away from the edge of the pan. This will take 6-8 minutes. If you have a sugar thermometer you are looking for a temperature of around 115C/239F.

6. Now you have to work quickly, take off the heat and stir in the chocolate until melted and combined.

7. Carefully pour into the prepared cake tin and smooth out, it will start to set quickly. Sprinkle with sea salt and leave to cool for 30 minutes. Cover with cling film and pop it in the fridge until firm. A couple of hours should do.

Salted Caramel Maple Fudge
 
Save Print
Prep time
5 mins
Cook time
30 mins
Total time
35 mins
 
Traditional rich buttery salted caramel maple fudge. Brings back the nostalgia of my Nans fudge eaten on lazy summer holidays with the family in Kent.
Author: CluckMuckCook
Serves: 24 pieces
Ingredients
  • 395g can condensed milk
  • 120g soft brown sugar
  • 125g diced butter
  • 2 tablespoons glucose syrup
  • 60g maple syrup
  • 180g chopped white chocolate
  • 1 teaspoon sea salt flakes
Instructions
  1. I caught a cooking program on tv this week where they were making homemade fudge.
  2. This brought on a wave of nostalgia of when, as kids, my brother and I used to go to my Nan’s for a week during the summer holidays to catch up with our cousins.
  3. When we arrived,Nan had always made us either fudge or honeycomb to welcome us for the summer. This would fuel us for all the trips she had planned or for spending the day playing at my cousin’s farm.
  4. The summers always seem hot and lasted forever. Our cousin’s farm was one big adventure playground. We camped in the woods, told scary stories, explored the chalk caves and swam in the freezing, unheated pool. Or Nan packed us all up in her mark 1 Ford Cortina, with the plastic still on the seats to protect them, for a day on the Kent coast and hours on the dodgems.
  5. Amazing what memories a bit of homemade fudge can bring rushing back!
3.5.3251

2 August 26, 2018 Cakes

Tropical Courgette Cake

I was once told that I should sow as many courgette seeds as I think I need. Then give half the plants away and you would still have too many. Courgettes are such a prolific crop and as much as I love them as a vegetable with my dinner, they are also brilliant for sneaking into cakes without the kids spotting and for adding moisture. A top tip if planning to use them in cakes is to grow the yellow variety. Then they are even harder for the kids to spot.

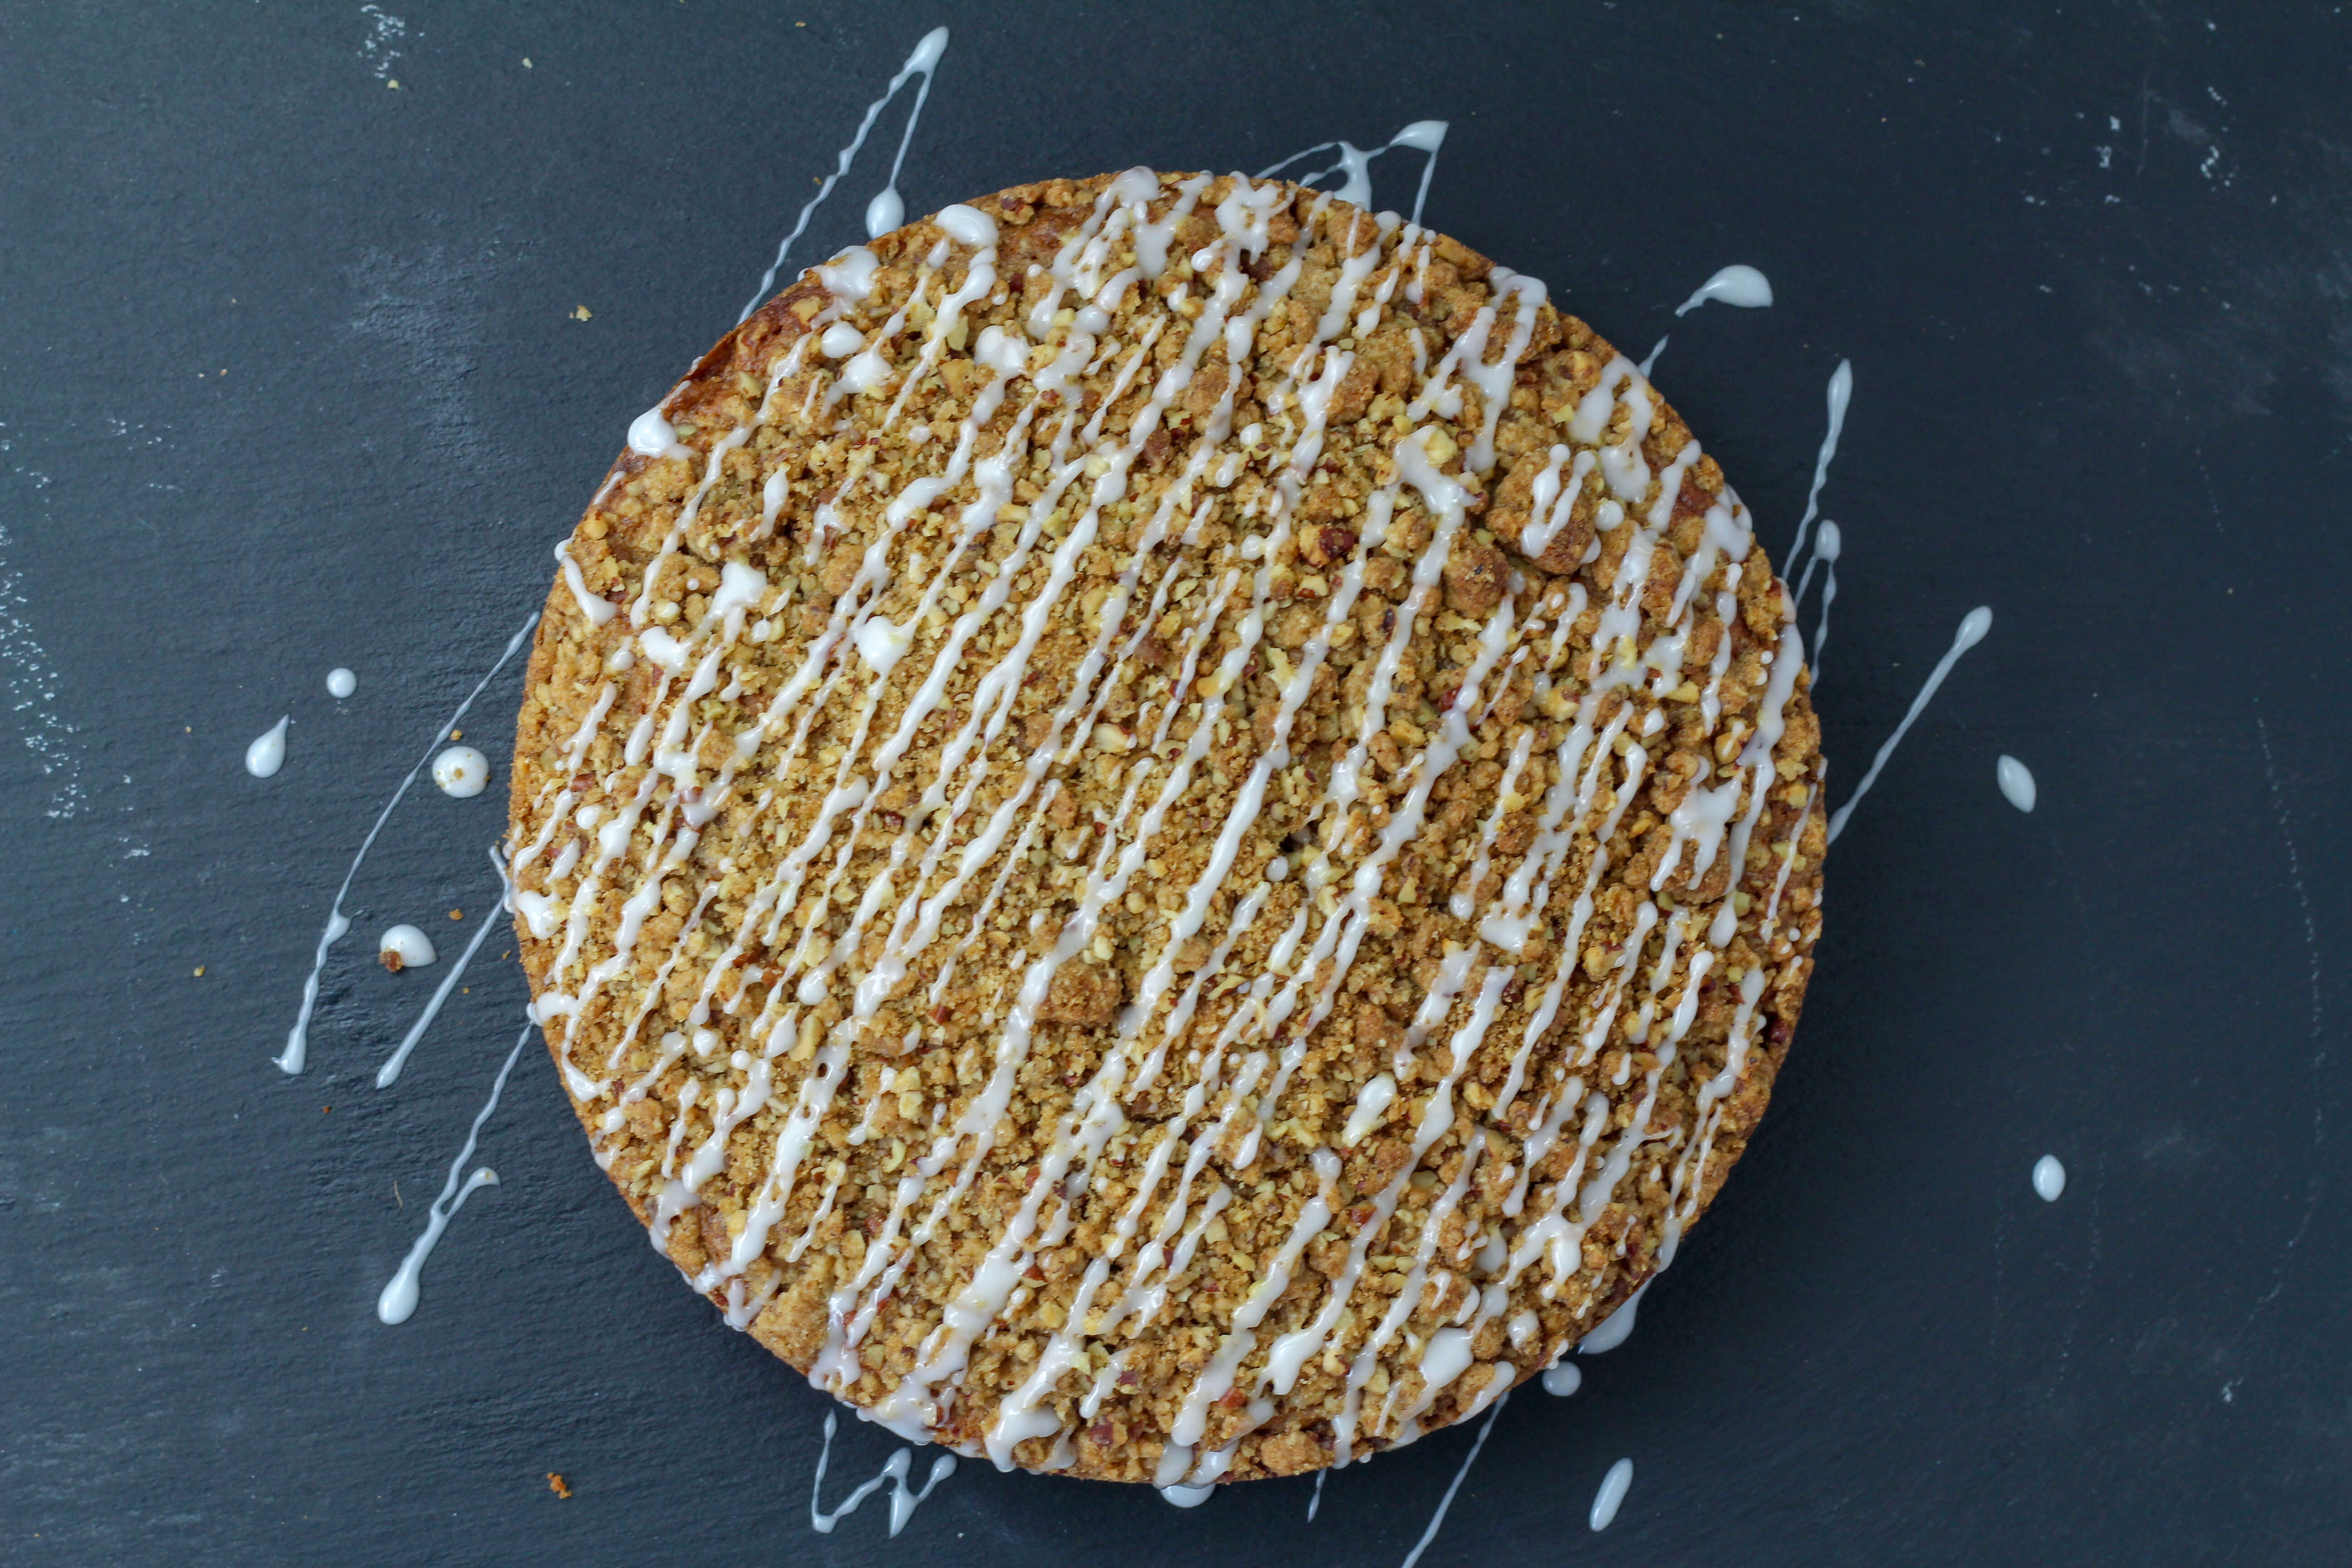
This tropical moist crumble cake makes great use of the courgette to keep the cake deliciously moist with a lovely buttery contrasting crumble topping. The inclusion of banana and pineapple and the lime icing gives the cake a fruity and tropical feel. Perfect for a hot summers day.

This recipe featured in Kitchen Garden Magazine, Aug 2018.

Tropical Courgette Crumble Cake

Crumble Topping:
50g slightly salted diced butter
50g plain flour
50g light brown sugar
60g chopped pecan nuts
½ tsp cinnamon

Cake:
120g slightly salted butter
2 large eggs
1 large ripe banana
100g drained crushed pineapple
2 coarsely grated medium courgettes
1 tsp vanilla extract
200g plain flour
150g caster sugar
55g light soft brown sugar
1 tsp cinnamon
¾ tsp baking powder

Icing topping:
50g icing sugar
juice of 1 lemon or lime


Method

Cake:
Preheat oven to 180c/160c Fan.
Butter and line a deep 8 inch cake pan with baking parchment.
In a small saucepan, melt the butter on a medium heat and cook for 10 minutes until it turns a nut brown. This will add extra flavour to the cake. Leave to the side to cool.
Coarsely grate the courgettes and dry off some of the moisture between some layers of kitchen roll.
Drain the crushed pineapple in a sieve.
In the bowl of a stand mixer with the paddle attachment or in a large bowl with a hand mixer, beat together the banana, eggs, pineapple, courgette and vanilla until smooth. Then add the cooled butter and mix until combined.
In a separate bowl add the flour, sugars, cinnamon and baking powder and mix to combine.
Add the dry ingredients to the wet banana mixture and mix until just combined, do not over mix.
Pour the batter into the tin and smooth the surface.

Topping:
Mix together the flour, sugar and cinnamon and rub in the diced butter until the mixture forms a fine crumble mix. Add the chopped pecans and mix in.
Sprinkle the crumble mix evenly over the top of the cake and bake for 45-50 minutes, until a skewer comes out clean after being inserted into the middle of the cake. If it needs a little longer, cover with foil so it does not burn on top.
When baked, remove from the oven and allow to cool in the tin on a rack for about 15 minutes. Then gently turn out onto the wire rack, removing any baking parchment.
Allow to cool fully.

Icing:
In a small bowl, gradually add the juice a little at a time into the icing sugar and mix until it becomes a nice drizzling consistency.
Using a teaspoon, drizzle the icing over the top of the cake.

2.0 from 1 reviews
Tropical courgette cake
 
Save Print
Prep time
20 mins
Cook time
45 mins
Total time
1 hour 5 mins
 
This tropical moist crumble cake makes great use of the courgette to keep the cake deliciously moist with a lovely buttery contrasting crumble topping. The inclusion of banana and pineapple and the lime icing gives the cake a fruity and tropical feel. Perfect for a hot summers day.
Author: CluckMuckCook
Recipe type: Cake
Serves: 12
Ingredients
  • Tropical Courgette Crumble Cake
  • Crumble Topping
  • 50g slightly salted diced butter
  • 50g plain flour
  • 50g light brown sugar
  • 60g chopped pecan nuts
  • ½tsp cinnamon
  • Cake
  • 120g slightly salted butter
  • 2 large eggs
  • 1 large ripe banana
  • 100g drained crushed pineapple
  • 2 coarsely grated medium courgettes
  • 1tsp vanilla extract
  • 200g plain flour
  • 150g caster sugar
  • 55g light soft brown sugar
  • 1 tsp cinnamon
  • ¾ tsp baking powder
  • Icing topping
  • 50g icing sugar
  • juice of 1 lemon or lime
Instructions
  1. Cake
  2. Preheat oven to 180c/160c Fan
  3. Butter and line a deep 8 inch cake pan with baking parchment.
  4. In a small saucepan, melt the butter on a medium heat and cook for 10 minutes until it turns a nut brown. This will add extra flavour to the cake. Leave to the side to cool.
  5. Coarsely grate the courgettes and dry off some of the moisture between some layers of kitchen roll
  6. Drain the crushed pineapple in a sieve.
  7. In the bowl of a stand mixer with the paddle attachment or in a large bowl with a hand mixer, beat together the banana, eggs, pineapple, courgette and vanilla until smooth. Then add the cooled butter and mix until combined.
  8. In a separate bowl add the flour, sugars, cinnamon and baking powder and mix to combine.
  9. Add the dry ingredients to the wet banana mixture and mix until just combined, do not over mix.
  10. Pour the batter into the tin and smooth the surface.
  11. Topping
  12. Mix together the flour, sugar and cinnamon and rub in the diced butter until the mixture forms a fine crumble mix. Add the chopped pecans and mix in.
  13. Sprinkle the crumble mix evenly over the top of the cake and bake for 45-50 minutes, until a skewer comes out clean after being inserted into the middle of the cake. If it needs a little longer, cover with foil so it does not burn on top.
  14. When baked, remove from the oven and allow to cool in the tin on a rack for about 15 minutes. Then gently turn out onto the wire rack, removing any baking parchment.
  15. Allow to cool fully.
  16. Icing
  17. In a small bowl, gradually add the juice a little at a time into the icing sugar and mix until it becomes a nice drizzling consistency.
  18. Using a teaspoon, drizzle the icing over the top of the cake.
3.5.3251

  • Go to page 1
  • Go to page 2
  • Go to page 3
  • Interim pages omitted …
  • Go to page 7
  • Go to Next Page »

Copyright© 2025 · Cookd Pro Theme by Shay Bocks